8
Philips · PicoPix Micro
Changing screen size
The projection screen size (or size of images) is
determined by the distance between the lens
of the projector and the projection surface.
•
The projection image size is to up to 80’’.
•
The projection distance is 80 cm to 200 cm.
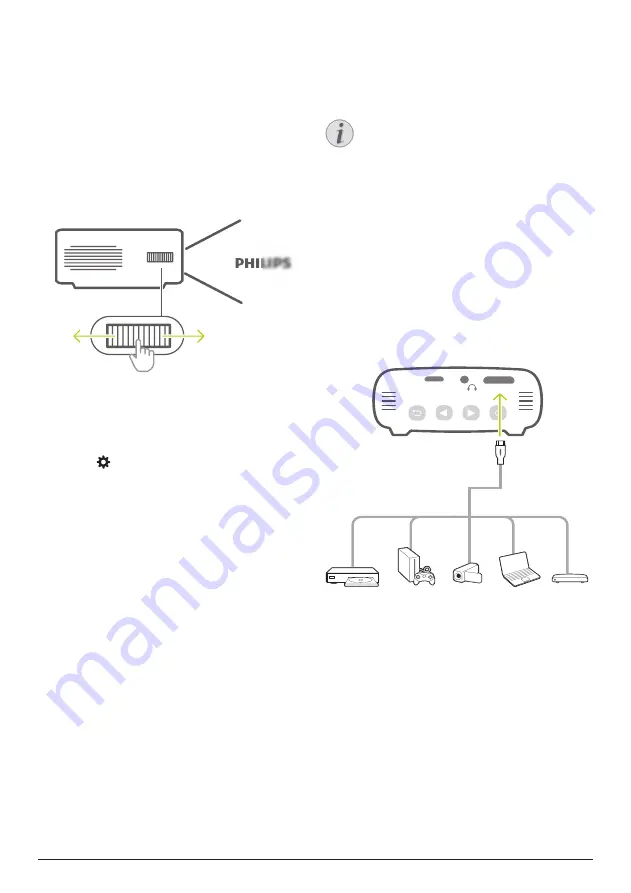
Image sharpness adjustment
To adjust image focus, turn the focus
adjustment knob on the side of the projector.
Image shape adjustment
You can correct keystone images to be
rectangular.
1
Press on the remote control (or on the
home menu, select
Settings & Preferences
)
to access the settings menu, then navigate
to
Keystone Correction.
2 Use the
navigation buttons
and
OK
to
change:
•
Off:
Disable image shape adjustment.
•
Auto:
Enable automatic adjustment of
image shape.
•
Manual:
Manually adjust image shape.
Using tripod
The projector comes with a tripod which allows
more choices for placing the projector.
Locate the tripod socket on the bottom of the
projector, then mount and secure the projector
on the tripod.
4 Connect to
playback devices
Notice
Make sure all devices are disconnected
from the power outlet before establishing
or changing any connections.
Connecting to devices
through HDMI
Connect a playback device (e.g. a Blu-ray
player, gaming console, camcorder, digital
camera or PC) to the projector through HDMI
connection. With this connection, images are
shown on the projection screen, and audio is
played on the projector.
1
Using an HDMI cable, connect the
HDMI
connector (mini HDMI port) on the projector
to the HDMI
output on the playback device.
USB
HDMI


