12
Philips · PicoPix Micro
8 Media playback
This section helps you use the projector to play
media from a wide range of sources.
Notice
The projector supports a USB storage
device that is formatted for FAT16 or
FAT32 file systems.
Movie playback
1
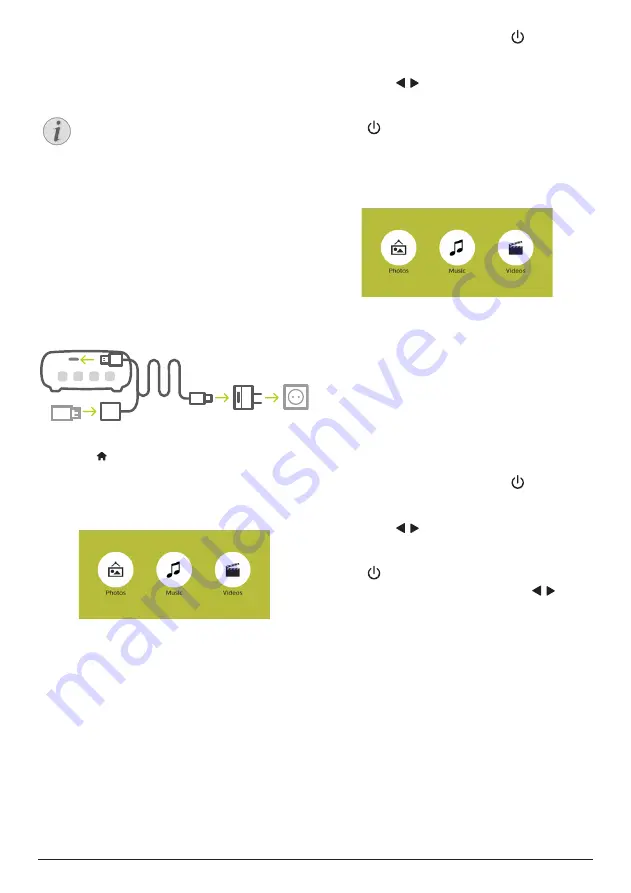
Connect a USB storage device to the USB
port of the supplied USB cable. Then
connect the supplied USB cable to the
USB
port on the projector and to the wall outlet
(or to a computer/power bank). See the
figure below.
•
Recommend to use an external power
when connecting a USB device.
b
a
c
2 Press to display the home menu on the
projection screen.
3 Press the
Navigation buttons
and
OK
to
select
Media Player.
The media player
screen is displayed.
•
Music
: access and play audio files only.
•
Videos
: access and play video files only.
•
Photos
: access and play photo files
only.
4 Select
Videos
to activate video media
player and access video files.
•
If video media player is selected,
only the playable video files can be
displayed.
5 Select a video file and press
OK
to play
video.
•
You can also press briefly on the
projector to confirm selection.
•
During playback, you can press and
hold / on the projector to adjust
volume.
•
To pause or resume play, press
OK
(or
on the projector).
Music playback
1
Repeat step 1 to 3 in ‘Movie playback’, and
the media player screen is displayed.
•
Music
: access and play audio files only.
•
Videos
: access and play video files only.
•
Photos
: access and play photo files
only.
2 Select
Music
to activate music media player
and access music files.
•
If music media player is selected,
only the playable music files can be
displayed.
3 Select a music file and press
OK
to play
music.
•
You can also press briefly on the
projector to confirm selection.
•
During playback, you can press and
hold / on the projector to adjust
volume.
•
To pause or resume play, press
OK
(or
on the projector).
•
During music playback, press / to
skip backward or forward within a song.


