English
Pr
eparations
IMPOR
T
ANT!
–
Mak
e sur
e to complete the
pr
eparation pr
ocedur
es bef
or
e operating
the system.
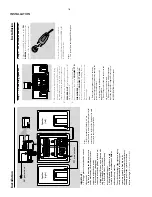
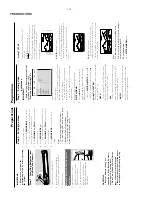
Step 1:
Inser
ting batteries into
the Remote Contr
ol
1
3
2
1
Open the batter
y compar
tment.
2
Inser
t two
AAA batter
ies f
ollo
wing the
indications (+/-) inside the compar
tment.
3
Close the co
ver
.
Using the Remote Contr
ol to operate
the Pla
y
er
1
Aim the Remote Control
directl
y at the remote sensor
(IR) on the front panel.
2
Do not put any objects betw
een
the Remote Control and the
D
VD Pla
yer while oper
ating the
D
VD Pla
yer
.
CA
UTION!
–
Remo
v
e batteries if the
y are
e
xhausted or if the Remote Contr
ol is
not being used f
or a long time
.
–
Do not use old and ne
w or differ
ent
types of batteries in combination.
–
Batteries contain chemical substances,
so the
y should be disposed of pr
operl
y.
Step 2:
Setting the clock
1
Go to Standb
y mode
.
2
Press and hold
CLOCK/RDS
on the remote
.
“
CLOCK SET
”
is display
ed br
iefl
y.
Then,
the
hour digits flash on the displa
y screen.
3
Press
V
OLUME -/+
(
V
OL +/-
on the remote)
to set the hour
s.
4
Press
CLOCK/RDS
again.
The minute digits flash on the displa
y screen.
5
Press
V
OLUME -/+
(
V
OL +/-
on the remote)
to set the min
utes.
6
Press
CLOCK/RDS
to confir
m the clock
setting.
Notes:
–
This system only suppor
ts 24-hour mode
.
–
The c
loc
k setting will be er
ased when the system
is disconnected fr
om the po
wer supply
.
–
The system will exit c
loc
k setting mode if no
button is pr
essed within 30 seconds
.
Pr
eparations
–
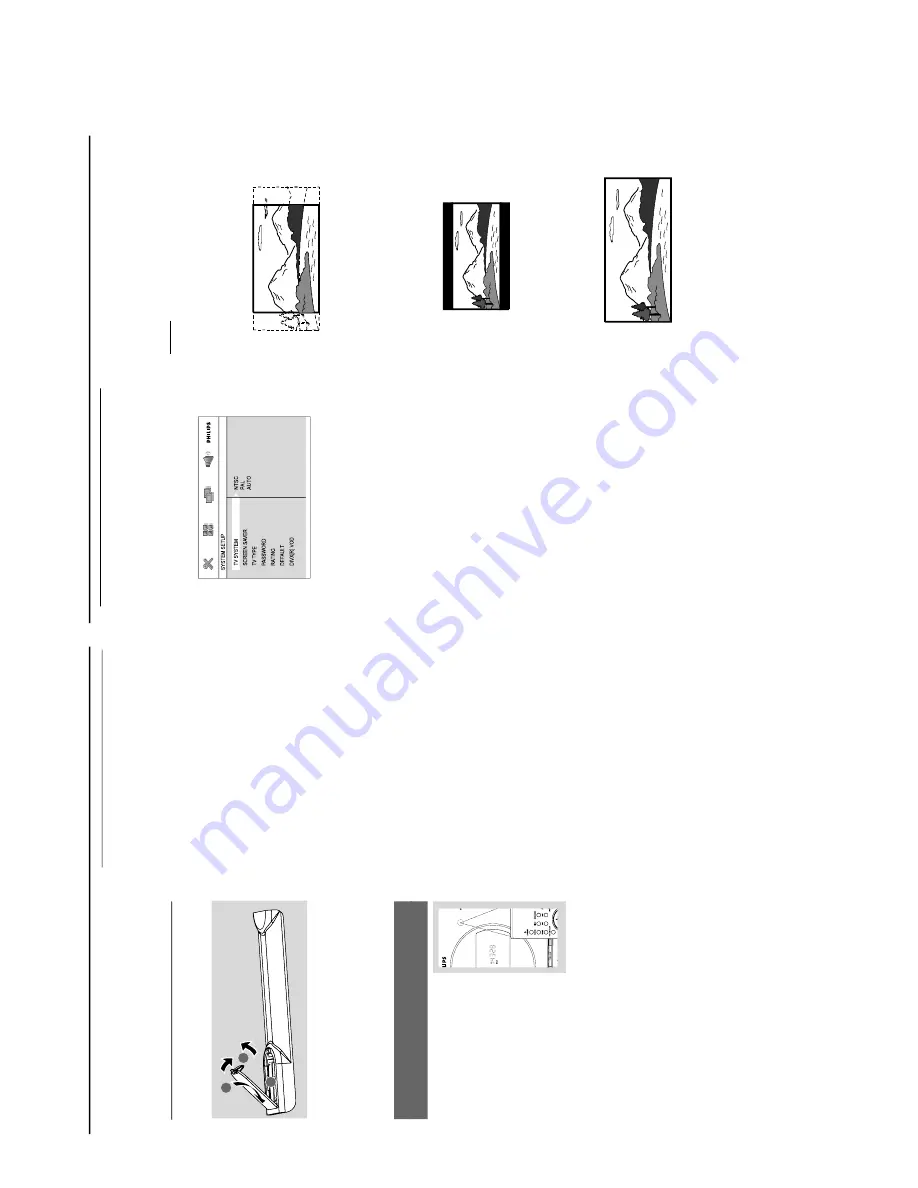
Setting TV
TYPE
Select the aspect r
atio of the
TV to be
connected.
4:3 PS
(P
an and Scan mode )
–
If you ha
ve a con
ventional
TV set and y
our
D
VD is not for
matted f
or widescreen viewing,
use this setting.
A wide picture is displa
yed on
the whole
TV screen with a por
tion
automaticall
y cut off.
4:3 LB
(Letterbo
x mode )
–
If you ha
ve a con
ventional
TV set and y
our
D
VD is for
matted f
or widescreen viewing,
use
this setting.
A wide picture with bands displa
ye
d
on the upper and lo
w
er por
tions of the
TV
screen.
16:9
(Wide screen mode)
–
If you ha
ve a widescreen
TV set,
use this
setting (y
ou m
ust also set y
our widescreen
TV to
“full siz
e”) a
vailab
le on a disc
, then the disc’
s o
wn
pref
erence will be used.
Note:
The f
ormat you select m
ust be available on the
disc
. If it is not,
the setting f
or
TV
Type will not aff
ect
the pictur
e dur
ing playbac
k.
To
e
xit the men
u
Press
SY
STEM MENU
again.
Step 3:
Setting video
pr
ef
er
ence
IMPOR
T
ANT!
–
Mak
e sur
e y
ou ha
v
e completed all the
necessar
y connections.
(See
"Connections-Connecting TV".)
Tu
rn
on the
TV set and set it to the cor
rect
Video-In channel.
You ma
y go to channel 1 on y
our
TV set,
then
press the channel b
utton repeatedl
y until y
ou
see the
Video In channel.
Or
, y
ou can use the
TV remote control to
select diff
erent video modes.
Or
, set
TV to channel 3 or 4 if y
ou are using
an RF modulator
.
1
In stop mode or dur
ing pla
yback,
press
SY
STEM MENU
.
2
Press
2
/
3
/
5
/
4
on the remote control to
toggle through the functions and select y
our
pref
erential option.
Mo
ve to
SY
STEM SETUP
and press
4
.
Mo
ve to one of the f
ollo
wing and press
3
.
–
Setting TV
SY
STEM
Allo
ws y
ou to select the colour system matching
the connected
TV set.
NTSC
–
If the connected
TV is NTSC system,
select
this mode
. It will change the video signal of a P
AL
disc and output in NTSC f
or
mat.
PA
L
–
If the connected
TV is P
AL system,
select this
mode
. It will change the video signal of a NTSC
disc and output in P
AL for
mat.
AUT
O
–I
f the connected
TV is m
ulti system,
select this
mode
.The output f
or
mat will be in accordance
with the video signal of the disc
.
PREPARATIONS
1-12
Содержание MCD288
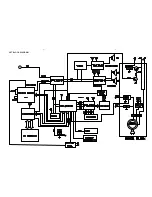
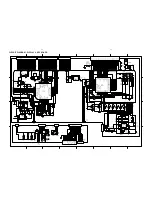
Страница 18: ...4 1 SET BLOCK DIAGRAM 4 1 ...
Страница 19: ...5 1 SET BLOCK DIAGRAM 5 1 ...
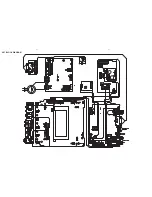
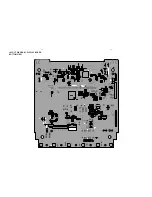
Страница 21: ...6 2 6 2 LAYOUT DIAGRAM DISPLAY BOARD TOP VIEW ...
Страница 22: ...LAYOUT DIAGRAM DISPLAY BOARD BOTTOM VIEW 6 3 6 3 ...
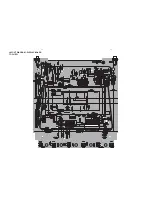
Страница 27: ...8 2 8 2 LAYOUT DIAGRAM POWER BOARD ...
Страница 30: ...9 2 9 2 LAYOUT DIAGRAM WOOFER OUTPUT BOARD ...

