22
EN
Turn on Progressive Scan
If you connect this unit to TV with the
component video connection (see chapter
‘Connect video cables - Option 3: Connect to
component video jack’ for details), you can turn
on the progressive scan output if your TV
supports progressive scan.
1
Turn on the TV to the correct viewing
channel for this unit.
2
Press
DISC
.
3
Press
OPTIONS
.
4
Press
V
to select
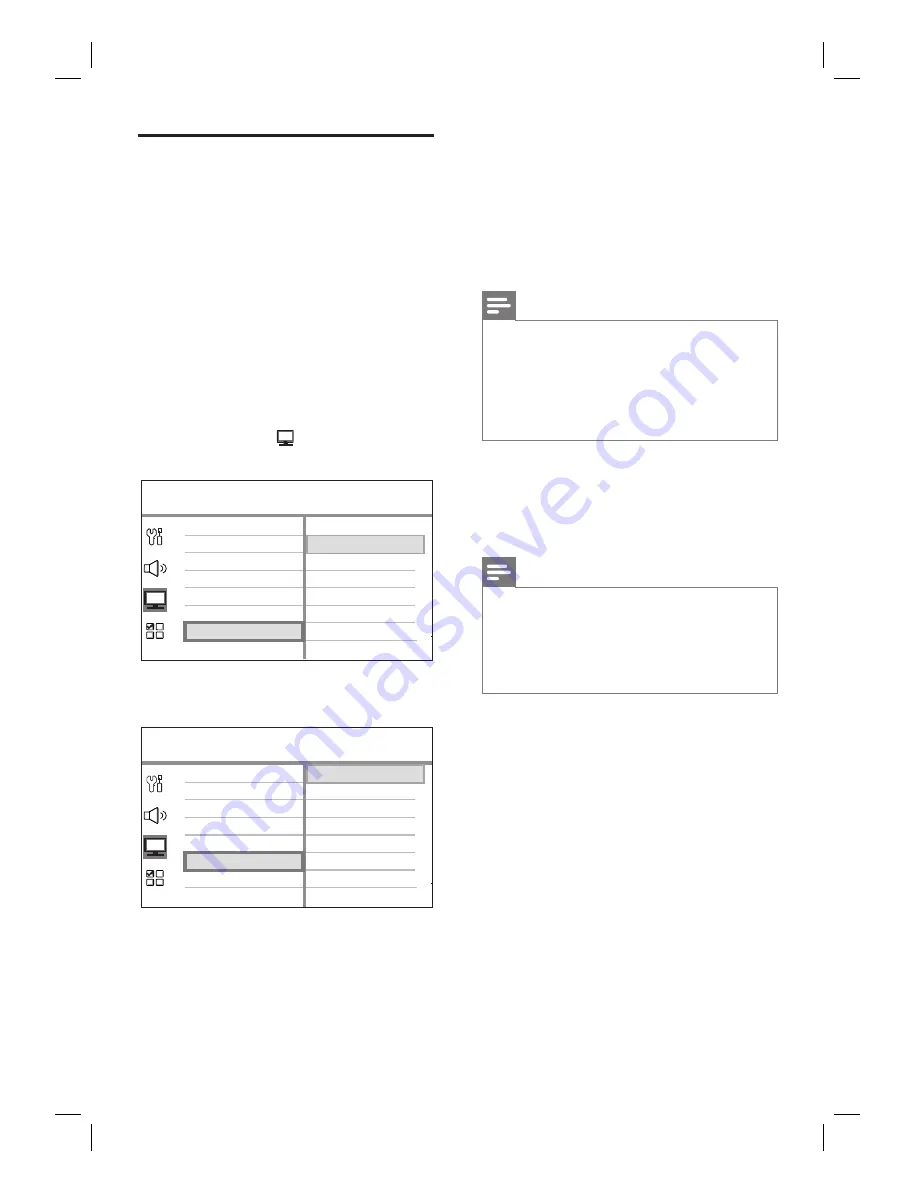
[ Video Setup ]
in the
menu, then press
B
.
RGB
YUV
Video Setup
Picture Settings
Advanced Picture
TV Display
TV Type
Progressive
Component Video
Closed Caption
5
Select
[ Component Video ]
>
[ YUV ]
,
then press
OK
.
On
Off
Picture Settings
Advanced Picture
TV Display
TV Type
Progressive
Component Video
Video Setup
Closed Caption
6
Select [
Progressive
] > [
On
], then press
OK
.
A warning message is displayed.
7
To proceed, select
[ OK ]
in the menu
and press
OK
.
The progressive setup is complete.
Note
If a blank/distorted screen is displayed, wait for 15
seconds for the auto recover.
If no picture displayed, turn off the progressive scan
mode as follows:
1) Press
Z
to open the disc compartment.
2) Press
B
.
3) Press
SUBTITLE
.
•
•
8
To exit the menu, press
OPTIONS
.
9
You can now turn on the progressive scan
mode on your TV (see the TV user
manual).
Note
There are some progressive scan TVs that are
not fully compatible with this unit, resulting in an
unnatural picture when playing back a DVD VIDEO
disc in the progressive scan mode. In such case, turn
off the progressive scan feature on this unit and your
TV.
•


