background image

17

EN

Radio

Listen to FM radio on your home theater, and 

store up to 40 radio stations.

What you need

• 

FM antenna.

Note


AM and digital radio are not supported.


If no stereo signal is detected, you are prompted to 

install the radio stations again.


For the best reception, place the antenna away from 

the TV or other sources of radiation.

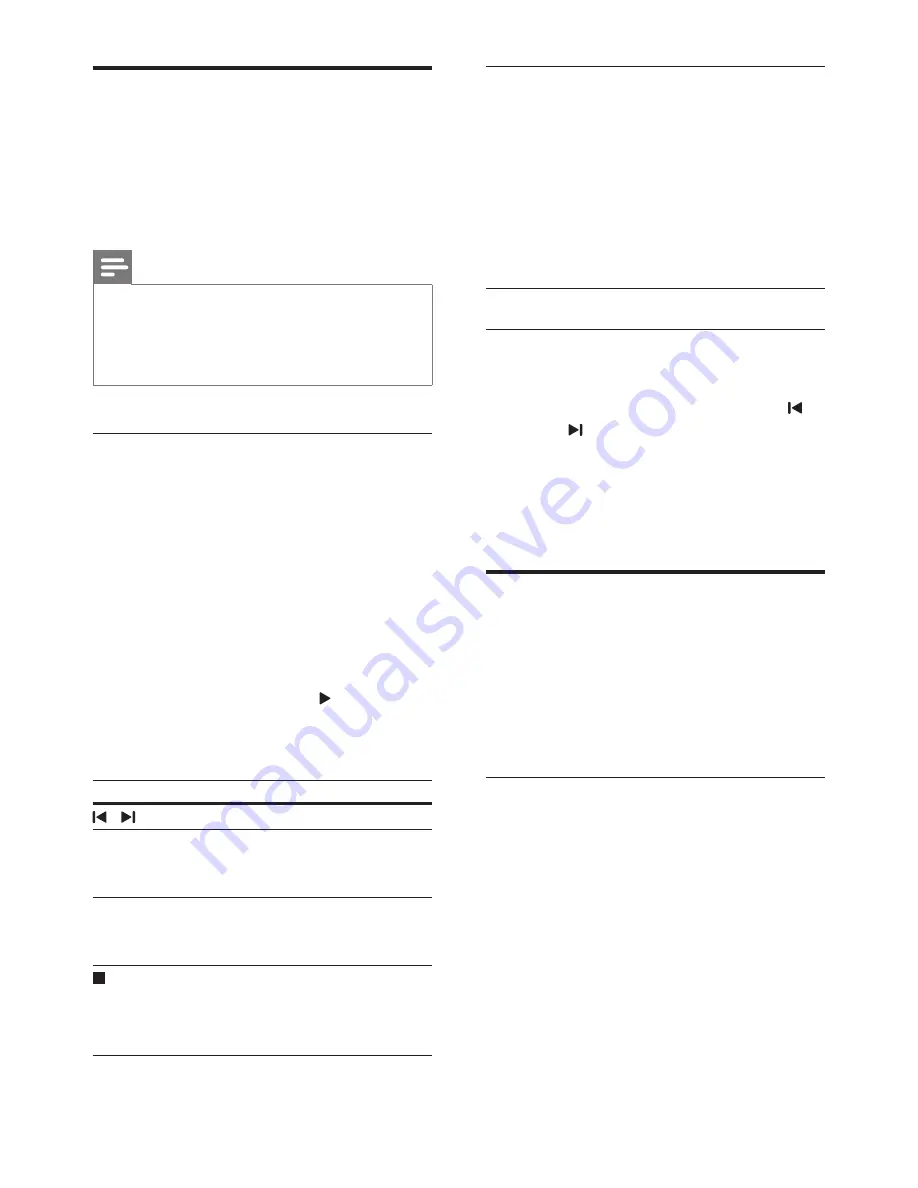
Tune stations

Connect the FM antenna as described in 

the Quick start guide.

Press 

RADIO

.


»

If you have already installed the radio 

stations, the last channel that you 

listened to is played.


»

If you have not installed any radio 

stations, the message 

AUTO 

INSTALL...PRESS PLAY

 appears on 

the display panel. Press   (

Play

).

Press the following buttons to listen or to 

change radio stations:

Button

Action

 / 

Select a preset radio station.

Navigation 

buttons


(left/right)

Search for a radio station.

Navigation 

buttons


(up/down)

Fine tune a radio frequency.

Press to stop the installation of 

radio stations.

Press and hold to erase the 

preset radio station.

PROGRAM

Manual:

1) Press 

PROGRAM

. 2) Press 

Numeric buttons

 to select a 

preset number. 3) Press 

OK

 to 

store the radio station. 4) Repeat 

the steps above to store other 

radio stations.

Automatic: Press and hold for 

three seconds to reinstall the 

radio stations

Listen to radio

Press 

RADIO

.

• 

To listen to a preset station, press   

or  .

• 

To search for a radio station, and then 

listen, press 

Navigation buttons

 (left/

right).

Press 

+/-

 (

Volume

) to change the volume.

MP3 player

Connect your MP3 player to play your audio 

files or music.

What you need

• 

An MP3 player.

• 

A 3.5mm stereo audio cable.

Play music

Connect the MP3 player to the home 

theater as described in the Quick start 

guide. 

Press 

AUDIO SOURCE

 repeatedly until 

'

MUSIC I-LINK

' appears on the display 

panel.

Press the buttons on the MP3 player to 

select and play audio files or music.

Содержание HTD3500

Страница 1: ...HTD3500 User manual Question Contact Philips Register your product and get support at www philips com welcome Always there to help you ...
Страница 2: ...e sound 13 Discs 13 USB storage devices 14 DivX 15 Audio video and picture options 16 Radio 17 MP3 player 17 Create MP3 files 18 EasyLink 18 5 Change settings 20 Picture 20 Sound 20 Language 21 Parental control 21 Energy saving 22 Apply factory settings 23 6 Update software 24 Check software version 24 Update software through USB or CD R 24 7 Product specifications 25 8 Troubleshooting 27 9 Notice...

Страница 3: ...the product and the wall mount Koninklijke Philips Electronics N V bears no responsibility for improper wall mounting that results in accident injury or damage For speakers with stands use only the supplied stands Secure the stands to the speakers tightly Place the assembled stands on flat level surfaces that can support the combined weight of the speaker and stand Never place the product or any o...

Страница 4: ...c compartment if you are not using the product for an extended period of time Use only microfiber cloth to clean the product Care of the environment Your product is designed and manufactured with high quality materials and components which can be recycled and reused When this crossed out wheeled bin symbol is attached to a product it means that the product is covered by the European Directive 2002...

Страница 5: ...isplay panel c Open Close Open or close the disc compartment or eject the disc d Play Pause Start pause or resume play e SOURCE Select an audio or video source for the home theater f Standby On Switch the home theater on or to standby Remote control This section includes an overview of the remote control a Standby On Switch the home theater on or to standby 1 2 3 4 5 6 7 8 20 9 10 11 12 13 14 15 1...

Страница 6: ...ute Mute or restore volume i VOL Increase or decrease volume j SOUND Select a sound mode k Numeric buttons Select an item to play l ANGLE Select video scenes recorded in different camera angels m REPEAT PROGRAM Select or turn off repeat mode In radio mode set a radio station n REPEAT A B Mark two points within a chapter or track to repeat play or turn off the repeat mode o CREATE MP3 ZOOM Access t...

Страница 7: ...ith the following buttons on your home theater remote control see EasyLink on page 18 Standby On Press and hold to switch your home theater TV and the connected devices to standby Play Pause When a video disc is in the disc compartment wake up theTV from standby and then play a disc ...

Страница 8: ... as room shape and size type of wall and ceiling windows and reflective surfaces and speaker acoustics Experiment with the speaker positions to find the optimum setting for you Follow these general guidelines and then set up your speakers 1 Seating position This is the center of your listening area 2 FRONT CENTER front center speaker Place the center speaker directly in front of the seating positi...

Страница 9: ...your home theater remote control 4 Select Audio Setup and then press OK 5 Change the following settings and then press OK SpeakersVolume Set the volume level of each speaker Speakers Delay Set the delay time for speakers which are placed closer to the seating position in order to obtain equal audio transmission from all the speakers Connectors Connect other devices to your home theater Front a USB...

Страница 10: ...nTV and the audio is automatically played on the home theater TV 3 If audio from theTV does not play automatically on your home theater set up the audio manually see Set up audio for connected devices on page 12 Option 2 Connect to TV through HDMI Best quality video If yourTV is not HDMI ARC compliant connect your home theater to theTV through a standard HDMI connection With a standard HDMI connec...

Страница 11: ...orrect video input 3 To play audio fromTV programs through your home theater connect an additional audio cable see Connect audio fromTV and other devices on page 11 On your home theater press SOURCE repeatedly to select the correct audio input TV Connect audio from TV and other devices Play audio fromTV or other devices through your home theater Use the best quality connection available on yourTV ...

Страница 12: ...ther device 2 Select Amplifier from theTV speakers menu For details see theTV user manual 3 On your home theater turn on System Audio Control and then map the audio of the connected device to the correct connectors on your home theater see Play audio from home theater on page 19 If the connected device is not HDMI CEC compliant press SOURCE repeatedly on your home theater to select the correct aud...

Страница 13: ...acked video games or loud parties Surround sound mode Experience an immersive audio experience with surround sound modes 1 Press SURR repeatedly to select a surround mode MULTI CH Traditional 5 1 channel for a more relaxing cinematic experience STEREO Two channel stereo sound Ideal for listening to music Note If the audio source is a 2 1 channel multi channel mode will output 5 channel stereo soun...

Страница 14: ... press OK Note To skip the content menu select Off While playing aVCD SVCD you can press DISC to turn off or on the PBC playback control Display menu for MP3 JPEG You can choose how you want the MP3 contents to display 1 Press SETUP 2 Select Preference Setup and then press OK 3 Select MP3 JPEG Display and then press OK 4 Select the following options then press OK View Folders Display the MP3 folde...

Страница 15: ...ect a language Note Make sure that the subtitle file has the same name as the video file For example if the video file is named movie avi save the subtitle file as movie srt or movie sub Your home theater can play subtitle files in the following formats srt sub txt ssa ass smi and sami These files do not appear in the file navigation menu If the subtitles do not appear correctly change the charact...

Страница 16: ...p to a specific part of the video by entering the chapter time Disc Time Skip to a specific part of the video by entering the disc time for VCD SVCD only Track Time Skip to a specific part of the video by entering the track time forVCD SVCD only Preview Select a content preview for disc Repeat Select a repeat mode Time Disp Select the information of time display Picture options 1 Press INFO to acc...

Страница 17: ... for a radio station Navigation buttons up down Fine tune a radio frequency Press to stop the installation of radio stations Press and hold to erase the preset radio station PROGRAM Manual 1 Press PROGRAM 2 Press Numeric buttons to select a preset number 3 Press OK to store the radio station 4 Repeat the steps above to store other radio stations Automatic Press and hold for three seconds to reinst...

Страница 18: ...s DTS CDs and copy protected CDs cannot be converted Write protected or password protected USB storage device cannot be used to store MP3 files EasyLink The home theater supports Philips EasyLink which uses the HDMI CEC Consumer Electronics Control protocol EasyLink compliant devices that are connected through HDMI can be controlled by a single remote control Philips does not guarantee 100 interop...

Страница 19: ...follow the instructions on theTV to map connected devices to the audio input connectors of the home theater Audio Input Mapping When you connect a new device to your home theater map the device to the audio input connector see Play audio from home theater on page 19 Play audio from home theater Play the audio from a connected device through your home theater 1 Press SETUP 2 Select Video Setup and ...

Страница 20: ...em ForTV supported video format TV Display ForTV picture display format Picture Settings Predefined color settings Picture resolution To enjoy high definition HDMI video output set the HDMI video settings that best match up with yourTV capability 1 Press SETUP 2 Select Video Setup and then press OK 3 Select HDMI Setup and then press OK 4 Change the following settings and then press OK Wide Screen ...

Страница 21: ...f you select a language that is not available on a disc the home theater uses the default language of the disc Disc subtitle 1 Press SETUP 2 Select Preference Setup and then press OK 3 Select Subtitle and then press OK 4 Select a subtitle language for discs and then press OK Disc menu 1 Press SETUP 2 Select Preference Setup and then press OK 3 Select Disc Menu and then press OK 4 Select a menu lan...

Страница 22: ...c buttons The disc is locked To play the locked disc enter the password Energy saving Save energy by changing the following settings Auto standby When playing a disc or a USB storage device automatically switch your home theater to standby if it is in pause or stop mode and no button is pressed for 30 minutes 1 Press SETUP 2 Select General Setup and then press OK 3 Select Auto Standby On and then ...

Страница 23: ... OK 3 Select Display Dim and then press OK 4 Select the brightness and then press OK Apply factory settings Reset your home theater to the default settings You cannot reset the parental control settings 1 Press SETUP 2 Select Preference Setup and then press OK 3 Select Default and then press OK 4 Select Reset and then press OK ...

Страница 24: ...your web browser go to www philips com support 3 At the Philips Support website find your product and locate the Software and drivers The software update is available as a zip file 4 Save the zip file in the root directory of your USB flash drive or CD R 5 Use the archive utility to extract the software update file in the root directory 6 Remove the USB flash drive or CD R from your computer Step ...

Страница 25: ...ea Video avi divx mpg mpeg Picture jpg jpeg Amplifier Total output power 300W RMS 30 THD Frequency response 20 Hz 20 kHz 3 dB Signal to noise ratio 65 dB CCIR A weighted Input sensitivity AUX 2V Music iLink 1V Video Signal system PAL NTSC Multi HDMI output 480i 576i 480p 576p 720p 1080i 1080p Audio S PDIF Digital audio input Optical TOSLINK Sampling frequency MP3 32 kHz 44 1 kHz 48 kHz WMA 44 1 kH...

Страница 26: ... length 3 m Speakers Center speaker Output power 50 W RMS 30 THD System 1 x 63 5 mm 2 5 full range Speaker impedance 4 ohm Speaker drivers 1 x 63 5 mm 2 5 woofer Dimensions WxHxD 84 5 x 89 x 89 mm Weight 0 27 kg Cable length 2 m Front Rear speaker Output power 4 x 50 W RMS 30 THD Speaker impedance 4 ohm Speaker drivers 1 x 63 5 mm 2 5 full range Dimensions WxHxD 84 5 x89 x 89mm Weight front 0 27 k...

Страница 27: ...hat the disc contains high definition video Make sure that theTV supports high definition video Use an HDMI cable to connect to theTV Sound No sound from home theater speakers Connect the audio cable from your home theater to yourTV or other devices see Connect audio fromTV and other devices on page 11 Reset your home theater to its factory settings see Apply factory settings on page 23 then switc...

Страница 28: ...storage device is compatible with the home theater Make sure that the file system on the USB storage device is supported by the home theater input invalid or x sign appears on the TV The operation is not possible EasyLink does not work Make sure that the home theater is connected to a Philips brand EasyLink TV and the EasyLink option is on see EasyLink on page 18 When you switch on the TV the home...

Страница 29: ... license DivX Ultra Certified to play DivX video with advanced features and premium content ABOUT DIVXVIDEO DivX is a digital video format created by DivX LLC a subsidiary of Rovi Corporation This is an official DivX Certified device that plays DivX video Visit divx com for more information and software tools to convert your files into DivX videos ABOUT DIVXVIDEO ON DEMAND This DivX Certified devi...

Страница 30: ...a 7574 Kurdish 7585 Lao 7679 Latina 7665 Latvian 7686 Letzeburgesch 7666 Limburgan Limburger 7673 Lingala 7678 Lithuanian 7684 Luxembourgish 7666 Macedonian 7775 Malagasy 7771 Magyar 7285 Malayalam 7776 Maltese 7784 Manx 7186 Maori 7773 Marathi 7782 Marshallese 7772 Moldavian 7779 Mongolian 7778 Nauru 7865 Navaho Navajo 7886 Ndebele North 7868 Ndebele South 7882 Ndonga 7871 Nederlands 7876 Nepali ...

Страница 31: ...ble HDMI CEC 18 discs audio language 21 audio options 16 control buttons 13 DivX 15 lock unlock 22 menu language 21 options 16 picture 16 play 13 subtitle 21 synchronize picture and sound 14 time search 16 titles 16 display MP3 JPEG menu 14 VCD SVCD menu 14 display panel 5 DivX character set 15 subtitles 15 VOD code 15 E EasyLink HDMI CEC audio input mapping 19 control buttons 7 one touch play 18 ...

Страница 32: ... ratings 22 password 21 Philips Easylink 18 picture high resolution JPEG 20 settings 20 slideshows 16 troubleshooting 27 picture options 16 play discs 13 MP3 17 radio 25 slideshows 16 troubleshooting 27 USB 14 position connectors 9 position 8 preference audio 20 auto standby 22 change password 21 disc menu 21 display panel 23 menu language 21 screen saver 22 sleep timer 22 subtitle 21 product spec...

Страница 33: ...ure and sound 14 troubleshooting 27 sound mode 13 speakers connect 9 manual setup 9 position 8 setup 9 specifications 26 surround sound 13 subtitle character set 15 language 21 subwoofer specifications 26 synchronize picture and sound 14 system audio control 18 T time search 16 titles 16 trademarks 29 troubleshooting connection 27 main unit 27 picture 27 play 27 sound 27 U update software check cu...

Страница 34: ...Specifications are subject to change without notice 2012 Koninklijke Philips Electronics N V All rights reserved HTD3500_12_UM_V1 0 ...

Отзывы: