18
English
Preparations
IMPORTANT!
– Make sure you have completed all the
necessary connections. (See Connections
– Connecting TV set)
Step 3: Setting video
preference
Turn on the TV set and set it to the correct
Video-In channel.
➜
You may go to channel 1 on your TV set, then
press the channel button repeatedly until you see
the Video In channel.
➜
Or, you can use the TV remote control to
select different video modes.
➜
Or, set TV to channel 3 or 4 if you are using
an RF modulator.
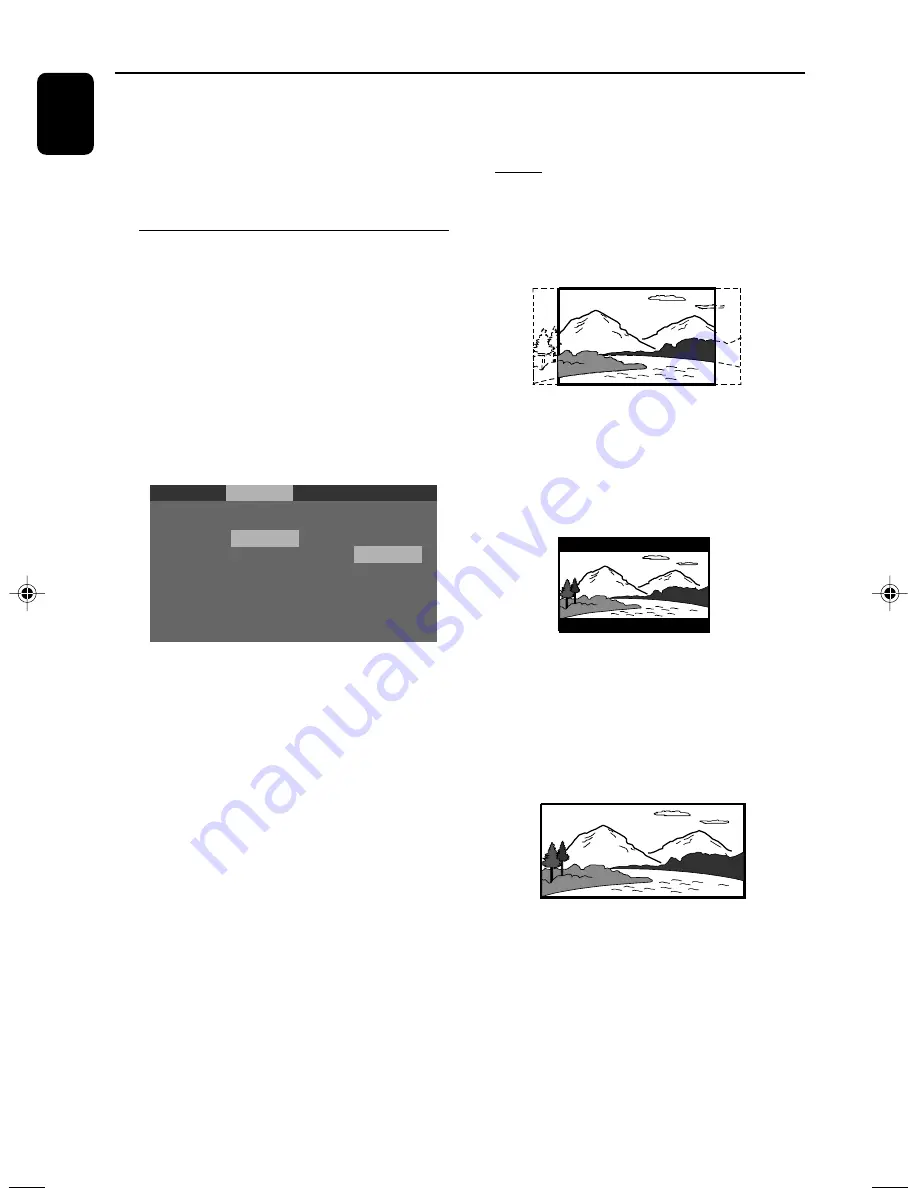
Language
TV Shape
TV System
Video out
Video
4:3 LB
4:3 LB
4:3 PS
16:9
Auto
S-VIDEO
Audio
Rating
1
In the disc mode, stop playback and press
SYSTEM MENU
.
2
Press
5
/
6
/
5
/
4
on the remote control to
toggle through the functions and select your
preferential option.
➜
Move to
Video
and press
OK
or
4
.
➜
Move to one of the following and press
OK
.
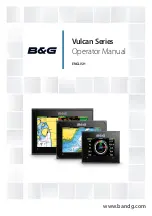
– Setting TV Shape
Select the aspect ratio of the TV to be connected.
4:3 PS
(Pan and Scan mode )
– If you have a conventional TV set and your
DVD is not formatted for widescreen viewing, use
this setting. A wide picture is displayed on the
whole TV screen with a por tion automatically cut
off.
4:3 LB
(Letterbox mode )
– If you have a conventional TV set and your
DVD is formatted for widescreen viewing, use this
setting. A wide picture with bands displayed on
the upper and lower portions of the TV screen.
16:9
(Wide screen mode)
– If you have a widescreen TV set, use this
setting (you must also set your widescreen TV to
“full size”) available on a disc, then the disc’s own
preference will be used.
Note:
The format you select must be available on the disc.
If it is not, the setting for TV Shape will not affect the
picture during playback.
pg001-pg032_FWD20_98-Eng
2006.5.10, 11:14
18
Содержание FWD 20
Страница 1: ...FWD20 DVD Mini Hi Fi System ...
Страница 3: ...3 4 5 1 2 3 0 9 8 7 6 ON OFF ...
Страница 4: ...4 1 ª 3 5 7 6 º 8 9 0 2 6 4 ANGLE ...


