28
7. Press [
t
] [
u
] [
p
][
q
] to select “HDD/DVD,” and
then press [OK] to bring up the list.
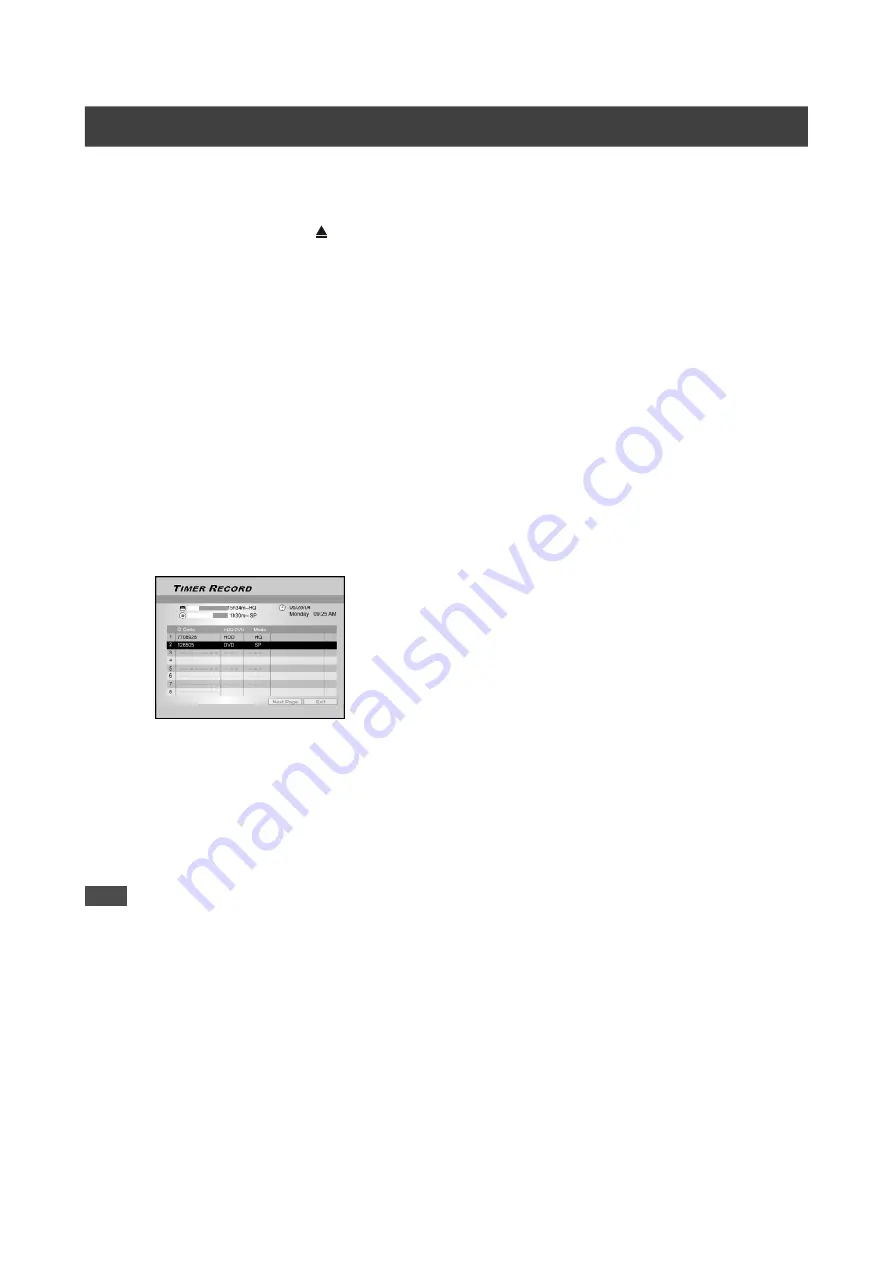
Press [
p
] and [OK] to make your selection.
If “DVD” is set as the target device, press [ OPEN/CLOSE] to
open the disc tray and insert a recordable DVD disc.
8. Press [
t
] [
u
] [
p
][
q
] to select “Quality
(Recording Quality),” and then press [OK] to
bring up the list.
Press [
p
] and [OK] to make your selection.
Press [
t
] [
u
] to re-select the item you want to change.
9. Press [
t
] [
u
] [
p
][
q
] to select “SOUND (TV
AUDIO)” and then press [OK] to bring up the list.
Press [
p
] [
q
] [
t
] [
u
] and [OK] to make your selection.
10. Press [
p
][
q
] to select “OK” to save the setting
for the timer record item and go back to the
Timer Record list.
11. Press [
p
] [
q
] to go to another item on the list
and press [OK] if you want to set up for more
Timer Record programs.
If not, move to the “EXIT” icon and press [OK] to exit the Timer
Record List.
13. Press [STANDBY-ON] to turn off the unit and
activate the “Timer Record” function.
T
IMER
R
ECORD
Notes:
1.
If you want to go back to the normal Timer Record menu,
move to the “Date/Time Setting” icon and press [OK].
2.
The DVD recorder must be turned off to activate the Timer
Record function.
Содержание DVDR520H/69
Страница 46: ......


