Page 0
q
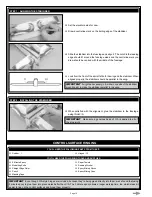
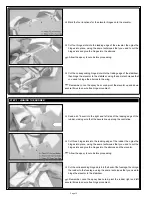
Set the elevator aside for now.
q
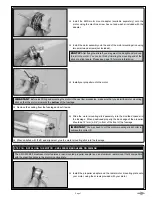
Draw a centreline mark on the trailing edge of the stabiliser.
steP 1: aLiGNiNG tHe staBiLiser
q
Slide the stabiliser into the fuselage and align it. The notch in the leading
edge should fit around the fuselage sides and the centreline mark you
drew should be centred with the middle of the fuselage.
steP 2: iNstaLLiNG tHe staBiLiser
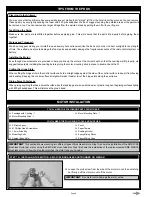
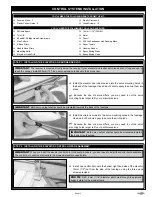
CONtrOL surfaCe HiNGiNG
yOu'LL Need tHe fOLLOWiNG Parts frOM tHe Kit:
yOu'LL Need tHe fOLLOWiNG tOOLs aNd suPPLies:
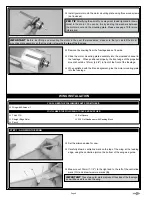
IMPORTANT
Even though C/A-style hinges are included, because they're being glued directly into foam, we've found that using
5 minute epoxy to glue them into place works better than C/A. The 5 minute epoxy allows a longer working time, too, which makes it
easier to line up the control surfaces and hinge them properly.
q
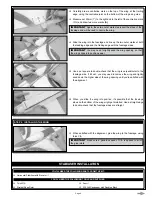
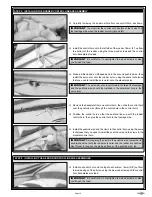
Look from the front of the aircraft at both the wing and the stabiliser. When
aligned properly, the stabiliser should be parallel to the wing.
IMPORTANT
It might be necessary to trim down one side of the stabiliser
mounting slot to make the stabiliser parallel to the wing.
q
When satisfied with the alignment, glue the stabiliser to the fuselage,
using thick C/A.
IMPORTANT
Make sure a generous bead of C/A is applied to all of
the glue joints.
q
5 Minute Epoxy
q
Modelling Knife
q
Straight Edge Ruler
q
Pencil
q
Masking Tape
q
Rudder -
q
Hinges - 5
q
Paper Towels
q
Rubbing Alcohol
q
Epoxy Mixing Sticks
q
Epoxy Mixing Cups


