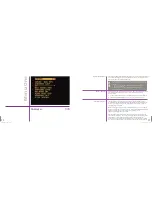
Press the “Playback” button to bring up the SELECT page on the on-screen
display. Use the “Menu” knob to pick the clip you want to play – if the camera
is in Loop mode, the clip will be called “RAM 1.” If the camera is in “R/S” mode,
turn the knob to the right to get to the last clip in the CineMag – “MAG n”
where n is the clip number.To begin playing, press the “B-REF” button.
Pressing the B-REF button again will pause playback. Pressing the “TOOLS”
button will cause the clip to play in reverse.Turning the MENU knob will step
through the clip frame-by-frame.
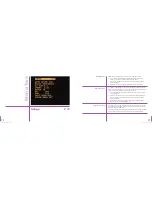
If the camera is in LOOP mode, you can mark an in and out point in the clip,
then save it to the CineMag. Navigate to the frame you wish to mark as the
in point, then press and hold the MENU knob – you will see the word “Edit”
appear on the bottom left corner of the screen. While holding, turn the knob
to the right, until the words “Set In” appear, then release.To mark an out point,
press and turn the “MENU” knob to the right again until the words “Set Out”
appear, then release. Save the clip by pressing and turning the knob to the left
until the “Save” appears, then release. It will take a few seconds to save the
clip to the CineMag. For more information on operating the camera using the
on-board controls, please see
On Camera Control Buttons
Chapter.
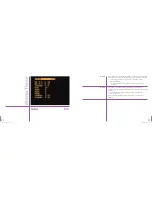
To save a clip from the camera to a hard drive, run the PCC software and
navigate to the “Play” tab.To choose the clip to download, select it from the
“Cine” pull-down menu. A clip in the camera’s RAM will be numbered 1, while
the clips in the CineMag have numbers preceded by the letter ‘F.’ The most
recently recorded clips will be at the end of the list. Save the clip by clicking
the “Save Cine…” button. In the Save dialog box that appears, ensure that
the format “Cine Raw” is selected in the “Save asType” selector. Navigate
to the folder where you wish to save the clip and click the “Save” button.
For more information on operating the camera with PCC, please see
Phantom
Software
Chapter.
To prepare for recording the next clip, press theTRIGGER button for a few
seconds to return to the live view. Press and hold theTRIGGER button again
to erase the clip in RAM and begin recording the next shot.
Playing Back a Clip
Trimming and Saving a Clip
to the CineMag
Downloading a Clip
to a Computer
Beginning the Next Clip
17
Phantom Flex Manual
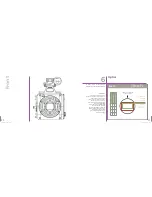
On page 1 of the camera menu:
Change SPEED and SHUTTER to your desired values.
If in LOOP mode, set the trigger point visually by changing the position of
the “T” on the line of the “TP” setting. Moving the “T” to the right moves
the trigger point closer to the end of the shot.
When all other settings are where you want them, black balance the camera
by either choosing “BLACK REFERENCE” in page 2 of the menu,
or holding the “bref” button of the camera for a few seconds.The internal
capping shutter of the camera will close while the camera performs a black
balance.
Highlight the “AUTO WHITE BAL” setting on page 2 of the menu. Hold in the
Menu button and rotate clockwise until the red box appears in the center
of frame. Keep holding the Menu button & point the red box towards a white
area of the image.
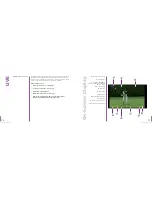
The color of the Phantom logo in the upper left corner of the viewfinder
image indicates the current mode of the camera. If you haven’t recorded
an image since the camera was powered up, the logo will be blue. Press the
Trigger button to begin recording – the logo will turn red, indicating that frames
are being written to RAM (or to the CineMag if the camera is in R/S mode.)
If the logo is green, there is already a clip in RAM. In this case, pressing and
holding the trigger button for a few seconds will erase this clip and begin
recording.
Pressing the trigger button (or an external trigger plugged into the trigger
connector on the rear of the camera) will stop recording. If the trigger position
is at the end of the clip, recording will stop instantly – otherwise recording will
continue until the portion of the clip after the trigger point is completed.
Recording Parameters
Frame Rate and Shutter
Trigger point
Performing Black Balance
Performing White Balance
Beginning Recording
Triggering / Ending Recording
16
Phantom Flex Manual
Содержание Flex
Страница 1: ...MANUAL ...
Страница 2: ...MANUAL New York Chicago Los Angeles First Edition 09 20 10 www abelcine com ...
Страница 52: ...94 Phantom Flex Manual ...
Страница 53: ......


