Appendices . 113
9.
For a new SpectrumIMAGE installation, select the location of the calibration media from
the drop-down list.
OR
If you are upgrading from an earlier version of SpectrumIMAGE, select
Check this box
if you would like to preserve any customized settings from the ini file of your
existing installation
.
NOTE: If you do not select
Check this box if you would like to preserve any customized
settings from the ini file of your existing installation
, your customized settings
revert to their factory defaults.
10.
Click
Next
.
During installation, C:\Windows\pelimage.ini is created. If a previous installation of
SpectrumIMAGE has already created this file on your PC, any new settings (such as
those required for the ATR Imaging Accessory) are merged with the old settings.
The InstallShield Wizard is now ready to install SpectrumIMAGE.
11.
Click
Install
.
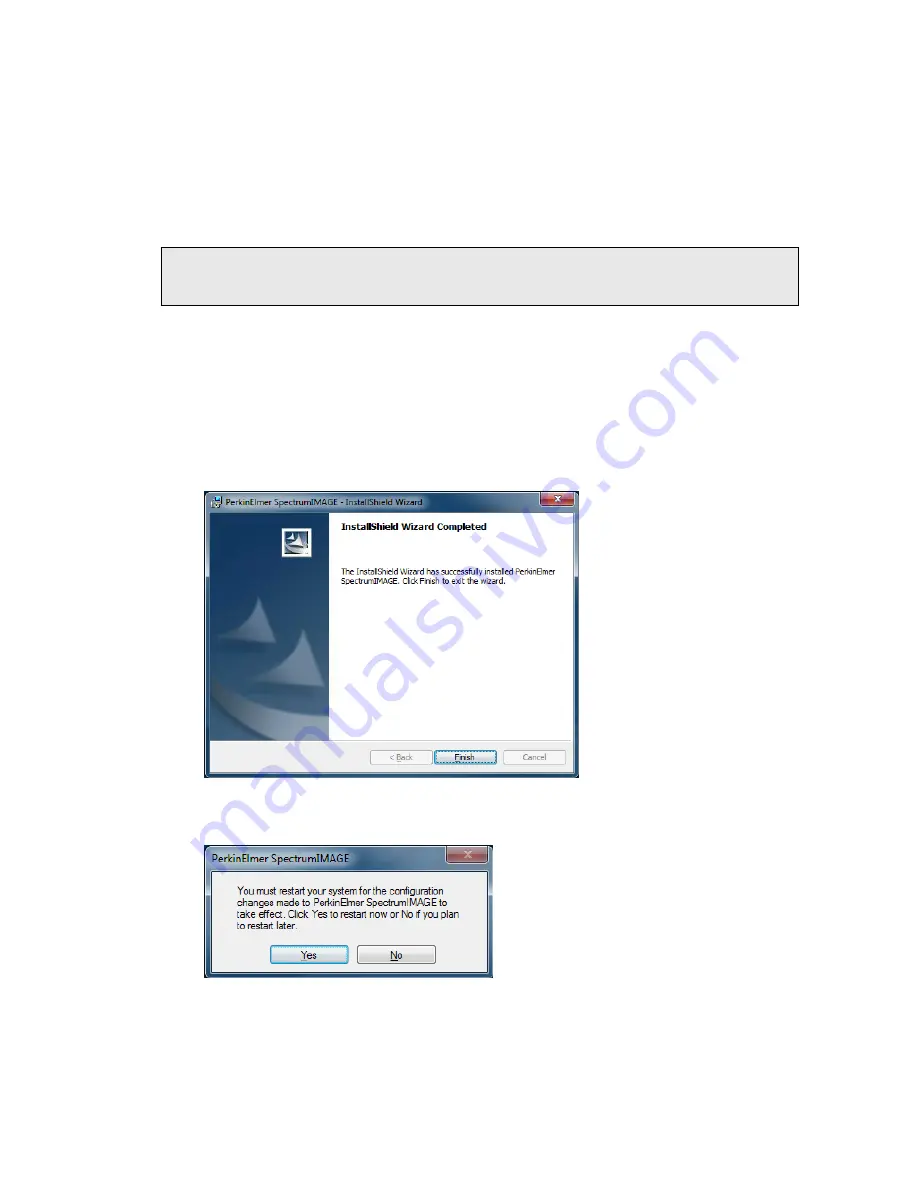
A progress bar is displayed until the InstallShield Wizard has completed the installation.
12.
Click
Finish
.
You are prompted to restart your PC.
13.
Remove the calibration media (if applicable), and then click
Yes
.
The PC restarts.
You may need to modify the display properties and power save options for your PC.
Refer to
Appendix 2: Amending the Power Options Display Settings
on page 114.
Содержание Spotlight 400 Series
Страница 1: ...Spotlight 400 Series User s Guide MOLECULAR SPECTROSCOPY...
Страница 6: ......
Страница 7: ...Introduction...
Страница 13: ...Warnings and Safety Information...
Страница 26: ...26 Spotlight 400 Series User s Guide...
Страница 27: ...Overview of the Spotlight Imaging System...
Страница 39: ...Getting Ready to use the Imaging System...
Страница 46: ...46 Spotlight 400 Series User s Guide...
Страница 47: ...Preparing Samples...
Страница 62: ...62 Spotlight 400 Series User s Guide...
Страница 63: ...Techniques for Collecting IR Images and Spectra...
Страница 94: ...94 Spotlight 400 Series User s Guide...
Страница 95: ...Maintenance...
Страница 106: ...106 Spotlight 400 Series User s Guide...
Страница 107: ...Appendices...


