


Page 10
Status LED
The Phoenix uses three brightness levels on the green status LED to indicate the status of power and operation.
LED State
Status
OFF
Not connected to a power source or the power source is off.
Dim
Connected to a live power source, unit is in the suspend state.
Blinking
Unit running
Bright
Unit in configuration
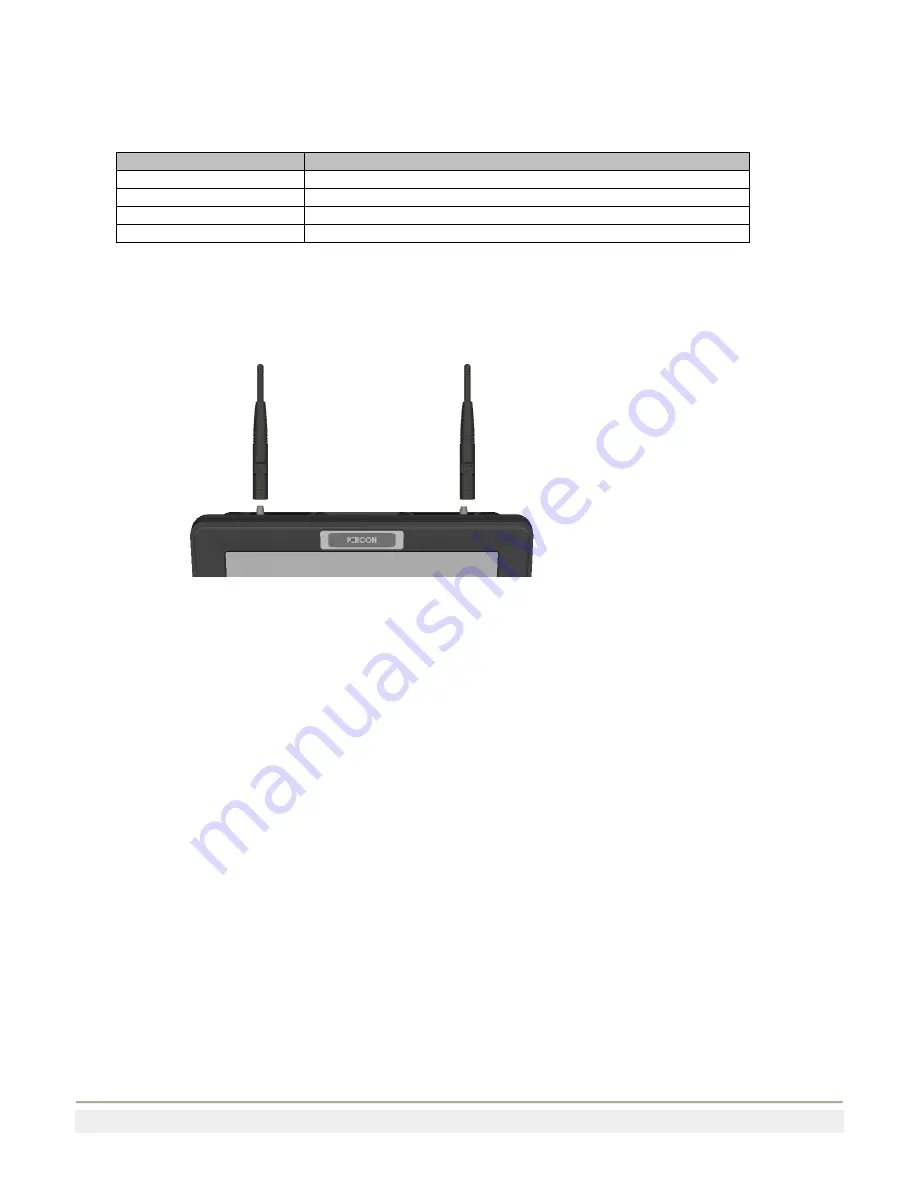
Installing an External Antenna
If you purchased external dipole antennas, simply screw them onto the two connectors on the top of the unit.
If you purchased a roof mount external antenna, follow the instructions included with the antenna.
Connecting a Scanner
Connecting a tethered Scanner
You can attach a tethered scanner to one of the serial or USB ports on the Phoenix. Be sure to order your scanner with the
appropriate cable.
USB Scanner
1.
Loosen the screws on the USB retainer and move the retainer away from the USB connector.
2.
Plug the cable into one of the USB ports. Depending on the scanner you are attaching, you may hear a series of
beeps and the Good Read light may flash.
3.
Slide the USB retainer toward the connector until it is firmly against the USB connector. Tighten the two screws.
Serial Scanner
1.
The serial ports can supply either 5V or 12V power on pin 9 of the connector. The factory default is 5V on COM1
and 12V on COM2. Verify which voltage the scanner requires.
2.
If necessary, attach the cable to the tethered scanner.
3.
Attach the scanner RS-232 cable to one of the COM connectors on the Phoenix. Depending on the scanner you are
attaching, you may hear a series of beeps and the Good Read light may flash. Tighten the screws to make sure the
cable stays attached during use.
4.
See the Users guide to configure the serial ports to work with the scanner.
You can also use Bluetooth scanners with the Phoenix. For more information, see the Phoenix Users Manual.


