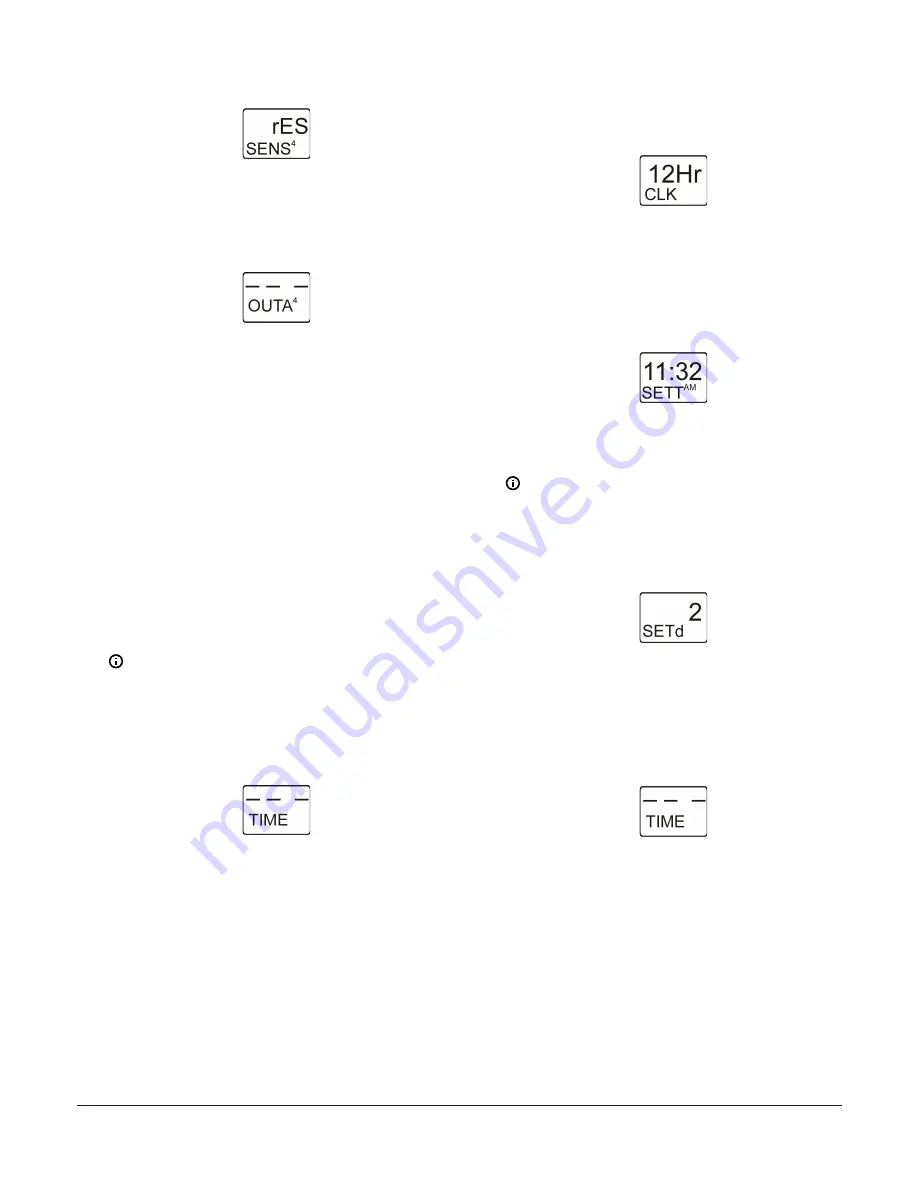
Figure 64: Edit Sensor screen
10. The Analog Output with Reset Setpoint is now set up
in UI. Press
M
to scroll through the remaining Setup
Start screens and continue setting up your control
system, or press
Up
and
Down
simultaneously to
return to the System 450 Main screens.
Figure 65: Analog Output Setup Start screen
Setting up time and day of week
To use the System 450 Setback feature, you must set up
the (real) time and day of the week. You can also set up
time and day of week for any control system. However,
time and day setup is not required for control systems
that do not use the setback feature. You must also set
up a weekly occupied/unoccupied schedule and select
setback values for outputs. See
for setting up a weekly occupied/
unoccupied schedule and
Setting up the System 450 Reset
1.
In the
Time and Day Setup Start
screen, press
Next
to go to the 12 or 24 Hour Clock Selection screen. The
Time Setup Start screen is displayed when you access
the System 450 setup screens and scroll through the
Setup Start screens by pressing
M
repeatedly. See
the Time and Day Setup Screens row in the setup
.
Note:
All Setup Start screens are view-only;
selections cannot be made in Setup Start
screens.
The following figure shows the Time and Day
Setup Start screen with four flashing dashes.
Figure 66: Time and Day Setup Start screen
2.
In the
12 or 24 Hour Clock Selection
screen, press
Up
or
Down
to select either the 12 hour or 24 hour
format digital clock display. Press
Next
to save your
selection and go to the next screen.
The following figure shows 12 hour clock format
selected.
Figure 67: 12 or 24 Hour Clock Selection screen
3.
In the
Time of Day Setup
screen, press
Up
or
Down
to set the current time. Set the clock to real-time.
Press
Next
to save the time setting and go to the
next screen.
The following figure shows (real) time selected
is 11:32 A.M.
Figure 68: Time of Day Setup screen
4.
In the
Day of Week Setup
screen, press
Up
or
Down
to select the current day of the week. Set the day to
real-time. Press
Next
to save the time setting and
return to the Time and Day Setup Start screen.
Note:
1 = MON, 2 = TUE, 3 = WED, 4 = THU, 5 =
FRI, 6 = SA, and 7 = SUN.
The following figure shows day of week set to 2
(TUE, Tuesday).
Figure 69: Day of Week Setup screen
5.
The time of day and day of week are now set up in
the System 450 UI and you have returned to the
Setup Start screen. Press
M
to scroll through the
remaining Setup Start screens and continue setting
up your control system, or press
Up
and
Down
simultaneously to return to the System 450 Main
screens.
Figure 70: Time and Day Setup Start screen
Setting up an occupied/unoccupied schedule
To use the System 450 Setback feature, you must set up a weekly occupied/unoccupied schedule. However, a weekly
occupied/unoccupied schedule is not required for control systems that do not use the setback feature.
Analog Output that reference the Reset function
provides occupied/unoccupied schedule setup information, procedures,
and screen examples.
To use the System 450 Setback feature to provide setback control for a relay output, you must also select a Setback (SbK)
value and set up the (real) time and day of the week. See
Setting up the System 450 Reset Setpoint
Setting up time and day of week
System 450 Series Reset Control Modules with Real-Time Clock and Relay Output Installation Guide
21


