2.
In the
Day 1 Occupied Time Selection
screen,
press
Up
or
Down
to select the time during Day 1 at
which the Occupied time begins (and the previous
Unoccupied time ends). Select the time of day to
begin the occupied time period for Day 1. (The time
previous to this occupied time value is unoccupied
time.) Press
Next
to save your time of day selection
and go to the next screen.
Note:
- You can set up one (only) Occupied time
for each day of the week (days 1 through
7). When you select no time (- -:- -) in an
Occupied Time Selection screen, there
are no occupied time period for that
day; the entire day is unoccupied and all
outputs with setback values (other than
0) operate at their setback (unoccupied)
setpoint value.
- Occupied and Unoccupied time periods
are available at 15-minute intervals only.
For example, 12:00 AM, 2:45 PM, 11:15
AM, 19:30 or 23:45 are available time
selections depending on the 12 or 24
Hour Clock selection you made when you
set up time and day of week. You can
press and hold either the
Up
or
Down
to scroll quickly forward or back through
the time selections.
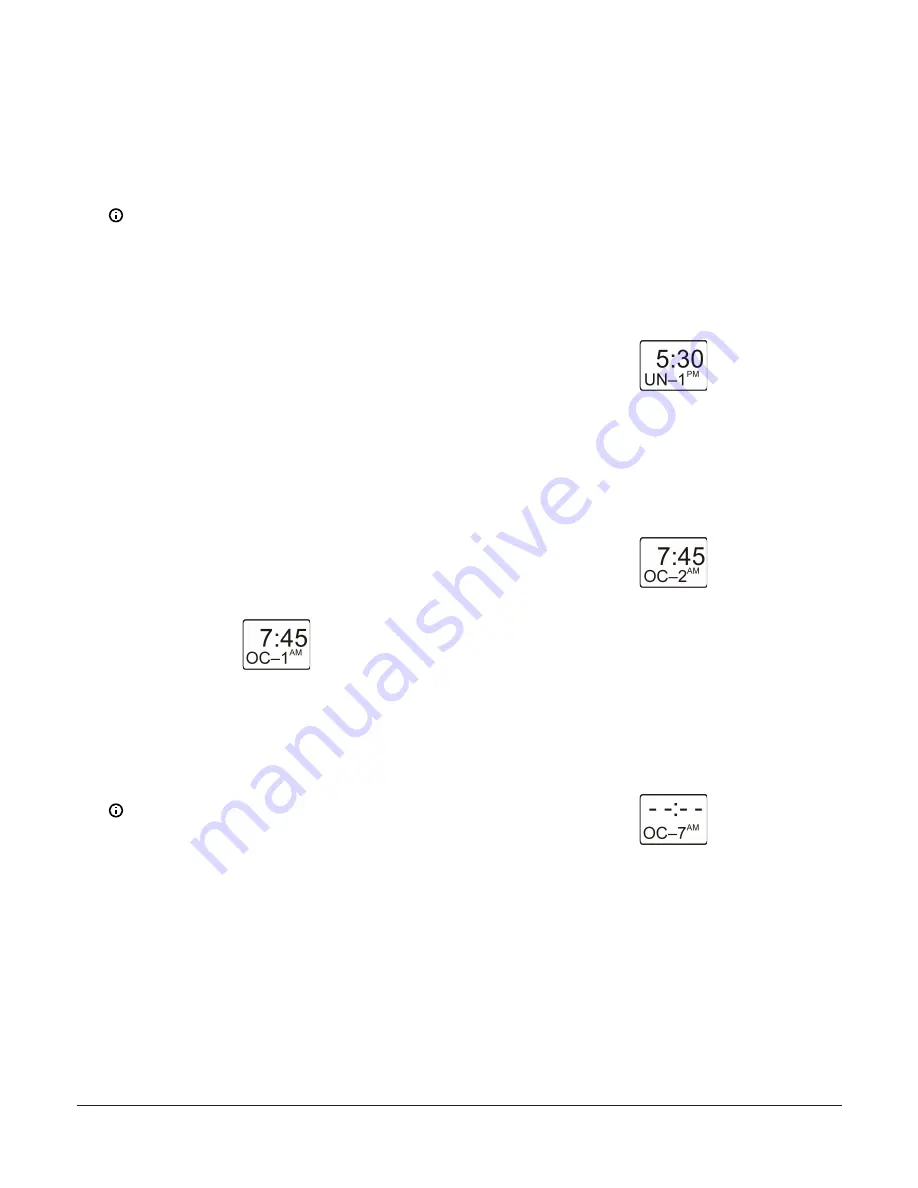
The following figure shows the Day 1 (MON,
Monday) Occupied start time is set to 7:45 AM.
Figure 73: Day 1 (MON) Occupied Time Selection screen
3.
In the
Day 1 Unoccupied Time Selection
screen,
press
Up
or
Down
to select the time during Day 1 at
which the Unoccupied time begins (and the previous
Occupied time ends). Select the time of day to begin
the unoccupied time period for Day 1. (The time
previous to this unoccupied time value is occupied
time.) Press
Next
to save your time of day selection
and go to the next screen.
Note:
- You can set up one (only) unoccupied
time for each day of the week (days 1
through 7). When you select no time (-
-:- -) in an Unoccupied Time Selection
screen, there are no unoccupied time
periods for that day, and the entire day is
occupied and all outputs operate at their
occupied setpoint value.
- Occupied and Unoccupied time periods
are available at 15-minute intervals only.
For example, 12:00 AM, 2:45 PM, 11:15
AM, 19:30, or 23:45 are available time
selections depending on the 12 or 24
Hour Clock selection you made when you
set up time and day of week. You can
press and hold either the
Up
or
Down
to scroll quickly forward or back through
the time selections.
The following figure shows the Day 1 (MON,
Monday) Unoccupied start time is set to 5:30
PM.
Figure 74: Day 1 (MON) Unoccupied Time Selection screen
4.
Repeat Step 2 and Step 3 for each of the remaining
days of the week, then press
Next
to save your time
of day selection and go to the next screen.
The following figure shows the Day 2 (TUE,
Tuesday) Occupied start time is set to 7:45 AM.
Figure 75: Day 2 (TUE) through Day 6 (SAT) Occupied/
Unoccupied Time Selection screen
5.
In the
Day 7 Occupied Time Selection
screen,
press
Up
or
Down
to select the time during Day 7 at
which the Occupied time begins (and the previous
Unoccupied time ends). Select the time of day to
begin the occupied time period for Day 7 and end
the previous occupied time period. Press
Next
to
save your time of day selection and go to the next
screen.
The following figure shows the Day 7 (SUN, Sun-
day) Occupied start time is set to - -:- - (none).
Figure 76: Day 7 (SUN) Occupied Time Selection screen
6.
In the
Day 7 Unoccupied Time Selection
screen,
press
Up
or
Down
to select the time during Day 7 at
which the Unoccupied time begins (and the previous
Occupied time ends). Press
Next
to save your time of
day selection and go to the next screen.
The following figure shows the Day 7 (SUN, Sun-
day) Unoccupied start time is set to 12:00 AM,
which along with the Day 7 Occupied Start Time
of - -:- -, establishes a 24 hour unoccupied time
for Day 7 (SUN, Sunday).
System 450 Series Reset Control Modules with Real-Time Clock and Relay Output Installation Guide
23


