


34
3 Setting up the VoIP communication
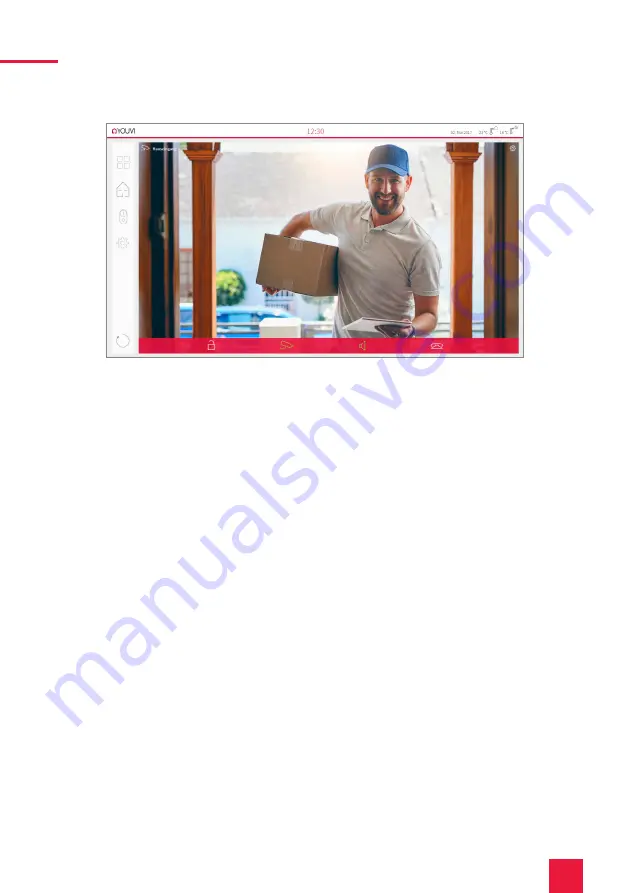
Functions of the widget:
■
Before accepting the call: accept video call from the door station, reject, or open the door
directly
■
After accepting the call: make video call, open door, mute, end call, deactivate camera
image
■
Select a ringtone of 5 predefined tunes or upload a ringtone in the tile settings of the Door
intercom widget
■
Define the duration of the ring tone in the tile settings of the Door intercom widget
■
The widget closes automatically 3 seconds after the door is opened.
■
Video transmission in MJPEG, JPEG and RTSP
3.2 Option 2: Setting up the YOUVI camera module
To make use of the Mobotix door station’s camera, it needs to be added and set up within
YOUVI Configuration.
1.
To add the camera module open YOUVI Dashboard on the panel and select Install Camera
Device. If you do not have a full license yet, you can purchase it in the PEAKnx Shop.
2.
Switch to YOUVI Dashboard > Camera Device OR open the configuration page on your PC
in your browser, making sure that the system running the browser is on the same network
as the PEAKnx touch panel. To do this, enter the following URL in your browser:
−
http://x.x.x.x:31228 or http://x.x.x.x:31226,
where x.x.x.x must be replaced by the local
IP address of your PEAKnx touch panel. This is displayed in the lower part of the YOUVI
Dashboard App.
3.
From the menu on the left, select “Cameras”.
4.
Add a new camera set using the “+” symbol and type in a suitable name.
5.
Click the “+”-Symbol next to ”Select Camera Stream” to create a new camera stream.
6.
For the “Stream Name”, enter an appropriate name of your preference.
Содержание Mobotix T25
Страница 1: ...Mobotix T25 Kurzanleitung Getting started Notice abr g e DE EN FR V 2 1 1...
Страница 19: ...EN Mobotix T25 Mobotix T25 Getting started EN...
Страница 37: ...FR Mobotix T25 Mobotix T25 Notice abr g e FR...
Страница 55: ...www peaknx com...


