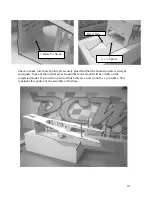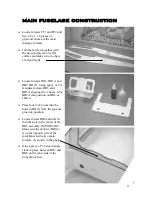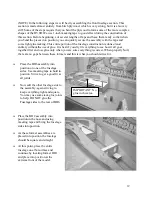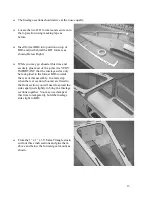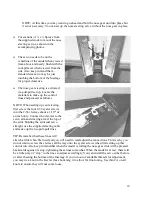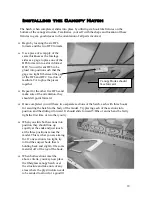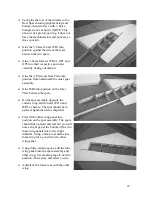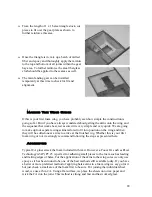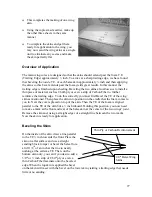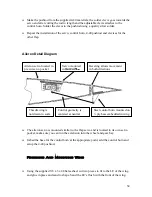
From the length of 1 x 1 balsa triangle stock, cut
pieces to fit over the gear plate as shown to
further reinforce this area.
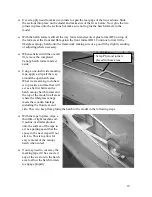
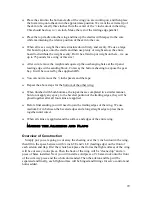
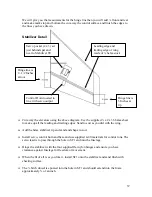
Once the triangle is in, mix up a batch of milled
fiber and epoxy and thoroughly apply the mixture
to the top and bottom of all joints within the gear
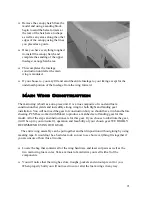
bay area. To further reinforce the area fiberglass
cloth should be applied to these areas as well.
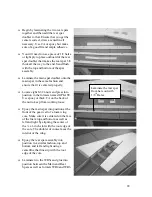
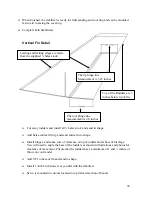
The main landing gear can be installed
temporarily at this time to check for fit and
alignment.
Making The Wing Skins
If this is your first foam wing, you have probably seen how simple the construction is
going so far. But if you have always wondered about getting the skins onto the wing and
the sequence that works best, rest assured it is very simple and very quick. We are going
to make up four separate wings skins tailored to fit into position on the wing and
then
they will be added one at a time to arrive at the finished wig. Whether this is your first
foam wing or not we strongly recommend following the steps as presented here.
Adhesives
Typical CA glues attack the foam included in this kit. However a
Foam
CA such as Pacer
Technology (ZAP) PT 25 is perfect for adhering small pieces to the foam such as leading
and trailing edges of balsa. For the application of the skins to the wing cores we only use
epoxy as it has been found to be one of the best methods still available today. If you have
a better or more preferred method of applying balsa skins to a foam wing we say go for it
but just check a small area of the foam first to be sure. For joining the individual sheet
wood, we use a thin CA. Using a flat surface, we place the sheets onto wax paper and
wick the CA into the joint. This method is strong and fast and has worked great.
24

