ControlNet Communications Interface - HA470733U001
10
Chapter 5 Configuring RSNetworx for ControlNet
The fastest way to configure the ControlNet scanner is online with RSNetworx and all the nodes
connected to the network.
1. Load the EDS file for the LinkCard first. A diskette is included with the L5354 LinkCard that
contains the ControlNet.eds file. Using the Tools menu, select EDS Wizard. The EDS wizard
will guide you through the process.
2. Set the scanner network address using the two rotary switches located on the top of the
scanner card. If different hardware is being used, refer to instruction manual for the
hardware. This example uses an Allen-Bradley model 1756-CNB/D.
3. The RSNetworx software queries the network and reads the PLC configuration to generate
the proper network configuration.
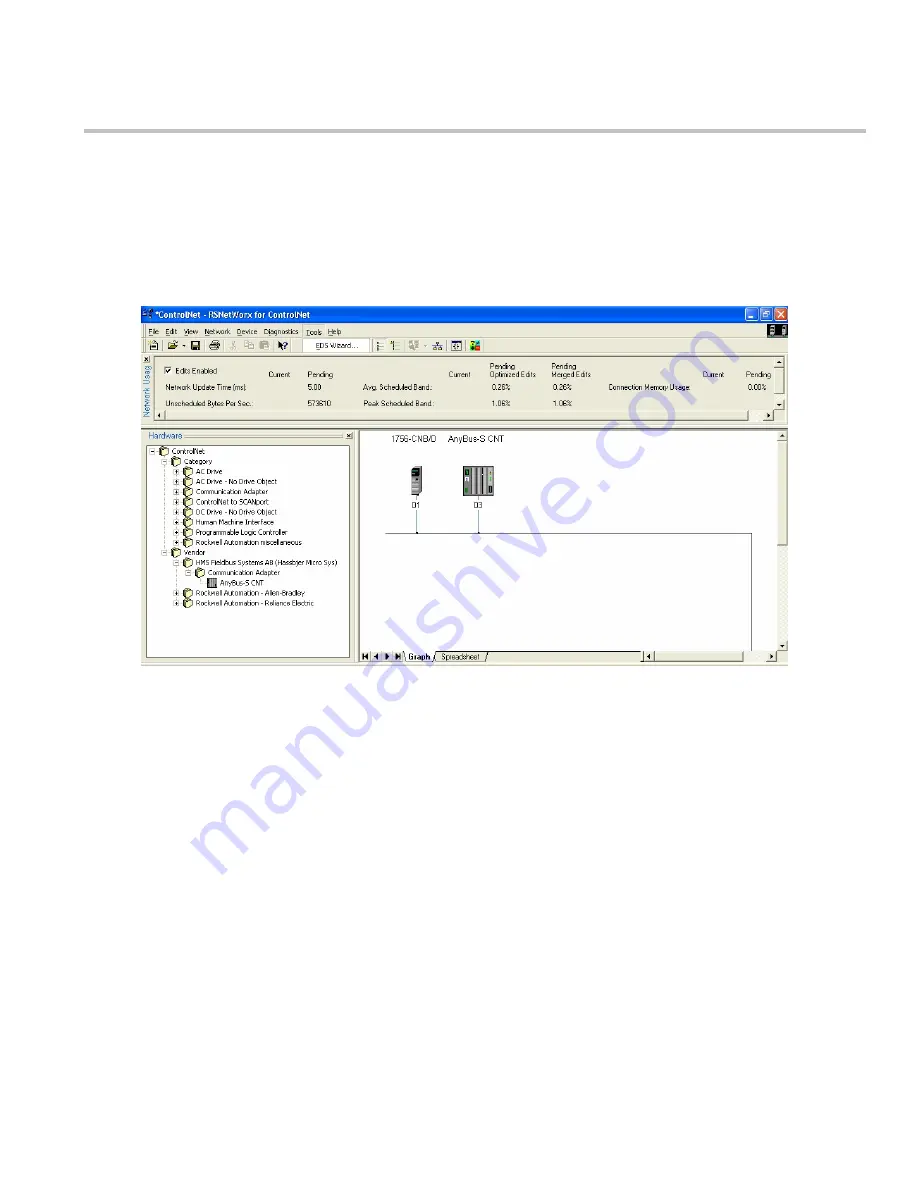
4. RSNetworx should see the nodes on the network. The scanner card is the only image you
see for the PLC. Enable the edits enabled checkbox to configure the rack and the PLC
processor. Right click on the scanner card and choose the edit chassis option. Select the
rack, processor and any other cards that are in the PLC.
5. RSNetworx is used to configure the network update time. Right click in the area outside of
the modules, select Properties. Enter the update time and other network parameters as
needed. The only requirement is that the network update time is shorter than the PLC
Requested Packet Interval. After configuring the rack and setting the network update time,
you should have updates pending to the network.
6. A File-Save saves the configuration to your file and to the network at the same time. After the
network changes have been saved, the network and the I/O should become healthy. The
network and LinkCard LEDs should be solid green.
Figure 15 RSNetworx configuration screen
Содержание L5354 ControlNet
Страница 2: ......
Страница 4: ...ControlNet Communications Interface HA470733U001 ...
Страница 20: ......


