


2-18
2.4 Network Settings (For Network Models)
You may need to set some network parameters for the printer. These parameters can be set from
the embedded Web server.
2.4.1 Installing the Printer onto the Network
In this configuration, the printer is directly connected to the network and can be set to allow all
computers on the network to print directly to the printer.
1. Before turning on the printer, connect the network cable to the printer’s network port so that
it is directly connected to the network.
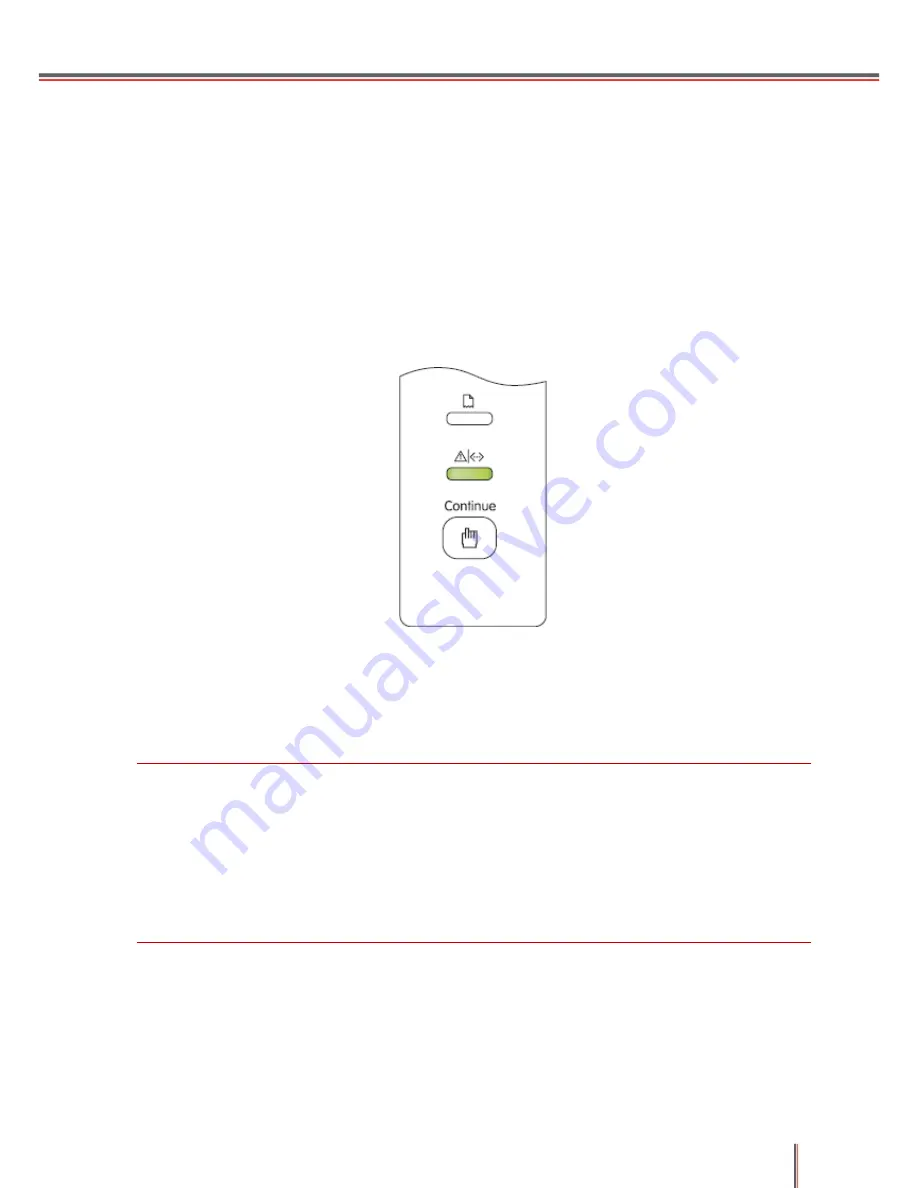
2. Turn on the printer and wait for the status indicator on the control panel to display the
Ready status, as shown below.
3. Insert the printer’s CD-ROM into your computer. If the installer software does not launch
automatically ,
please browse to the “setup.exe” file on the CD-ROM, and then double-click to
run the file.
4. Follow the operation instructions of the installer.
5. Continue to complete the installation.
Note:
• When the installer prompts you to select a printer, you can select the appropriate printer
name from the Detected Printer list;
• If the printer name does not appear in the Detected Printer list, please click Refresh and
search again for printers on the network;
• If you know the IP address of the printer to be connected, you can select “Specify an IP
Address for Installation” to enter the IP address to enable connection.
Содержание P3000 Series
Страница 1: ......
Страница 37: ...2 24 4 The Information Page is shown below...
Страница 38: ...3 1 3 Electric Configuration 3 1Whole Configuration...
Страница 40: ...3 3 3 3 Feeder Circuit Diagram...
Страница 45: ...4 1 4 Disassembly and Installation 4 1Disassembly Diagram...
Страница 46: ...4 2 4 2Step by Step Disassembly Diagram...
Страница 49: ...4 5 2 Pull out the bottom buckle...
Страница 51: ...4 7 4 3 5 Right Cover 1 Remove the screws fixed to the back of the right cover 2 Pull out the bottom buckle...


