8
Getting Started
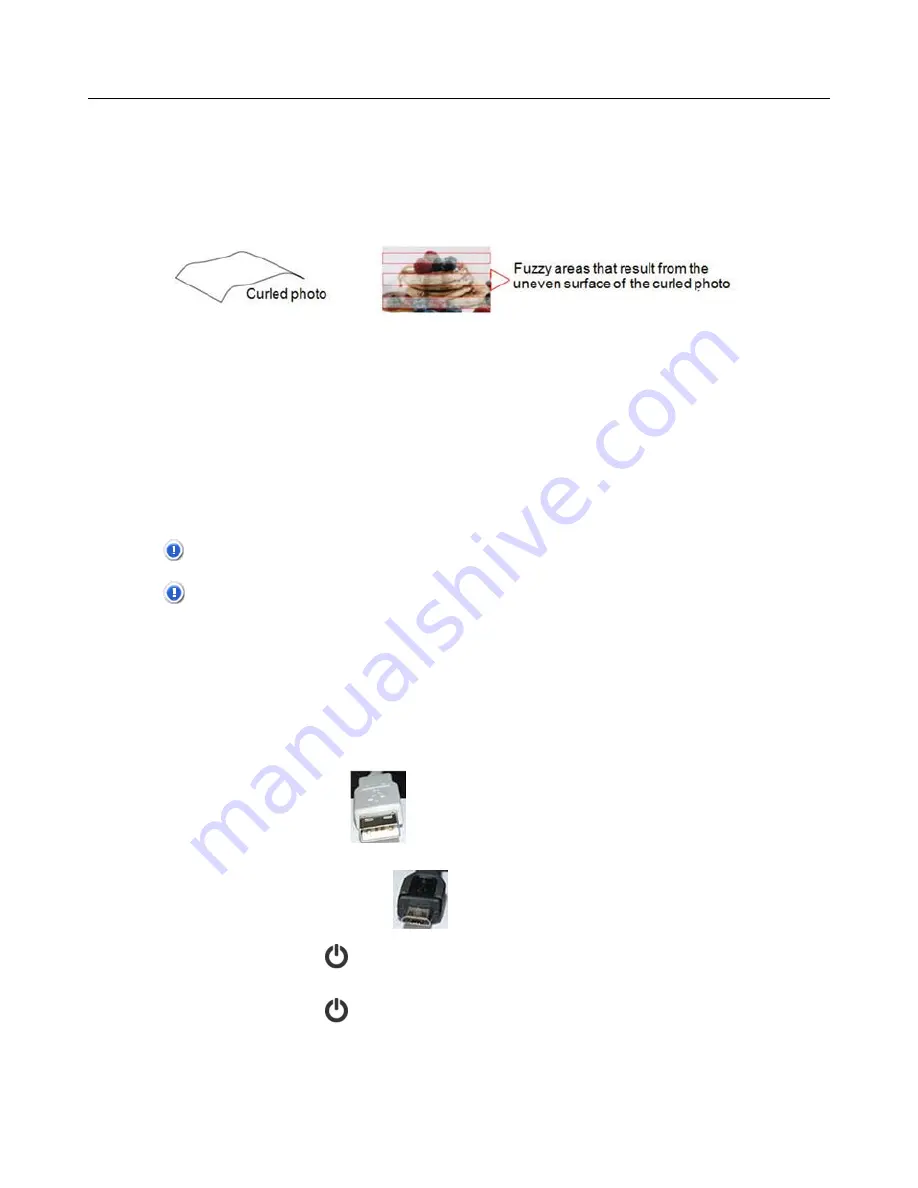
Using a Protective Sleeve
(Optional)
We recommend using a 5”x7” protective sleeve for your older, fragile photos and when
scanning originals smaller than 2”x2”. The protective sleeves also help to eliminate the
possibility of de-focusing due to the uneven surface of curled photos. For information on
obtaining protective sleeves, contact Customer Support at www.sunglow.net.
Remove photos from the sleeve after scanning to prevent the sleeve from sticking to the
photos over time.
When not in use, store protective sleeves in a safe place and keep them protected from
accumulating dust.
When using a protective sleeve, you may want to perform additional manual cropping on
the scanned image to achieve your desired final image. Use the Presto! PageManager or
bonus graphics editing software on the included CD or use your own graphic editing
software.
Using the Scanner
CAUTION
: Insert only one original at a time, and insert the next original only when
the previous one is completed; otherwise the feeder may malfunction.
CAUTION
: Do not scan glossy photos in environments with humidity higher than 70%
RH or the surface of the photo may become sticky and cause the feeder to
jam.
The orientation in which the item is inserted is the orientation that will be displayed on
your computer screen.
Scanning the same original in different orientations may produce scanned images that
look slightly different in color tones and brightness. This is not a malfunction.
1.
Optionally, insert a memory card to increase storage capacity.
2.
Connect the flat end
of the USB cable to the USB power adapter and plug the
adapter into an electrical outlet.
3.
Insert the microUSB cable
in the slot on the back of the scanner.
4.
Press the Power
button to power on the scanner. After powering on, the button
displays as solid green.
5.
Press the Power
button to change the DPI setting. The button toggles to 3
settings:
Green
= 300 DPI
(default when scanner is powered on)
Orange
= 600 DPI
Red
= 1200 DPI


