79
Screenshot 4
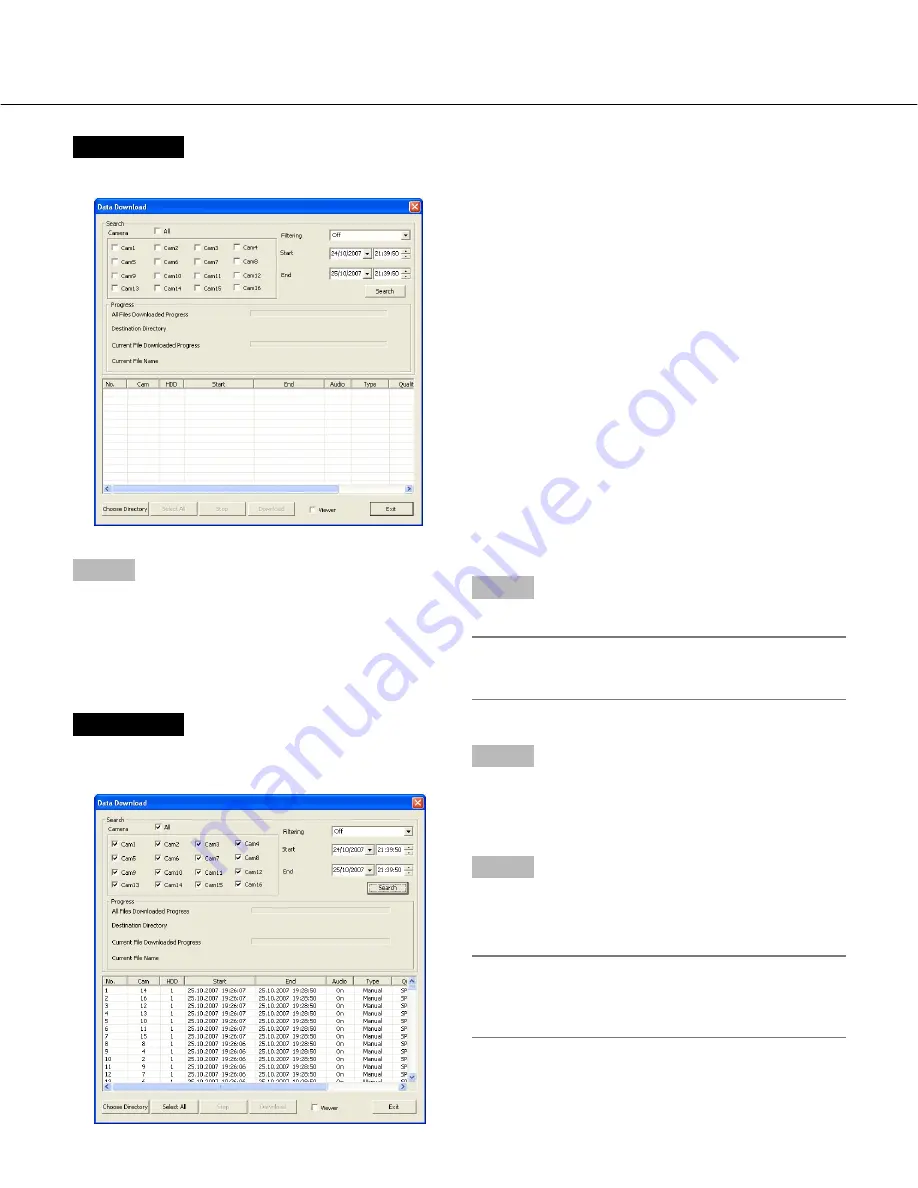
The result list will be displayed in the "Data Download"
window.
Step 5
Click the [Choose Directory] button, and then designate
the directory in which recorded images are to be down-
loaded.
Step 6
Select the desired recorded images from the result list.
To select all of the listed recorded images, click the
[Select All] button.
Note:
It is possible to select multiple search results by
clicking them while pressing the [Ctrl] key on the
keyboard.
Screenshot 3
The "Data Download" window will be displayed.
Step 3
Set the following search filters.
Camera:
Select the camera channels.
To select all the camera channels, check the "All"
checkbox.
Filtering:
Select the recording type.
• Off:
Searches without filtering
• Manual:
Searches for only images recorded by the
manual recording
• Timer:
Searches for only images recorded by the
timer recording
• Alarm:
Searches for only images recorded by the
alarm recording (triggered by a terminal
input, VMD and a command alarm recep-
tion)
• Terminal: Searches for only images recorded by the
alarm recording triggered by a terminal
input
• VMD:
Searches for only images recorded by the
alarm recording triggered by VMD
• Com:
Searches for only images recorded by the
alarm recording triggered by a command
alarm reception
Start:
Enter the recording start time and date.
End:
Enter the recording end time and date.
Step 4
Click the [Search] button.
Note:
The latest 5 000 recorded images will be displayed
in the list form.


