53
Setup items
■
Out Sequence Cameras
■
In Sequence Cameras
To not use a specified camera for the sequential dis-
play, select the camera not to be used, and then click
the [<] button. To not use all the cameras for the
sequential display, click the [<<] button.
To use the camera in the "Out Sequence Cameras" list
for the sequential display, select the camera in the "Out
Sequence Cameras" list, and then click the [>] button.
To use all of the cameras in the "Out Sequence
Cameras" list for the sequential display, click the [>>]
button.
■
Total Time
Set the total time of the sequential display to 0 - 999
minutes. When "0" is entered, the sequential display will
not stop until manually stopped.
The default is 30 minutes.
■
Dwell Time
Set the dwell time (interval of switching from a camera
channel to the next camera channel) to 15 - 999 sec-
onds.
The default is 60 seconds.
■
Screen Mode
Select a screen mode to be used for the sequential dis-
play from 1, 4, 9 and 16.
The default is 4 (4-screen).
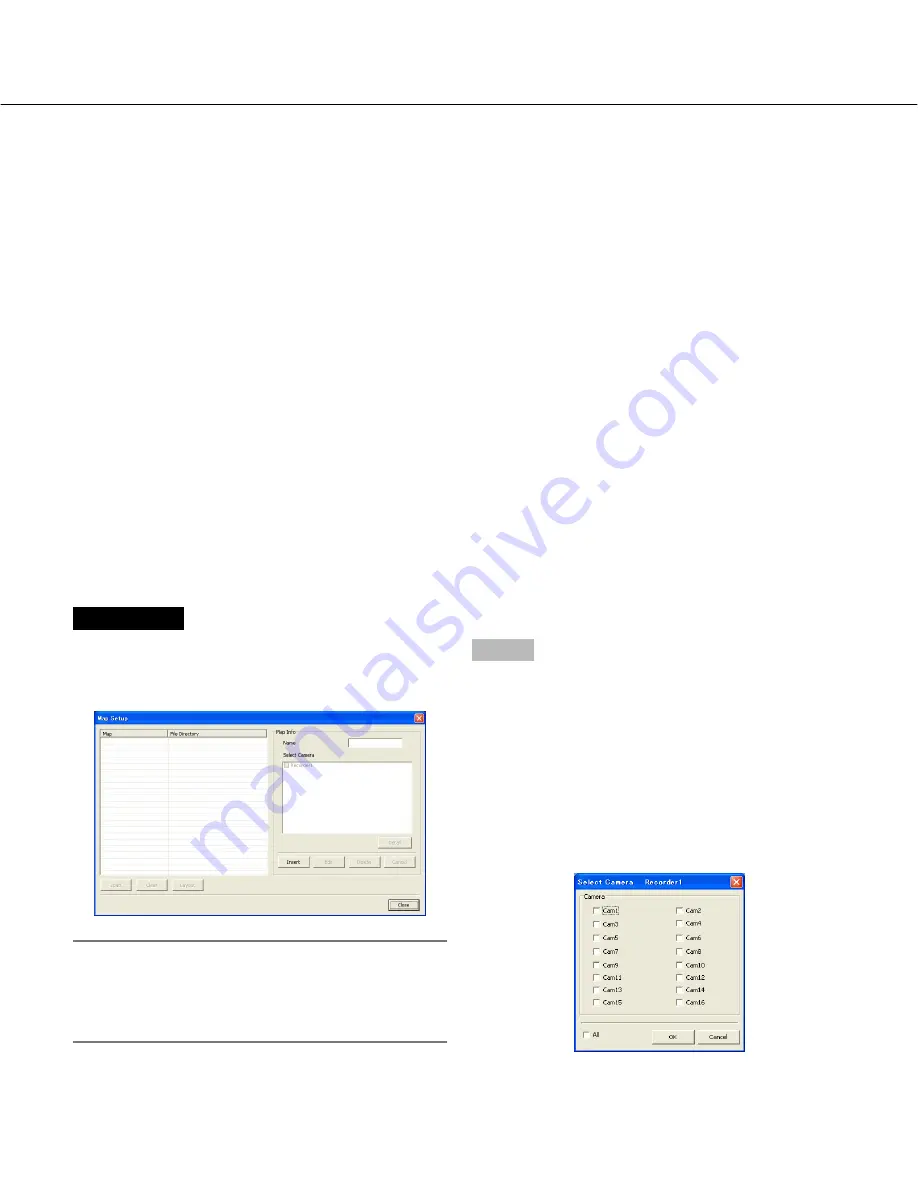
Map Setup (Monitoring System Config – Map Setup)
Set a map (diagram of the camera location arrangement) used for the map display.
When remotely operating the recorder, the map offers a visual way of understanding the camera locations.
Screenshot 1
Select "Map Setup" under "Monitor System Config" from
the pop-up menu (
☞
page 49).
→
The "Map Setup" window will be displayed.
Notes:
• When no name is registered before clicking the [OK]
button, the setting cannot be made.
• It is impossible to locate the same camera on multi-
ple maps.
Step 1
Click the [Insert] button and enter a name in the "Name"
box.
Then, select the cameras to be displayed on the map.
When the checkbox of the recorder name is checked, all
of the cameras connected to the recorder will be select-
ed.
To select independently, select them on the following
window to be displayed when the [Detail] button is
clicked. After selecting the cameras to be displayed on
the map, click the [OK] button.


