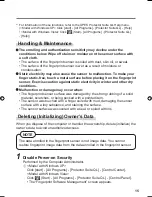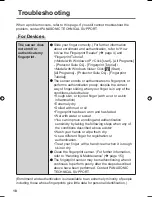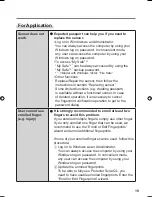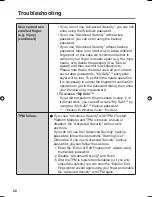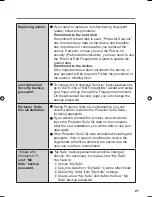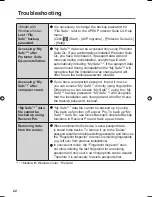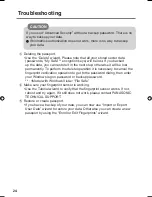
16
Useful Information
B
Click [Settings], and click [Power-on Security].
C
<Model with Windows XP>
Remove the check mark from [Replace the power-on and hard drive
passwords with the
fi
ngerprint reader.], and click [OK].
<Model with Windows Vista>
Remove the check mark from [Enable power-on security using
fi
ngerprints], and click [OK].
D
Click [Fingerprints], and click [Enroll or Edit Fingerprints].
• “User Enrollment” wizard starts. Follow the on-screen instructions.
E
When the “User’s Fingers” screen appears, click [Next] without deleting
fi
ngerprint samples.
F
Click [Manage Passwords...].
G
Select [Power-On] in [Password Types], and click [Unset password...].
H
Enter the password for Power-on Security, and click [OK].
I
Click [Close].
• Con
fi
rm that there is no item in [Password Types].
J
<Model with Windows XP>
Click
[Next].
• At the con
fi
rmation message, click [Yes].
K
Click [Next].
L
Click [Finish].
• Follow the on-screen instructions.
2
Delete Fingerprint Data.
Performed by each user.
A
Click [Fingerprints], and click [Delete].
The
“Swipe
fi
nger” screen will appear.
B
Swipe user’s
fi
nger.
• If the authentication is successfully completed, the con
fi
rmation message
appears.
C
Click [Yes].
• Con
fi
rm that all users’ data was deleted.
00_FingerprintReader_US.indd 16
00_FingerprintReader_US.indd 16
30.01.2008 15:08:01
30.01.2008 15:08:01
Содержание Toughbook CF-74JDMBD2M
Страница 25: ...25 Specifications Array Size 248 x 4 pixels Image Size 248 x 360 pixels Image Resolution 508 DPI...
Страница 26: ...26 Memo...
Страница 27: ...27...


