background image

6

Quick Guide

For details, read the respective pages shown in the brackets.

1

Insert the ink cassette with a blue guide 
fitted. (

l

l

l

l

10)

If the ink sheet is loosened, tighten it before use.

2

Insert a card storing picture data. (

l

l

l

l

10)

3

Hold down the Power Button [

] for about 

2 seconds. (

l

l

l

l

11)

Turn on the SD Mobile Printer.

4

When the information contained in the card 
is completed to be read, the [PRINT] Lamp 
lights. (

l

l

l

l

11)

5

Insert a sheet of paper with the [ 

ª

/

[1]

/

[4] 

mark side down into the [PAPER IN 

1

] slot 

(Upper slot). (

l

l

l

l

11)

6

After printing, hold down the Power Button 

[

] for about 2 seconds. (

l

l

l

l

18)

Turn off the SD Mobile Printer.

ª

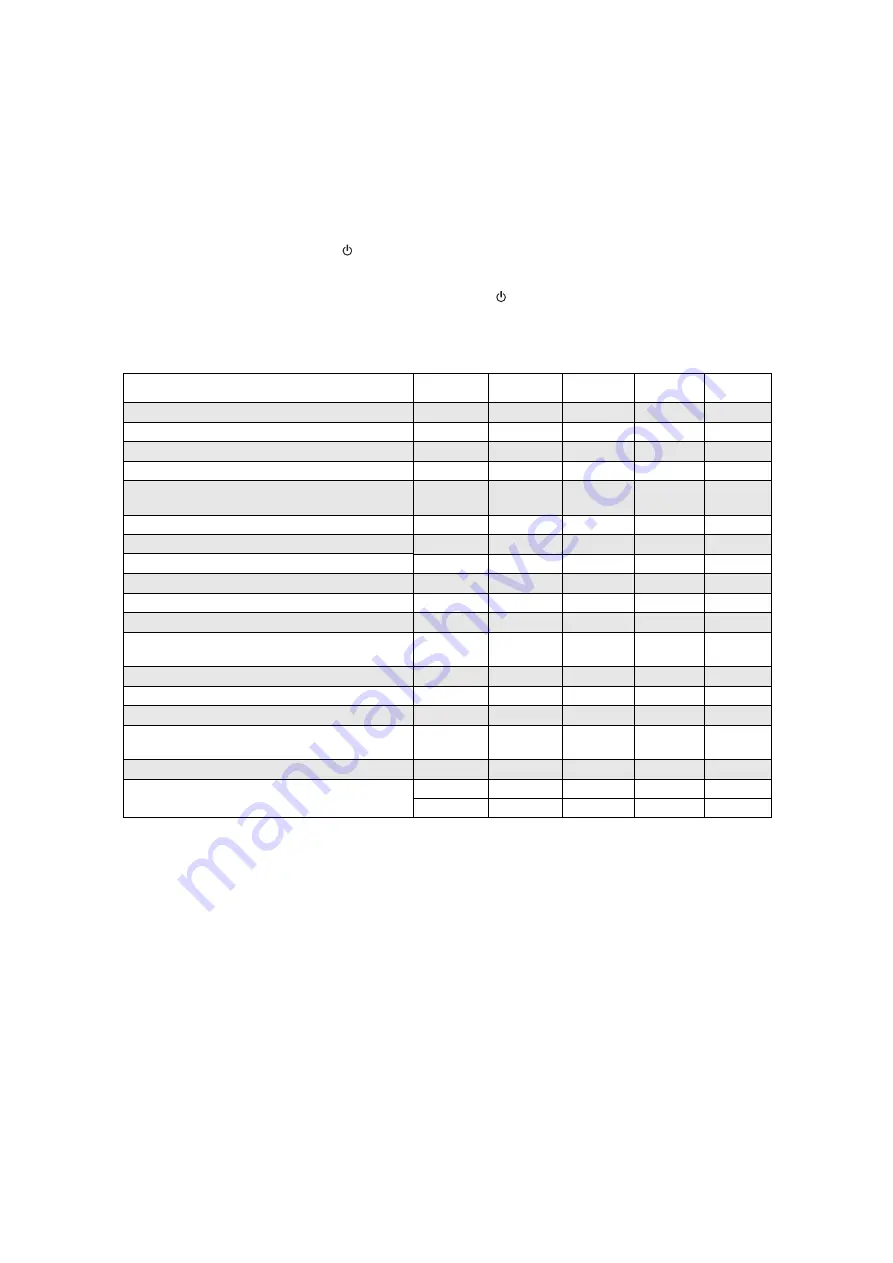
Lamp indication list

*At a low temperature, the Printer stops operating for one to two minutes after drawing the paper in to heat itself. Wait until 

the temperature rises.

Status/Lamp


 The power is turned ON.

Lights.

 The battery will run down shortly.

Flashes.

 Charging.

Flashes.

The 4-Picture mode is selected.

Lights.

 Printing is ready.
 Insert a sheet of paper to start printing.

Lights.

Pre-heating at a low temperature*

Lights.

 Printing...

Flashes.

 No ink cassette

Flashes.

 Ink runs down.

Flashes.

 Accessing a card.

Lights.

 Battery error

Flashes.

Flashes.

 Temperature error
 (Wait until the temperature lowers.)

Lights.

Flashes.

 Paper jamming

Flashes.

Flashes.

 The card cannot be used.

Flashes.

Flashes.

 No image data on the card

Flashes.

Flashes.

 The battery temperature is too high.
 (Wait a while.)

Flashes.

Lights.

 External light error (Reorient the Printer.)

Flashes.

Flashes.

 Failure (hardware error)

Lights.

Lights.

Lights.

Содержание SV-P10U

Страница 1: ...e Printer Operating Instructions Model No SV P10U For USA assistance please call 1 800 211 PANA 7262 or send e mail to consumerproducts panasonic com For Canadian assistance please call 1 800 561 5505 or visit us at www panasonic ca SDP1U book 1 ページ 2002年1月28日 月曜日 午後7時48分 ...

Страница 2: ...5 Reverse Engineering Decompiling or Disassembly Licensee may not reverse engineer decompile or disassemble the Software except to the extent either of them is permitted under law or regulation of the country where Licensee resides Matsushita or its distributors will not be responsible for any defects in the Software or damage to Licensee caused by Licensee s reverse engineering decompiling or dis...

Страница 3: ...installing the Printer Driver 18 Others After Use 18 Precautions 19 Ink Cassette Paper Set Notes 19 Ink Cassette Notes 19 Paper Notes 19 Before During and After Printing 19 Notes on Handling Finished Prints 20 Optimal Use of the Battery 20 Notes on Memory Cards 21 Notes on the SD Memory Card Write Protect Switch 21 Notes on Handling the SD Mobile Printer 21 Installation Notes 21 Maintenance Notes ...

Страница 4: ...th the limits for a Class B digital device pursuant to Part 15 of the FCC Rules These limits are designed to provide reasonable protection against harmful interference in a residential installation This equipment generates uses and can radiate radio frequency energy and if not installed and used in accordance with the instructions may cause harmful interference to radio communications However ther...

Страница 5: ... Accessories Battery Pack CGR S601 Ink Cassette Paper set VW MCA30U MCASD1U MCASD4U Introduction This is a printer to print still pictures recorded on a card taken by an SD Multi AV Device or other digital devices using SD MultiMediaCard Pictures DPOF set by the SD Multi AV Device can be printed Install the accessory printer driver on your personal computer to use the printer with your PC SDP1U bo...

Страница 6: ...st At a low temperature the Printer stops operating for one to two minutes after drawing the paper in to heat itself Wait until the temperature rises Status Lamp The power is turned ON Lights The battery will run down shortly Flashes Charging Flashes The 4 Picture mode is selected Lights Printing is ready Insert a sheet of paper to start printing Lights Pre heating at a low temperature Lights Prin...

Страница 7: ...ictures on one sheet Clear Button Restarts to print the total number of sheets the specified number of sheets if DPOF is implemented from the initial page 5 Ink Cassette Insert Location Insert the Ink Cassette 6 Ink Cassette Eject Lever Slide to eject Ink Cassette 7 Ink Cassette Compartment Door 8 Memory Card Door 9 Memory Card Slot This is where the memory card is inserted 10 Paper Insert Slot PA...

Страница 8: ...ction shown by the arrow and slide the battery to eject 2 It takes about 100 minutes maximum for full charging at a temperature of 20 C and humidity 60 If the Battery is charged at a higher or lower temperature the charging time may be longer When recharging turn the power of the printer OFF If the ERROR Lamp lights or flashes during recharging recharging is not normal Refer to Error Lamp on page ...

Страница 9: ...ssette Paper Set VW MCASD4U is required This is a set of an ink cassette and 30 sheets of an over coating type of seal paper The 4 pre cut type is a seal paper for printing the four same pictures Please read the Precautions carefully l l l l 19 Printing on paper with flawed surface may cause white patches on image printed When using seal paper do not peel off the seal Otherwise a paper jam or fail...

Страница 10: ...10 1 2 1 4 ...

Страница 11: ... are printed equally on the quarterly divided sections of the paper Do not insert a sheet of paper into the Paper Exit Slot lower slot or paper jam may occur 5 Repeat steps 3 and 4 The PRINT Lamp goes off after the total number of sheets the specified number of sheets if DPOF is implemented all printed Stopping Printing Press the Power Button for about 2 seconds to stop printing and turn off the p...

Страница 12: ... bit or more Disk drive CD ROM drive Ports USB Terminal Other requirements Mouse A USB hub or USB card used for connection is out of guarantee for normal operation The names of the products you are using may differ from the names given in the text Depending on the operating environment and other factors the contents of the screens used in these instructions may not necessarily match what you will ...

Страница 13: ...e auxiliary USB Connection Cable to connect The Found New Hardware Wizard screen appears 4 Click the Next Button Confirm that the item Install the software automatically is selected 5 Click the Finish Button when the Printer Driver Software is detected The driver setup is completed When the Printer Driver Software is not detected please refer to page 16 Please read also the Notes on Installation o...

Страница 14: ...e refer to page 16 2 Click the Next Button 3 Select No when the Add Printer Wizard screen appears Select Yes to set as the default printer 4 Click the Finish 5 Click the Finish Button The driver setup is completed When the Printer Driver Software is not detected please refer to page 16 Please read also the Notes on Installation of Printer Driver l l l l 18 carefully For Windows Me USB ...

Страница 15: ...CD ROM drive 5 Click the Next Button Re click the Next Button when the search confirmation screen appears Replace the supplied CD ROM with the Windows CD ROM when the message Insert the Windows CD ROM appears 6 Click the Finish Button 7 Add New Hardware Wizard screen appears again Click the Cancel Button 8 Restart the computer 9 Add New Hardware Wizard screen appears again Repeat the steps from 3 ...

Страница 16: ...r the path as D Win9X ME if your system is Windows98 98SE Enter the path as D Win2K XP if your system is Windows 2000 example for D drive assigned as CD ROM drive 7 Click the OK Button 8 Check that Panasonic SV P10 is displayed on the Add Printer Wizard screen and then click the Next Button 9 Select the port that the printer is connected to and then click the Next Button Select only the USB00X por...

Страница 17: ...k on the Device Options tab then click the mark in the setting box Image control to select 1 frame or 4 frames If 4 frames is selected the paper is split into four frames each of which will have the same image 5 Click the OK Button The setting is completed If you print an image from the image processing software proceed to printing from the menu after the setting is completed When Panasonic SV P10...

Страница 18: ...ary settings number of copies etc complete the setting by following the instructions on the screen and insert a sheet of paper l l l l 11 ª Notes on Installation of Printer Driver If your system is Windows XP or Windows 2000 log on with the user name of Administrator administrator of your PC or any user name having an equivalent right to the administrator and then start to install Use the supplied...

Страница 19: ...se the printed image may have faint colors Do not remove the Ink Cassette during printing Do not pull the paper out forcibly and never add any oscillation on the device during printing Do not feed two or more sheets of paper at a time Do not remove the card or turn the power off while the ACCESS Lamp is on Do not add any oscillation or shock Those may cause damage to the memory card or the data co...

Страница 20: ...fer between the two images Color transfer could also occur if a printed surface is left in contact with any other type of paper under pressure for an extended period of time Do not store prints under conditions of high temperatures or high humidity Leaving prints under such conditions for an extended period of time could cause a deterioration in print quality Do not leave prints exposed to direct ...

Страница 21: ...an cause mutual interference disrupting both the display on the television screen and the print picture ª Maintenance Notes Do not use solvents such as Benzene and paint thinner to wipe the printer since they can damage the surface of the printer and cause the surface to peel To clean the surface wipe up any dust with a soft dry cloth If the SD Mobile Printer is particularly dirty soak the cloth i...

Страница 22: ...Lamp flash simultaneously ERROR Lamp lights This could indicate a number of suspected faults If the lamp still flashes after the reset of power contact your nearest Panasonic dealer Multi picture mode Lamp and ERROR Lamp flash simultaneously Strong light has entered from the paper sliding slot Such strong light may cause malfunction Face the printer in the other direction PRINT Lamp lights and ERR...

Страница 23: ...equently 5 The paper is creased or curled Error Message Meaning Action Please wait Wait for a moment Please insert paper There is no paper Set the paper There is no ink The Ink Cassette is not inserted Insert the Ink Cassette There is no ink Replace the Ink Cassette with a new one A paper jam has occurred Paper jam has occurred Reset the power and remove the jammed paper If the message is still di...

Страница 24: ...on through its software This printer can use the information formatted with DPOF configuration but cannot implement DPOF configuration itself 14 The full picture is printed with part of the image is cut off 14 If the print aspect ratio of the image is about 4 3 its edge is automatically trimmed because this printer intends to print using the maximum area available to print 15 Printing is tried but...

Страница 25: ...m 203 dpi Input Socket For USB Compatible Cards SD Memory Card MultiMediaCard Format SD Picture Exif DCF CIFF SISRIF JFIF Image Format JPEG TIFF non compressed Number of Pixels 6144t4096 Max Sampling ratio 4 4 4 4 2 2 4 2 0 4 1 1 Thawing Time Approx 4 seconds 307200 pixels Allowable Temperature Not in use 10 C 50 C In use 0xC 40 C Allowable Humidity Not in use 0 90 In use 35 80 External Dimensions...

Страница 26: ...ge modification or commercial use such as in a hotel office restaurant or other business rental use of the product service by anyone other than a Factory Servicenter or other Authorized Servicer or damage that is attributable to acts of God THERE ARE NO EXPRESS WARRANTIES EXCEPT AS LISTED UNDER LIMITED WARRANTY COVERAGE THE WARRANTOR IS NOT LIABLE FOR INCIDENTAL OR CONSEQUENTIAL DAMAGES RESULTING ...

Страница 27: ...tralized Factory Servicenter Panasonic Services Company 1705 N Randall Road Elgin IL 60123 7847 Attention SD Products Repair Please carefully pack and ship prepaid and insured to the Elgin Centralized Factory Servicenter Customer s in Puerto Rico please ship or carry in to location below Service in Puerto Rico Product Repairs MAIL TO Web Site http www panasonic com You can purchase parts accessori...

Страница 28: ... Baymeadow Drive Glen Burnie MD 21060 Panasonic Company Central 1707 North Randall Road Elgin IL 60123 Panasonic Company West 6550 Katella Avenue Cypress CA 90630 Panasonic Canada Inc 5770 Ambler Drive Mississauga ON L4W 2T3 Panasonic Sales Company Division of Matsushita Electric of Puerto Rico Inc PSC Ave 65 de Infanteria Km 9 5 San Gabriel Industrial Park Carolina PR 00985 P VQT9628 F0102Mk0 100...

Отзывы: