68
LSQT1426
69
LSQT1426
Connect the unit and AC adaptor (P.20), and set the mode dial to a setting
other than [OFF].
Connect the unit to the printer using the USB cable (supplied).
Insert the plugs as far as they will go.
Select [PictBridge].
Select the still pictures to print.
Number of
copies (Max. 9)
Set the number of copies.
To not print the picture, set “0”.
Repeat steps
and
to select up to 8 still
pictures for printing.
•
•
Do not use any other USB connecting cables except the supplied one.
(Operation is not guaranteed with any other USB cables.)
Connect the unit directly to the printer without going through a USB hub.
For paper size and print quality, etc., check printer settings.
Avoid the following operations during printing. Otherwise, pictures will not print
correctly:
Disconnecting the USB cable
Opening the card/battery door
Rotating the mode dial
Shutting off power
●
●
●
●
•
•
•
•
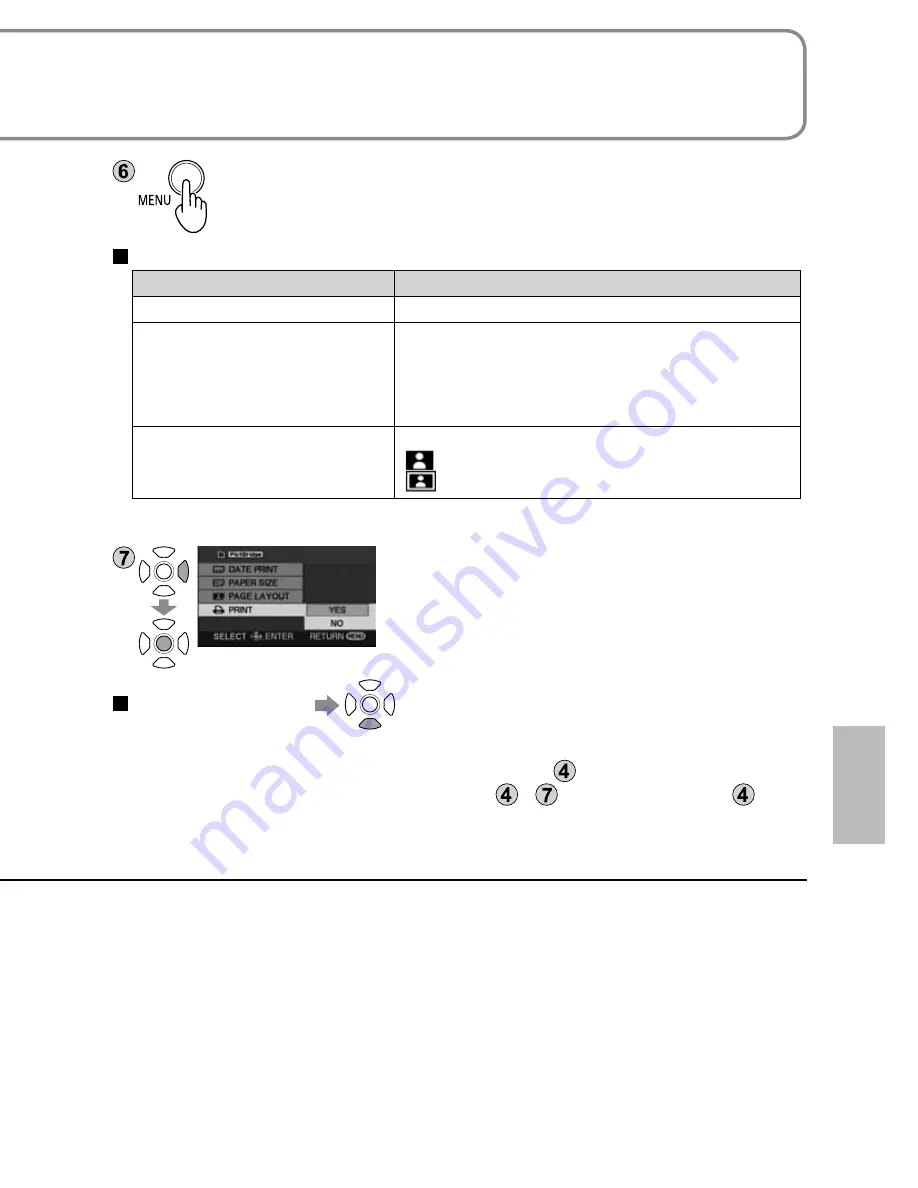
Display the PictBridge menu.
Make print settings.
Print settings
Item
Available settings
DATE PRINT
OFF/ON
PAPER SIZE
STANDARD: Prioritize printer setting.
4×5 INCH: L size
5×7 INCH: 2L size
4×6 INCH: Postcard size
A4: A4 size
PAGE LAYOUT
STANDARD: Prioritize printer setting.
[
]: No frame print
[
]: Frame print
Settings not supported by the printer cannot be selected.
[PRINT]
→
[YES]
When printing is complete, disconnect the USB
cable (supplied) and exit [PictBridge].
To cancel printing
A confirmation message appears.
[YES]: Cancels print settings and returns to step
.
[NO]: Saves print settings made in steps
-
and returns to step
.
●
Still pictures recorded with other devices may not be printed.
DPOF settings (P.65) cannot be used while this unit is directly connected to a
PictBridge printer.
●
●
With other
products
3
Printing pictures from
PictBridge printers
Still pictures recorded with this unit can be printed by connecting the unit
directly to a printer that supports PictBridge.


