Setting
54
- ENGLISH
Settings
Background
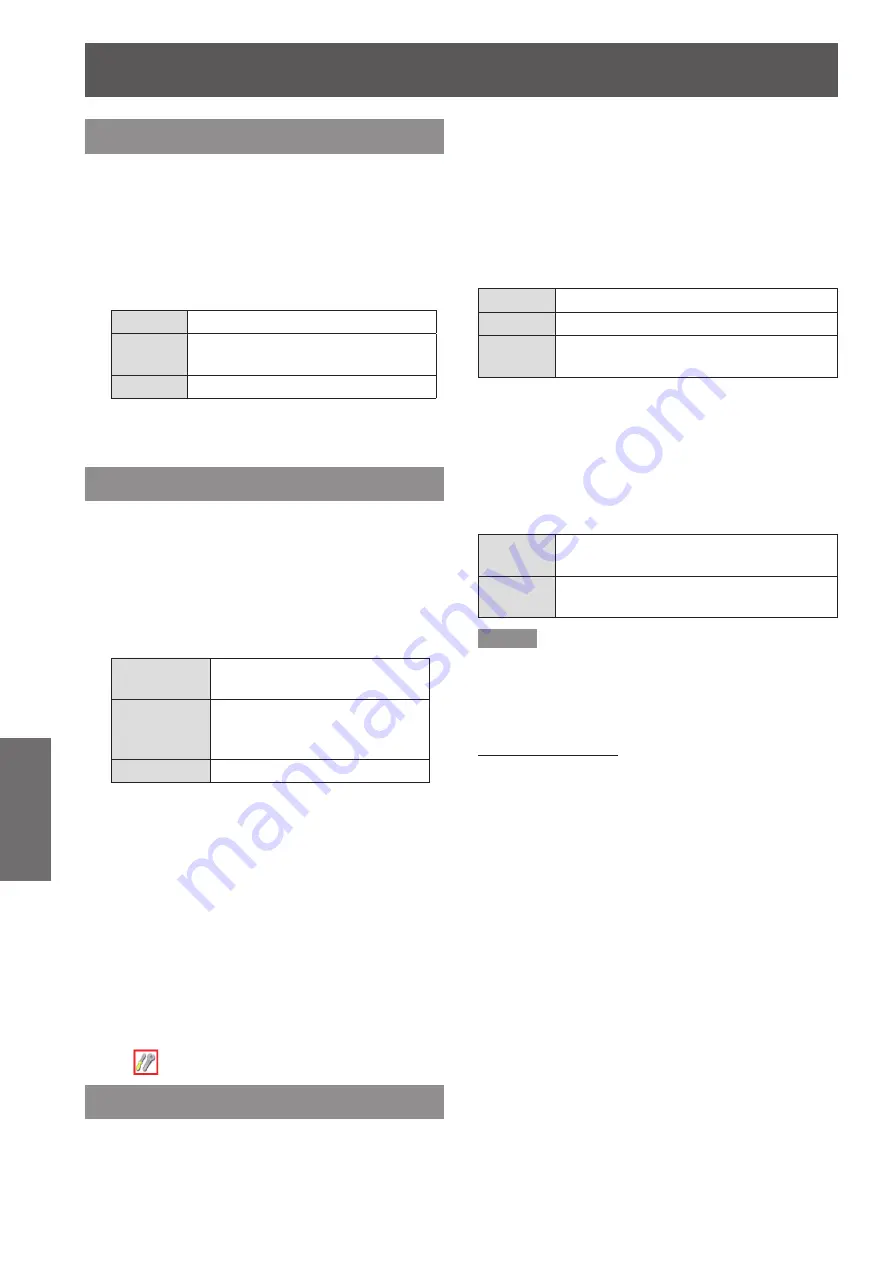
Select the background screen for when no input signal
is detected.
Press ▲▼ to select [Background].
1 )
Press the <ENTER> button.
2 )
Press ▲▼ to switch each option as
3 )
below.
Blue
Blue colored background.
User
The logo transferred by "Logo
Transfer Software *
1
" is projected.
Black
Black colored background.
" Logo Transfer Software" is included on the
*1 :
supplied CD-ROM.
Display
This function decides whether to display On-Screen
Displays.
Press ▲▼ to select [Display].
1 )
Press the <ENTER> button.
2 )
Press ▲▼ to switch
3 )
between each
option as below.
On
Show all the On-Screen
displays *
1
Countdown
off
Show the input image instead
of the countdown when turning
on the projector *
2
Off
Hide the On-Screen Displays *
3
Use this function when you want to project
*1 :
images after the lamp becomes bright enough.
The factory default setting is in this option.
Use this function when you want to project the
*2 :
image as early as possible even when the lamp
is not bright enough.
Hide the On-Screen Displays except;
*3 :
● On-Screen Menu.
● [Power off?]
● [P-timer] display.
● No signal for [Power management]
● [Please wait ...]
● Arrows for the True function in the [Screen]
Menu.
●
[Service]
Logo
This function allows you to customize the screen logo
with Logo select, Logo PIN code lock and Logo PIN
code change functions.
Press ▲▼ to select [Logo].
1 )
Press ► or the <ENTER> button.
2 )
Press ▲▼ to choose the desired item.
3 )
Logo select
J
This function decides on the starting-up display from
among following options.
Off
Show the countdown display only.
Default
Show the factory-set logo.
User
The logo transferred by "Logo
Transfer Software *
1
" is projected.
" Logo Transfer Software" is included on the
*1 :
supplied CD-ROM.
Logo PIN code lock
J
This function prevents an unauthorized person from
changing the screen logo.
Off
The screen logo can be changed freely
from the Logo Menu.
On
The screen logo cannot be changed
without a Logo PIN code.
Note
If you want to change the Logo PIN code lock setting,
z
press the <ENTER> button and the Logo PIN code
dialog box appears. Enter a Logo PIN code by following
the steps below. The initial Logo PIN code is set to “4321”
at the factory.
Enter a logo PIN code
Press ▲▼ buttons to enter a number from 0-9. Press ►
button to fix the number and move the red frame pointer to
the next box. The number changes to
. Repeat this step to
complete entering a four-digit number.
After entering the four-digit number, press ► button to
move the pointer to “Set” and then a [OK?] confirmation box
appears, select [Yes] and then press <ENTER> button.
If you fixed an incorrect number, use the ◄ button to
move the pointer to the number you want to correct,
and then enter the correct number with the ▲▼
buttons.
If you entered an incorrect PIN code, PIN code and the
number (
) will turn red for a moment. Enter the
correct PIN code all over again.
Logo PIN code change
J
Logo PIN code can be changed to your desired four-
digit number.
Press ▲▼ to select [Logo PIN code
1 )
change] and press the <ENTER>
button.
Current logo PIN code dialog box appears.
z


