Remote control operation
40 - ENGLISH
Basic Operation
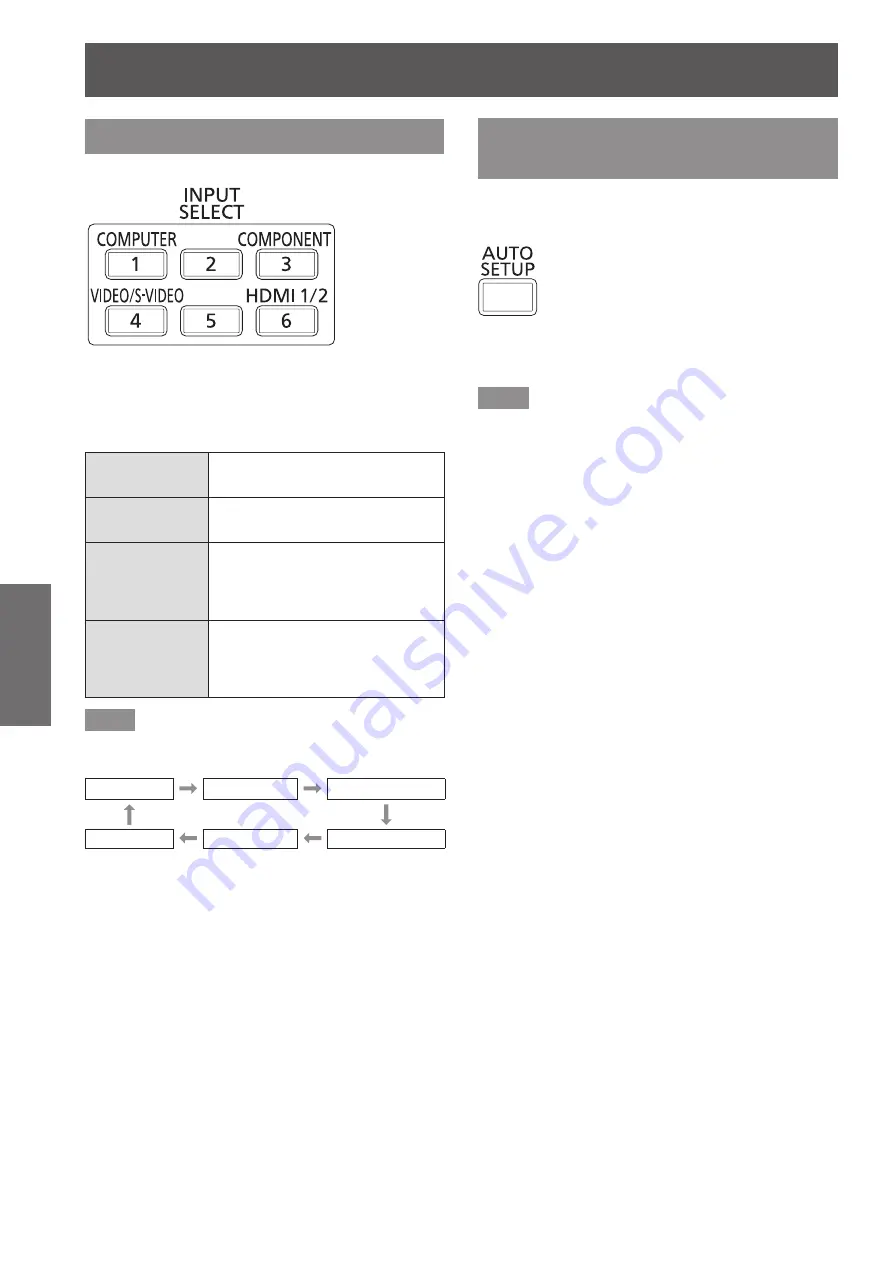
Switching the input
The input for projection can be switched.
button
Press the input selection (<COMPUTER>,
<COMPONENT>, <VIDEO/S-VIDEO>,
and <HDMI 1/2>) buttons on the remote
control.
<COMPUTER>
Switches to computer signal input
mode.
<COMPONENT>
Switches to component (YC
B
C
R
/
YP
B
P
R
) signal input mode.
<VIDEO/
S-VIDEO>
Switches to S-video/video signal
input mode. If either of the input
modes has already been selected,
switches to another input mode.
<HDMI 1/2>
Switches to HDMI signal input
mode. If either of the input modes
has already been selected,
switches to another input mode.
Note
z
Each time you press the <INPUT SELECT> button,
the settings change as follows. (
page 21)
[HDMI 1]
[HDMI 2]
[COMPUTER]
[VIDEO]
[S-VIDEO]
[COMPONENT]
Using the Automatic setup
function
During signal input from a computer, [SHIFT], [DOT
CLOCK], and [CLOCK PHASE] can be adjusted
automatically.
button
Press the <AUTO SETUP> button on the
remote control.
Note
z
During HDMI signal input, only [SHIFT] is adjusted
automatically.
z
The input search is activated when there is no
signal. (When [SIGNAL SEARCH] (
page 62) is set
to [ON])
z
When signals exceeding the dot clock 162 MHz
are input, [DOT CLOCK] (
page 55) and [CLOCK
PHASE] (
page 55) cannot be set automatically.
z
When you activate the auto setup function on
images with blurred edges or dark images,
operation may automatically stop. In this case,
switch to a different image and press the <AUTO
SETUP> button again.
z
[AUTO SETUP] is displayed on the screen while
the image is adjusted automatically.


