


Operating Instructions
Functional Manual
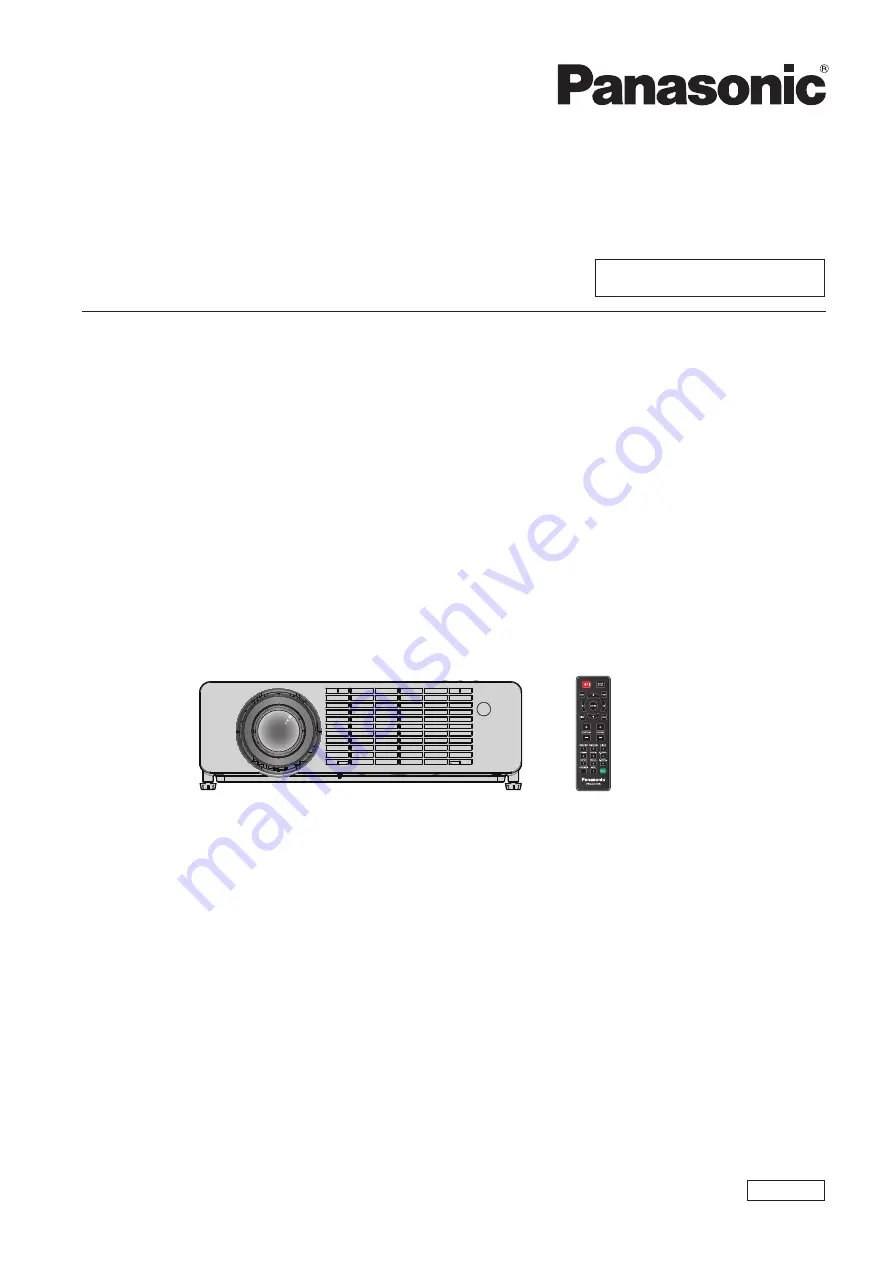
DLP™ Projector
Commercial Use
Thank you for purchasing this Panasonic product.
■
This manual is common to all the models regardless of suffixes of the Model No.
z
for America and Taiwan region: PT-LRZ35U / PT-LRW35U
z
for other countries or regions: PT-LRZ35 / PT-LRW35
■
Before operating this product, please read the instructions carefully, and save this manual
for future use.
■
Before using your projector, be sure to read “Read this first!” (
x
pages 4 to 13).
Model No.
PT-LRZ35
PT-LRZ35U
PT-LRW35
PT-LRW35U
ENGLISH
DPQP1312ZA/X1
Содержание PT-LRW35
Страница 38: ...38 ENGLISH Chapter 3 Basic Operations This chapter describes basic operations to start with ...
Страница 83: ...ENGLISH 83 Chapter 5 Operation of Function This chapter describes the operation methods of some functions ...
Страница 99: ...ENGLISH 99 Chapter 7 Appendix This chapter describes specifications and after sales service for the projector ...


