2
TABLE OF CONTENTS
PAGE
PAGE
1 Safety Precaution
-------------------------------------------------
1.1. General Guidelines ----------------------------------------3
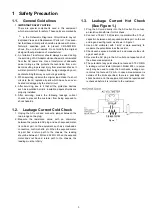
1.2. Leakage Current Cold Check ---------------------------3
1.3. Leakage Current Hot Check (See Figure 1.) --------3
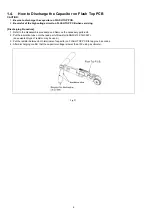
1.4. How to Discharge the Capacitor on Flash Top
PCB------------------------------------------------------------4
2 Warning
--------------------------------------------------------------
2.1. Prevention of Electrostatic Discharge (ESD)
to Electrostatically Sensitive (ES) Devices ----------5
2.2. How to Recycle the Lithium Ion Battery (U.S.
Only)-----------------------------------------------------------5
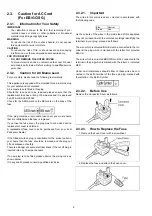
2.3. Caution for AC Cord(For EB/GC/SG) -----------------6
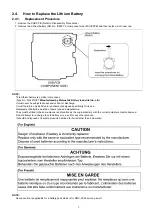
2.4. How to Replace the Lithium Battery -------------------7
3 Service Navigation
------------------------------------------------
3.1. Introduction --------------------------------------------------8
3.2. General Description About Lead Free Solder
(PbF) ----------------------------------------------------------8
3.3. Important Notice 1:(Other than U.S.A. and
Canadian Market) ------------------------------------------8
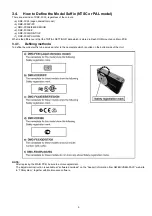
3.4. How to Define the Model Suffix (NTSC or PAL
model)---------------------------------------------------------9
4 Specifications
----------------------------------------------------
5 Location of Controls and Components
------------------
6 Service Mode
-----------------------------------------------------
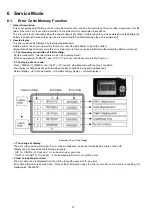
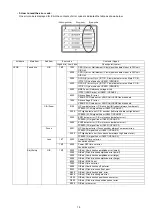
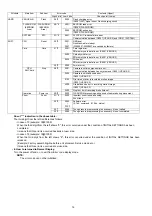
6.1. Error Code Memory Function ------------------------- 14
7 Service Fixture & Tools
---------------------------------------
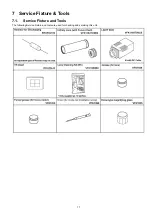
7.1. Service Fixture and Tools ------------------------------ 17
7.2. When Replacing the Main PCB ---------------------- 18
7.3. Service Position ------------------------------------------ 18
8 Disassembly and Assembly Instructions
---------------
8.1. Disassembly Flow Chart-------------------------------- 19
8.2. PCB Location---------------------------------------------- 19
8.3. Disassembly Procedure -------------------------------- 20
8.4. Disassembly Procedure for the Lens --------------- 25
8.5. Assembly Procedure for the Lens ------------------- 26
8.6. Removal of the CCD Unit ------------------------------ 29
8.7. The Applyment of Grease Method ------------------- 30
9 Measurements and Adjustments
--------------------------
9.1. Matrix Chart for Replaced Part and Necessary
Adjustment ------------------------------------------------- 31
10 Maintenace
--------------------------------------------------------
10.1. Cleaning Lens and LCD Panel ----------------------- 32
Содержание Lumix DMC-FX33E
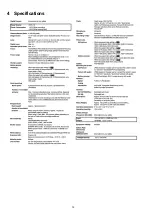
Страница 12: ...12 4 Specifications ...
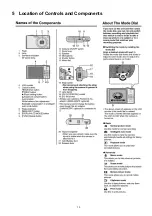
Страница 13: ...13 5 Location of Controls and Components ...
Страница 19: ...19 8 Disassembly and Assembly Instructions 8 1 Disassembly Flow Chart 8 2 PCB Location ...
Страница 21: ...21 Fig D2 8 3 2 Removal of the LCD Unit Fig D3 8 3 3 Removal of the Front Case Unit Fig D4 ...
Страница 22: ...22 8 3 4 Removal of the Top Operation Unit Fig D5 8 3 5 Removal of the Flash Top P C B Fig D6 Fig D7 ...
Страница 23: ...23 Fig D8 8 3 6 Removal of the Main P C B Fig D9 8 3 7 Removal of the Lens Unit Fig D10 ...
Страница 27: ...27 8 5 2 Phase alignment of the Drive Direct Unit and Fixed Frame 8 5 3 Assembly for the 1st Lens Frame Unit ...
Страница 28: ...28 8 5 4 Assembly for the Zoom Motor Unit Master Frange Unit and 2nd Lens Frame Move Unit ...
Страница 52: ...S7 3 Packing Parts and Accessories Section 2 S 20 308 312 315 314 313 301 303 304 311 310 307 309 306 305 316 ...


