11
•
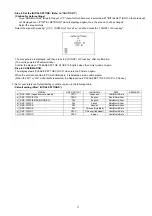
Step 5. Set the INITIAL SETTING: (Refer to “CAUTION 1”)
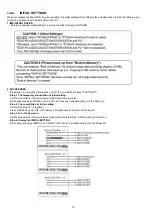
[Caution for befor settings]
Once "NONE(JAPAN)" (Area for Japan) or "P" (Area for Noth America) is selected with "INITIAL SETTINGS", other areas will
not displayed even if "INITIAL SETTINGS" menu is displayed again, thus, the area can not be changed.
Select the area carefully.
Select the area with pressing “[ UP ] / [ DOWN ] of Cross key”, and then press the “[ RIGHT ] of Cross key”.
The only set area is displayed, and then press the “[ RIGHT ] of Cross key” after confirmation.
(The unit is powered off automatically.)
Confirm the display of “PLEASE SET THE CLOCK” in English when the unit is turned on again.
•
Step 6. CONFIRMATION:
The display shows “PLEASE SET THE CLOCK” when turn the Power on again.
When the unit is connected to PC with USB cable, it is detected as removable media.
(When the “GT” or “GK” model suffix is selected, the display shows “PLEASE SET THE CLOCK” in Chinese.)
1) As for your reference Default setting condition is given in the following table.
•
Default setting (After “INITIAL SETTINGS”)
MODEL
VIDEO OUTPUT
LANGUAGE
DATE
REMARKS
a) DMC-FX33 (Japan domestic model)
NTSC
Japanese
Year/Month/Date
b) DMC-FX33P/PC/PL
NTSC
English
Month/Date/Year
c) DMC-FX33E/EB/EG/GC/GN/SG
PAL
English
Date/Month/Year
d) DMC-FX33EF
PAL
French
Date/Month/Year
e) DMC-FX33EE
PAL
Russian
Date/Month/Year
f)
DMC-FX33GK
PAL
Chinese (simplified)
Year/Month/Date
g) DMC-FX33GT
NTSC
Chinese (traditional)
Year/Month/Date
h) DMC-FX33GD
NTSC
Korean
Year/Month/Date
Содержание Lumix DMC-FX33E
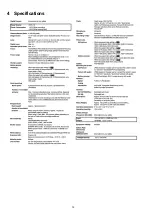
Страница 12: ...12 4 Specifications ...
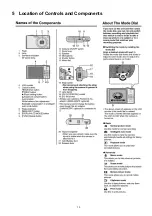
Страница 13: ...13 5 Location of Controls and Components ...
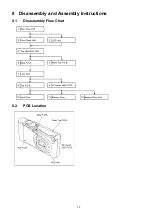
Страница 19: ...19 8 Disassembly and Assembly Instructions 8 1 Disassembly Flow Chart 8 2 PCB Location ...
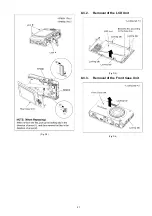
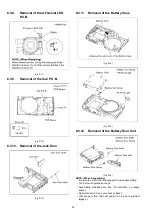
Страница 21: ...21 Fig D2 8 3 2 Removal of the LCD Unit Fig D3 8 3 3 Removal of the Front Case Unit Fig D4 ...
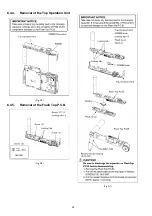
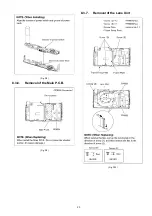
Страница 22: ...22 8 3 4 Removal of the Top Operation Unit Fig D5 8 3 5 Removal of the Flash Top P C B Fig D6 Fig D7 ...
Страница 23: ...23 Fig D8 8 3 6 Removal of the Main P C B Fig D9 8 3 7 Removal of the Lens Unit Fig D10 ...
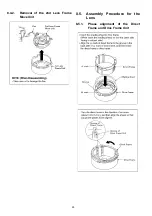
Страница 27: ...27 8 5 2 Phase alignment of the Drive Direct Unit and Fixed Frame 8 5 3 Assembly for the 1st Lens Frame Unit ...
Страница 28: ...28 8 5 4 Assembly for the Zoom Motor Unit Master Frange Unit and 2nd Lens Frame Move Unit ...
Страница 52: ...S7 3 Packing Parts and Accessories Section 2 S 20 308 312 315 314 313 301 303 304 311 310 307 309 306 305 316 ...


