7
2.4.
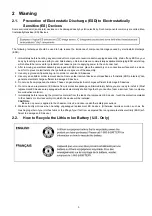
How to Replace the Lithium Battery
2.4.1.
Replacement Procedure
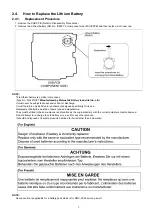
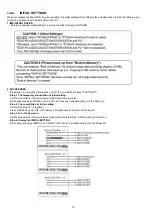
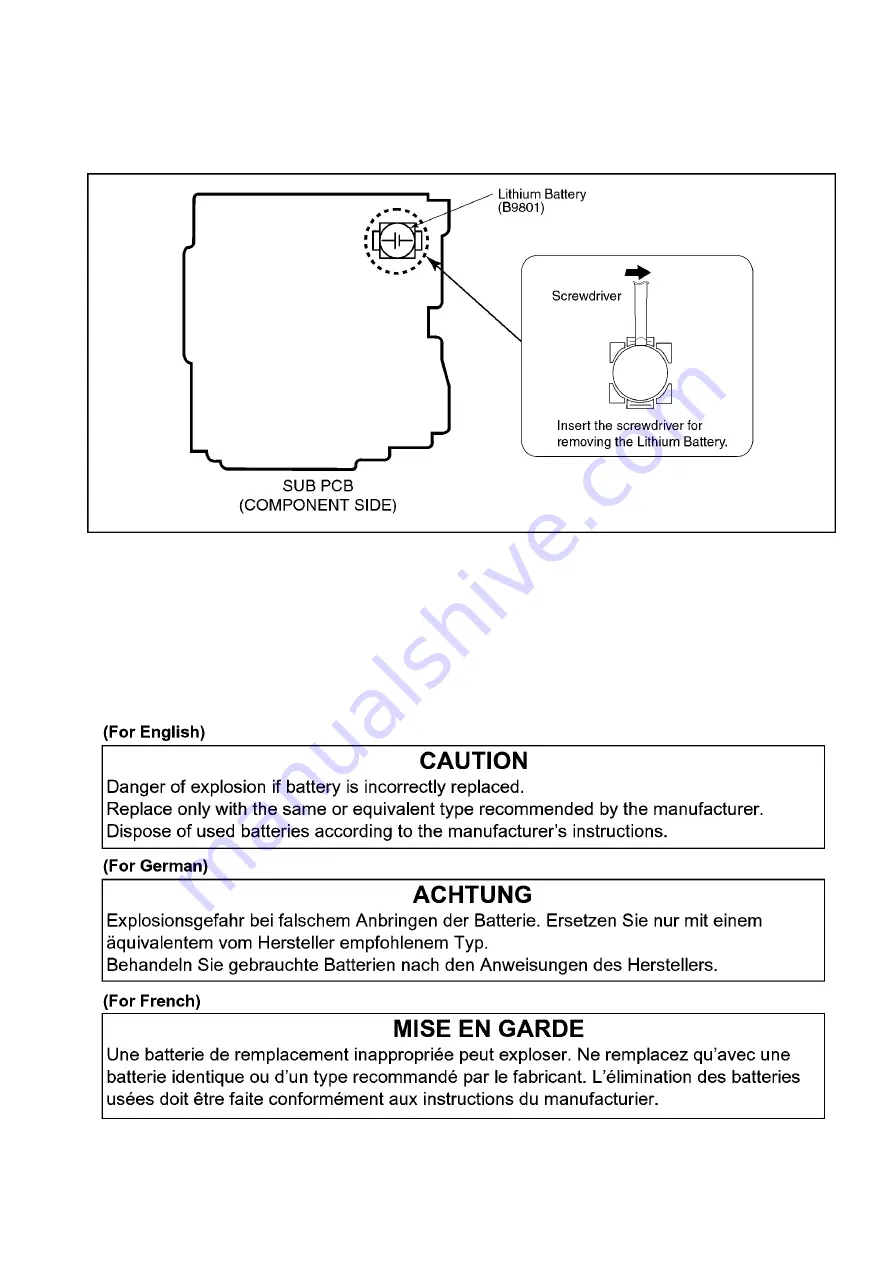
1. Remove the SUB PCB. (Refer to Disassembly Procedures.)
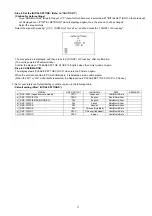
2. Remove the Lithium battery (Ref. No. “B9801” at component side of SUB PCB) and then replace it into new one.
NOTE:
This Lithium battery is a critical component.
(Type No.: ML421S/ZT
Manufactured by Matsushita Battery Industrial Co.,Ltd.
)
It must never be subjected to excessive heat or discharge.
It must therefore only be fitted in requirement designed specifically for its use.
Replacement batteries must be of same type and manufacture.
They must be fitted in the same manner and location as the original battery, with the correct polarity contacts observed.
Do not attempt to re-charge the old battery or re-use it for any other purpose.
It should be disposed of in waste products destined for burial rather than incineration.
NOTE:
Above caution is applicable for a battery pack which is for DMC-FX33 series, as well.
Содержание Lumix DMC-FX33E
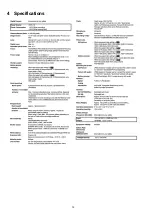
Страница 12: ...12 4 Specifications ...
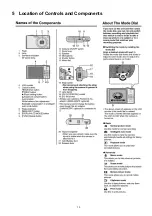
Страница 13: ...13 5 Location of Controls and Components ...
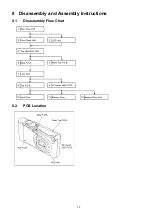
Страница 19: ...19 8 Disassembly and Assembly Instructions 8 1 Disassembly Flow Chart 8 2 PCB Location ...
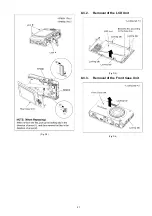
Страница 21: ...21 Fig D2 8 3 2 Removal of the LCD Unit Fig D3 8 3 3 Removal of the Front Case Unit Fig D4 ...
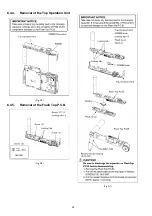
Страница 22: ...22 8 3 4 Removal of the Top Operation Unit Fig D5 8 3 5 Removal of the Flash Top P C B Fig D6 Fig D7 ...
Страница 23: ...23 Fig D8 8 3 6 Removal of the Main P C B Fig D9 8 3 7 Removal of the Lens Unit Fig D10 ...
Страница 27: ...27 8 5 2 Phase alignment of the Drive Direct Unit and Fixed Frame 8 5 3 Assembly for the 1st Lens Frame Unit ...
Страница 28: ...28 8 5 4 Assembly for the Zoom Motor Unit Master Frange Unit and 2nd Lens Frame Move Unit ...
Страница 52: ...S7 3 Packing Parts and Accessories Section 2 S 20 308 312 315 314 313 301 303 304 311 310 307 309 306 305 316 ...


