6. Fax
38
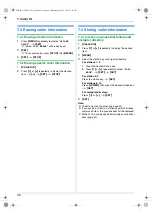
Printing a confirmation report
A confirmation report provides you with a printed record
of transmission results. To print confirmation reports,
make sure feature #401 is activated (page 54). For an
explanation of error messages, see page 67.
Printing a journal report
A journal report provides you with a printed record of the
30 most recent faxes. To print it manually, see page 88.
To print it automatically after every 30 new fax
transmissions and receptions, make sure feature #402 is
activated (page 54). For an explanation of error
messages, see page 67.
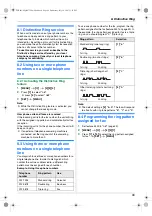
6.1.2 Using the auto document feeder
1
If the
{
FAX
}
light is OFF, turn it ON by pressing
{
FAX
}
.
2
Set the original (page 17).
3
If necessary, change the resolution and contrast
according to the type of document.
L
To select the resolution, see page 37.
L
To select the contrast, see page 37.
4
{
MONITOR
}
5
Dial the fax number.
i
{
START
}
Note:
L
To stop sending, see page 65.
L
See page 17 for document requirements.
L
Do not open the document cover when sending a fax
with the auto document feeder.
Pre-dialing a fax number
1.
Enter the fax number.
2.
Set the original.
i
{
START
}
Sending from memory (Quick scan feature)
1.
Set the original.
2.
Enter the fax number.
i
{
QUICK SCAN
}
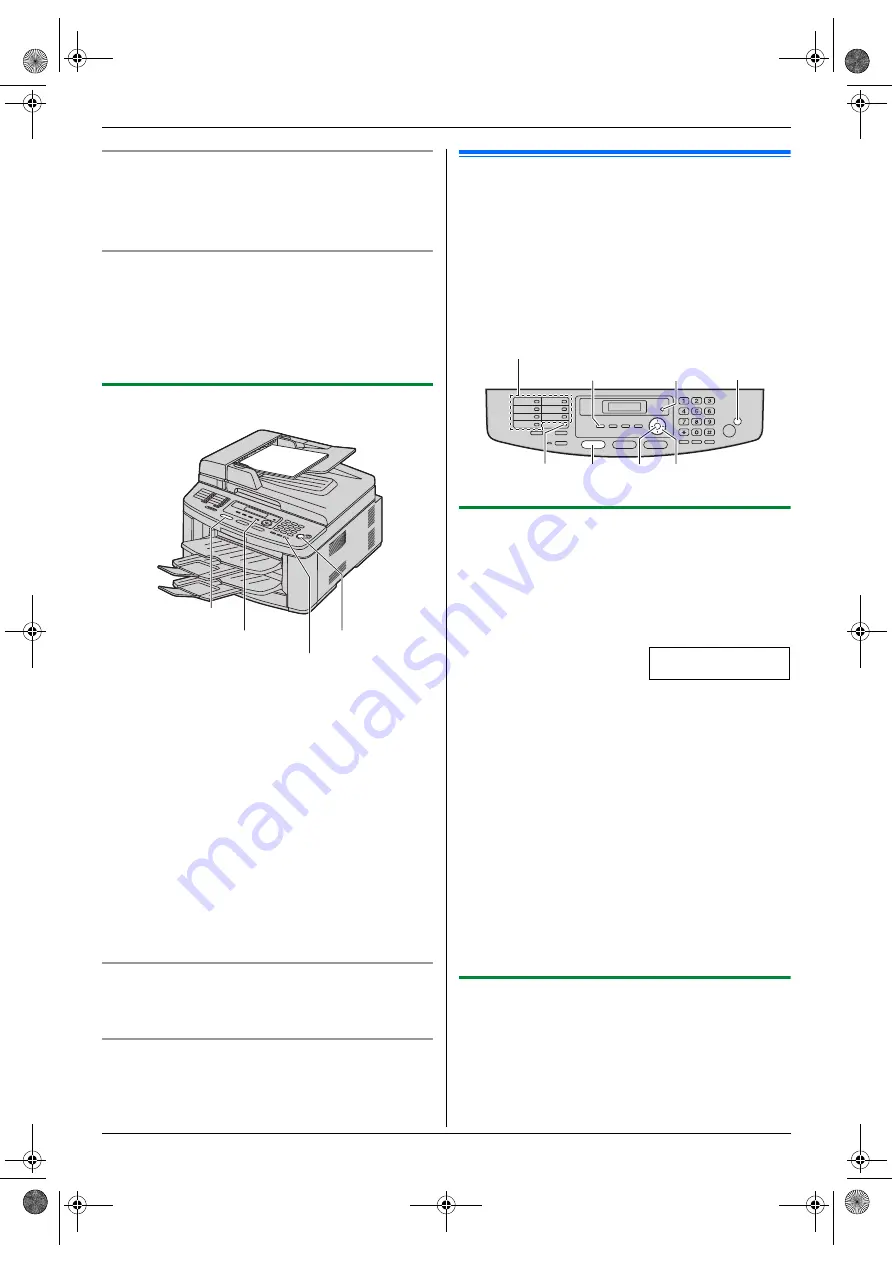
6.2 Storing items for the one-
touch dial feature and navigator
directory
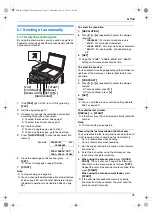
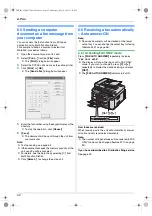
The unit provides the one-touch dial feature (14 items)
and navigator directory (300 items).
L
Station 1 to 3 can be used alternatively as broadcast
keys (page 40).
L
Make sure that the
{
FAX
}
light is ON.
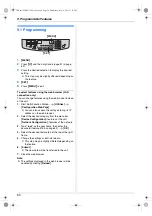
6.2.1 Storing one-touch dial item
1
Press
{
MENU
}
repeatedly to display
“
DIRECTORY
SET
”
.
2
Select the desired station key.
For stations 1–3:
1.
Press one of the station keys.
Example:
STATION 1
DIAL MODE
[
V^
]
2.
{
SET
}
For stations 4–7:
Press one of the station keys.
For stations 8–14:
Press
{
LOWER
}
, then press one of the station keys.
3
Enter the name, up to 16 characters (see page 64 for
character entry).
i
{
SET
}
4
Enter the telephone number, up to 32 digits.
i
{
SET
}
L
To program other items, repeat steps 2 to 4.
5
{
STOP
}
Note:
L
A hyphen or a space entered in a telephone number
counts as 2 digits.
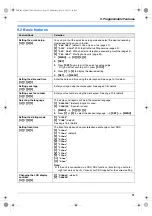
6.2.2 Storing navigator directory items
1
Press
{
MENU
}
repeatedly to display
“
DIRECTORY
SET
”
.
i
{
>
}
2
Enter the name, up to 16 characters (see page 64 for
character entry).
i
{
SET
}
3
Enter the telephone number, up to 32 digits.
i
{
SET
}
{
FAX
}
{
START
}
{
MONITOR
}
{
QUICK SCAN
}
{
SET
}
{
LOWER
}
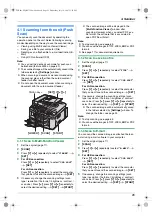
{V}{^}{
>
}
{
MENU
}
{
DIRECTORY
}
{
STOP
}
Station keys
{
FAX
}
FLB881-PFQX2732ZA-OI-en.book Page 38 Wednesday, July 18, 2007 11:22 PM
Содержание KXFLB881 - Network Multifunction Laser Printer
Страница 101: ...101 Notes FLB881 PFQX2732ZA OI en book Page 101 Wednesday July 18 2007 11 22 PM ...
Страница 102: ...102 Notes FLB881 PFQX2732ZA OI en book Page 102 Wednesday July 18 2007 11 22 PM ...
Страница 103: ...103 Notes FLB881 PFQX2732ZA OI en book Page 103 Wednesday July 18 2007 11 22 PM ...
Страница 104: ...PFQX2732ZA CM0707CK0 CD FLB881 PFQX2732ZA OI en book Page 104 Wednesday July 18 2007 11 22 PM ...

