43
Usin
g
Whiteboard Mode
(1) Start the Interactive Panaboard Software and select the
Whiteboard mode. (See page 29.)
C
C
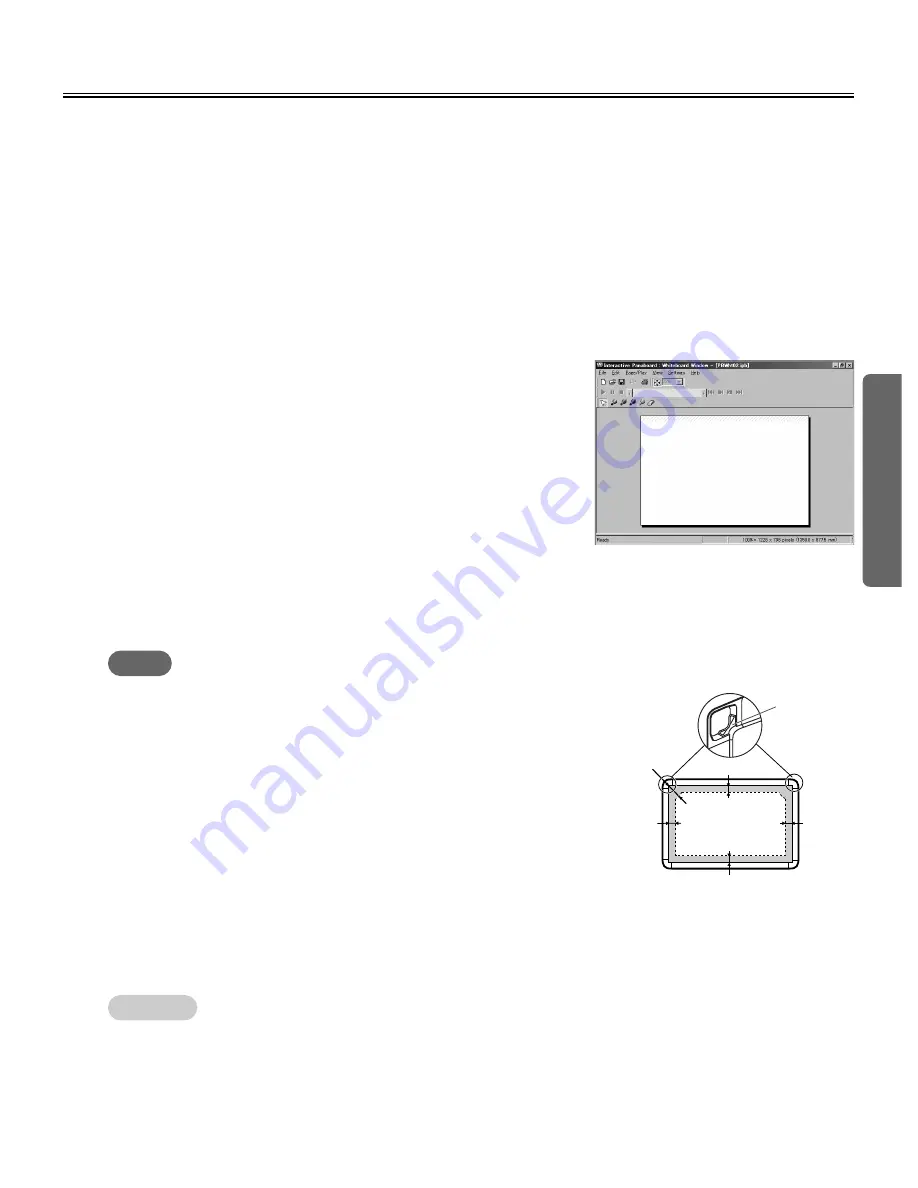
The Whiteboard window is displayed.
(2) Remove the cap of the Electronic Pen and draw on the
Interactive Panaboard screen using the Electronic Pen.
C
C
The position on the screen where you are drawing will be
reproduced on the page in the Whiteboard window in real-
time.
(3) Erase handwritten lines drawn on the Interactive Panaboard screen using the Electronic
Eraser.
C
C
Portions erased on the screen will also be erased on the page in the Whiteboard window.
■
Basic operation flow in Whiteboard mode
This section explains the flow of basic operations when using the Interactive Panaboard Software in the
Whiteboard mode. We recommend trying the operations in accordance with the following steps to help you
completely understand the operations in the Whiteboard mode.
C
C
Drawing and erasing handwritten lines on the Interactive Panaboard screen
When the Whiteboard window is displayed, set one of the four different types of the markers for interactive
(Small) used for the Electronic Pen, remove the cap and draw on the Interactive Panaboard. The content of the
drawing will be displayed on a page in the Whiteboard window in real-time. Further, if you use the Electronic
Eraser to erase the contents drawn on the screen, the handwritten lines displayed on the page in the
Whiteboard window will be erased as well.
These drawing and erasing operations are recorded automatically.
Note
C
The right figure shows the writing area in the Whiteboard mode.
Do not write the shaded area on the right figure.
C
Do not cover the position receiver with your hand as this may cause
interactive function to stop functioning.
C
Press down firmly with the point of the Electronic Pen or the eraser
on the screen film until you hear a buzzing sound.
C
Do not do the followings near the Interactive Panaboard while using
the Whiteboard mode as this may display unnecessary streaks not
written in the Whiteboard window.
- Exchanging markers for interactive (Small) of the Electronic Pen
- Setting or removing a marker cap of the Electronic Pen
- Pushing the point of the Electronic Pen
C
When exchanging markers for interactive (Small) of the Electronic
Pen, lock the pen holder lever while inserting the marker all the way into the pen holder until you hear a
buzzing sound.
Detection of the marker color may not work well unless the marker is inserted fully into the pen holder.
C
When advancing the screen of the Interactive Panaboard, click [Add New Page] in the [Edit] menu to add a
new page.
Remark:
Writing area
50mm (2")
25mm (1")
35mm
(1
3
/
8
")
100mm
(3
15
/
16
")
35mm
(1
3
/
8
")
Position
Receiver
Содержание KX-BP8000
Страница 85: ...85 MEMO ...


