ADJUSTMENT PROCEDURES
MCUK010801C8
Section 7
Issue 1
Service Manual
– 49 –
Revision 0
7.
Press Shift + F4.
8.
Scroll down and select PROG CHARG-DAC DATA and enter the value calculated by subtracting the value recorded in
step 6 from the initial CHARG-DAC DATA value (442).
9.
Repeat steps 6 to 8 until the measured voltage is 4.2 V ±5 mV.
10. If the final value is outside the range 342 - 542, then there is a fault and further investigation is required. Otherwise, record
the value for use later.
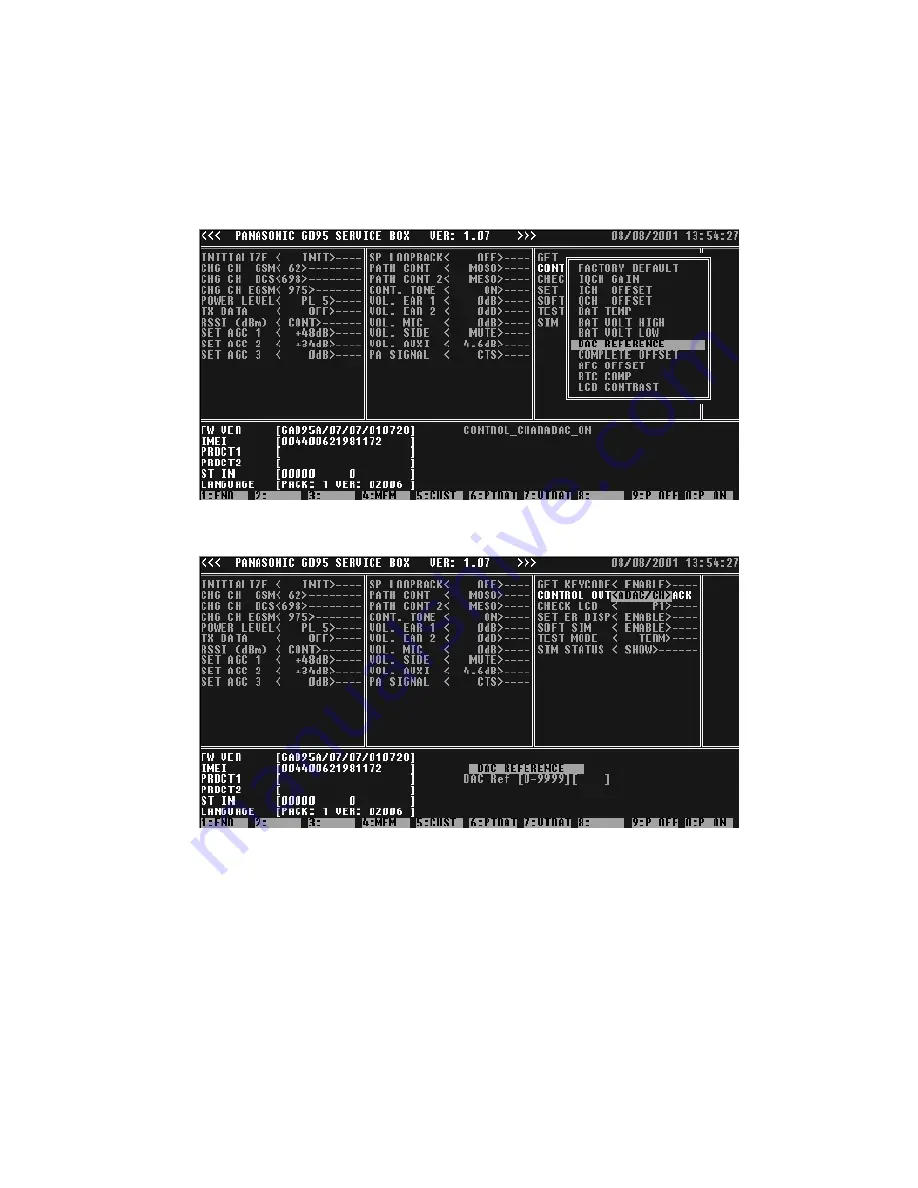
11. Press F6. Highlight TRIM OTHER and press ENTER. Highlight DAC REFERENCE and press ENTER.
12. Enter the value recorded in step 10.
7.4.5
Current Charging ADC Calibration
It is important to monitor the current when charging the Li-ion battery, both to protect against over-current and to determine
when charging is complete. The telephone uses the VCC3 and MADC (ICHG) connections of NAUSICA to measure charging
current as an amplified voltage across a sense resistor.
1.
Press F4 and select VIEW ADC LINES. Read ADIN5 (CRG CURRENT) and record this value.
NOTE:
This calibration procedure MUST be carried out once Charging Voltage calibration has been completed.
Содержание EB-GD95
Страница 4: ...Issue 1 Section MCUK010801C8 Revision 0 iv Service Manual This page is left intentionally blank ...
Страница 64: ...LAYOUT DIAGRAMS MCUK010801C8 Section 9 Issue 1 Service Manual 60 Revision 0 D C E A B F 3 4 ...
Страница 65: ...MCUK010801C8 Section 9 Service Manual 57 9 CIRCUIT DIAGRAMS Figure 9 1 GD95 C A4 A4 EB GD95 EB GD95C ...
Страница 66: ...CIRCUIT DIAGRAMS on 9 Issue 1 Revision 0 GD95 Circuit Diagram Logic A4 A4 ...
Страница 67: ...CIRCUIT DIAGRAMS Issue 1 Section 9 Revision 0 58 Figure 9 2 GD95 Cir A4 A4 ...
Страница 68: ...9 MCUK010801C8 Service Manual GD95 Circuit Diagram RF A4 A4 EB GD95 EBGD95C ...


