Main Mode: Thumbnail Screen
35
Ma
in
Mod
e
Checking audio and video of a clip
1.
Opening the Thumbnail Screen on a Storage Device
2.
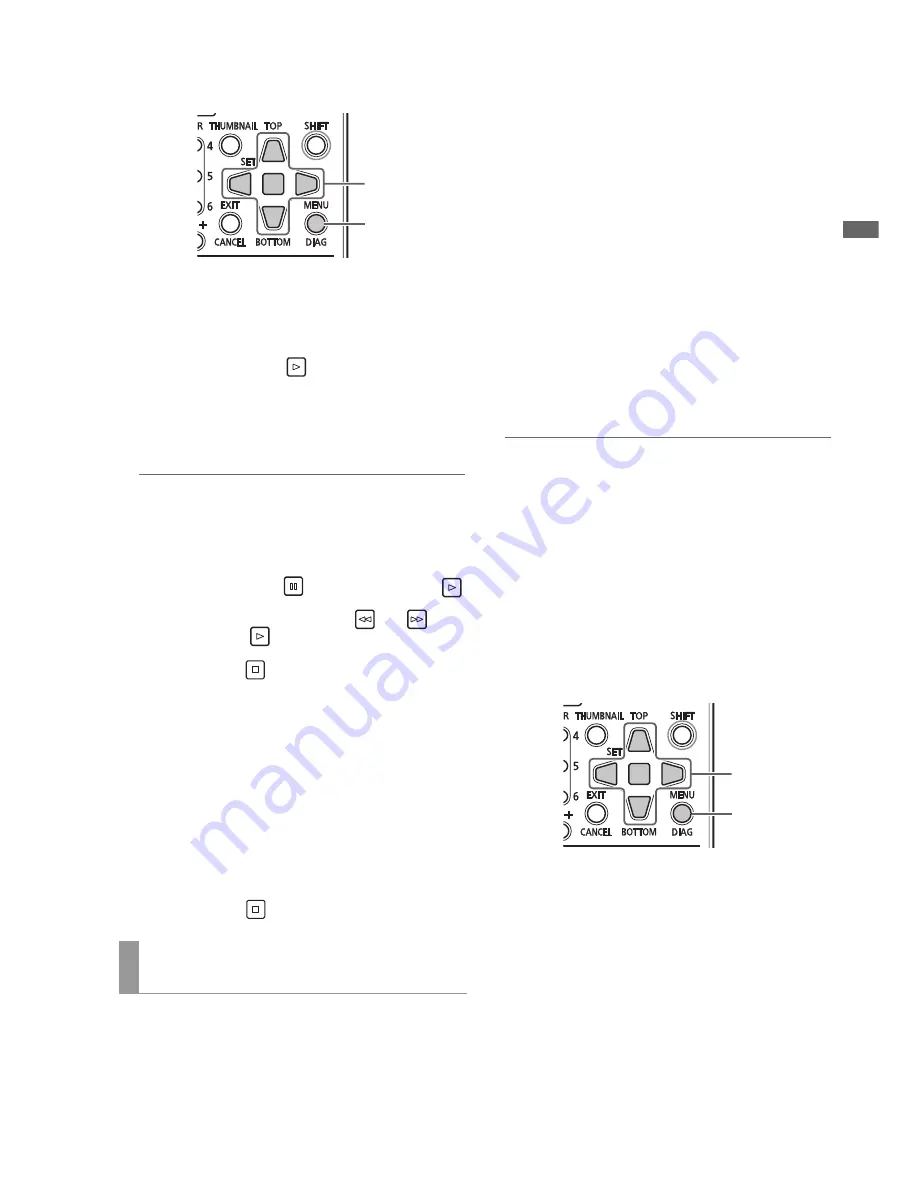
Move the Up/Down/Left/Right cursor buttons to the
clip you want to open.
3.
Press the PLAY button
.
Playback starts from the clip at the cursor position. When
the clip at the cursor location ends, subsequent clips are
played back in order. When the last clip has been played,
the thumbnail screen on the storage device appears.
◆
NOTE:
• To play back a clip, it is not necessary to select it (so that the
thumbnail appears inside a blue frame).
• The thumbnail display settings can be changed to play back
only selected clips or play back only clips that contain text
memos.
• Pressing the STILL/PAUSE
button instead of the PLAY
button shows a still of the first frame in the clip.
• To rewind or fast forward, press the REW
or FF
button
instead of the PLAY
button.
• A clip whose clip number is red cannot be played back.
• Pressing the STOP
button during clip playback stops
playback and reopens the thumbnail screen.
• When playback is stopped, the cursor moves to the clip played
prior to stopping.
• Audio and video may be distorted during playback between
clips in different video formats (DVCPRO HD, DVCPRO50,
DVCPRO, DV, AVC-Intra 50 and AVC-Intra 100).
• Text memos, meta data or other data cannot be added or
revised.
• When ONE CLIP PLAY is assigned to a USER button, the USER
button allows you to play back the clip at the cursor location.
• Audio and video dropouts may occur during playback on some
storage devices. Use high-speed storage devices to prevent
dropouts. A warning (E-75) appears when video dropouts
occur. Press STOP
or other button to close the warning.
■
Importing Data by Partition from a TYPE S
storage device and P2 Store
Use the steps below to import (write back data from a storage
device to a P2 card) data by partition (by P2 card) to a P2 card
that has the same model number as the source card.
1.
Insert the P2 card that will store the imported
partition.
Be sure to insert a formatted P2 card.
2.
Connect a storage device.
3.
Select the STORAGE - EXPLORE menu setting to
open the EXPLORE screen.
4.
Display a thumbnail of a partition you want to import
in the EXPLORE screen.
5.
Choose the OPERATION - IMPORT menu setting.
6.
Select the number of the P2 card slot that will store
the imported data and press the SET button.
Importing starts when YES is selected in the confirmation
message.
When the import operation ends, the message “COPY
COMPLETED!” appears.
◆
NOTE:
• When data is imported to a P2 card that differs from the original
P2 card, some clips may become incomplete (showing the
indicator). Then use the reconnection function to rebuild the
clip.
(
➝
“Reconnecting incomplete clips” page 19)
• Choose the STORAGE - SETUP - VERIFY menu setting to turn
verification during copying on or off.
• It is not possible to import data by partition between P2 cards
with different model numbers. Copy data by clip.
■
Copying Data to a P2 Card by Clip
Use the steps below to select a clip on a storage device and
copy it to a P2 card.
1.
Opening the Thumbnail Screen on a Storage Device
2.
Select a clip to copy.
3.
Press the MENU button.
4.
Use the cursor buttons to choose the OPERATION -
COPY menu setting, select destination from the list
that appears and press the SET button.
Copying starts when YES is selected in the confirmation
message.
When the copy operation ends, the message “COPY
COMPLETED!” appears.
Writing back (importing) data from a
storage device to a P2 card
1,2
1
2,4
3


