49
ENGLISH
USE AND & MAINTENANCE
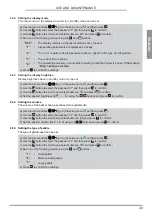
8.3.2 Setting the display mode
The data shown on the display when this is in standby mode can be set.
a) Use the arrow buttons
to go to the setup menu
and then press
;
b) Use the
button to select the password “7” and then press
WRFRQ¿UP
c) Use the
button to scroll to and select submenu
[12]
and press
WRFRQ¿UP
d) Set one of the following values using the
and
buttons:
“OFF”
The display remains on the last operation set by the user;
“1”
All operating parameters are displayed cyclically;
“2”
7KHURRPRUZDWHUSUREHWHPSHUDWXUHLVVKRZQEDVHGRQWKHW\SHRIFRQ¿JXUDWLRQ
“3”
The current time is shown
“4”
7KHRSHUDWLQJDXWRQRP\LQKRXUVEHIRUHKDYLQJWRUH¿OOWKHKRSSHULVVKRZQ
, If the function
³¿OOLQJ´KDVEHHQDFWLYDWHG
e) Press
WRFRQ¿UPWKHVHWWLQJV
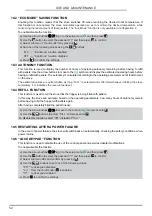
8.3.3 Setting the display brightnes
Display brightness when in standby mode can be set.
a) Use the arrow buttons
to go to the setup menu
and then press
;
b) Use the
button to select the password “7” and then press
WRFRQ¿UP
c) Use the
button to scroll to and select submenu
[11]
and press
WRFRQ¿UP
d) Set the desired brightness (
OFF, 1 ... 5
) using the
buttons and press
WRFRQ¿UP
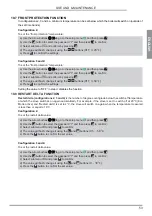
8.3.4 Setting the volume
The volume of the buzzer can be set based on requirements:
a) Use the arrow buttons
to go to the setup menu
and then press
;
b) Use the
button to select the password “7” and then press
WRFRQ¿UP
c) Use the
button to scroll to and select submenu [
13
] and press
WRFRQ¿UP
d) Set the desired volume (OFF, 1 to 5) using the
buttons and press
WRFRQ¿UP
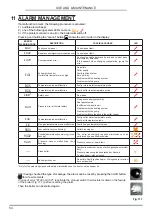
8.3.5 Setting the type of pellets
The type of pellets used can be set:
a) Use the arrow buttons
to go to the setup menu
and then press
;
b) Use the
button to select the password “7” and then press
WRFRQ¿UP
c) Use the
button to scroll to and select submenu
[14]
and press
WRFRQ¿UP
d) Set one of the following values using the
and
buttons:
“1”
Small pellets
“2”
Medium-sized pellets
“3”
Large pellets
e) Press
WRFRQ¿UPWKHVHWWLQJV

