


User’s Manual
24
5.
Click the text field beside
New password
and
Confirm new password
, and enter the password using either the
actual keyboard or the virtual keyboard. The
Old password
may not be used when entering a password for a
newly registered user. After you have set up the password, you can save your settings by clicking the
OK
button.
Selecting
Cancel
exits the dialog box without saving the changes.
NOTE:
Up to eight characters may be used for a password.
NOTE:
The password will not be saved when
New password
and
Confirm new password
do not match.
6.
After you have set up the user information, you can save your settings by clicking the
OK
button. Selecting
Cancel
exits the dialog box without saving the changes.
7.
Click the
Edit User
button to edit the established user information. If you want to delete the user, click the
Delete User
button after selecting the user to delete in the list.
NOTE:
The password will not be changed when the
Old password
does not match, or the
New password
and
Confirm new password
do not match.
8.
Select a registered user in the list, and check the desirable option boxes to set the user’s authorization.
NOTE:
For the remote access from the BASE system, the
Remote Monitoring
option should be selected for the
user’s authorization. And, select the
Remote Search
if you want to review recorded video on the POST system,
and select the
Network Remote Control
if you want to control the DVR remotely using the network connections.
9.
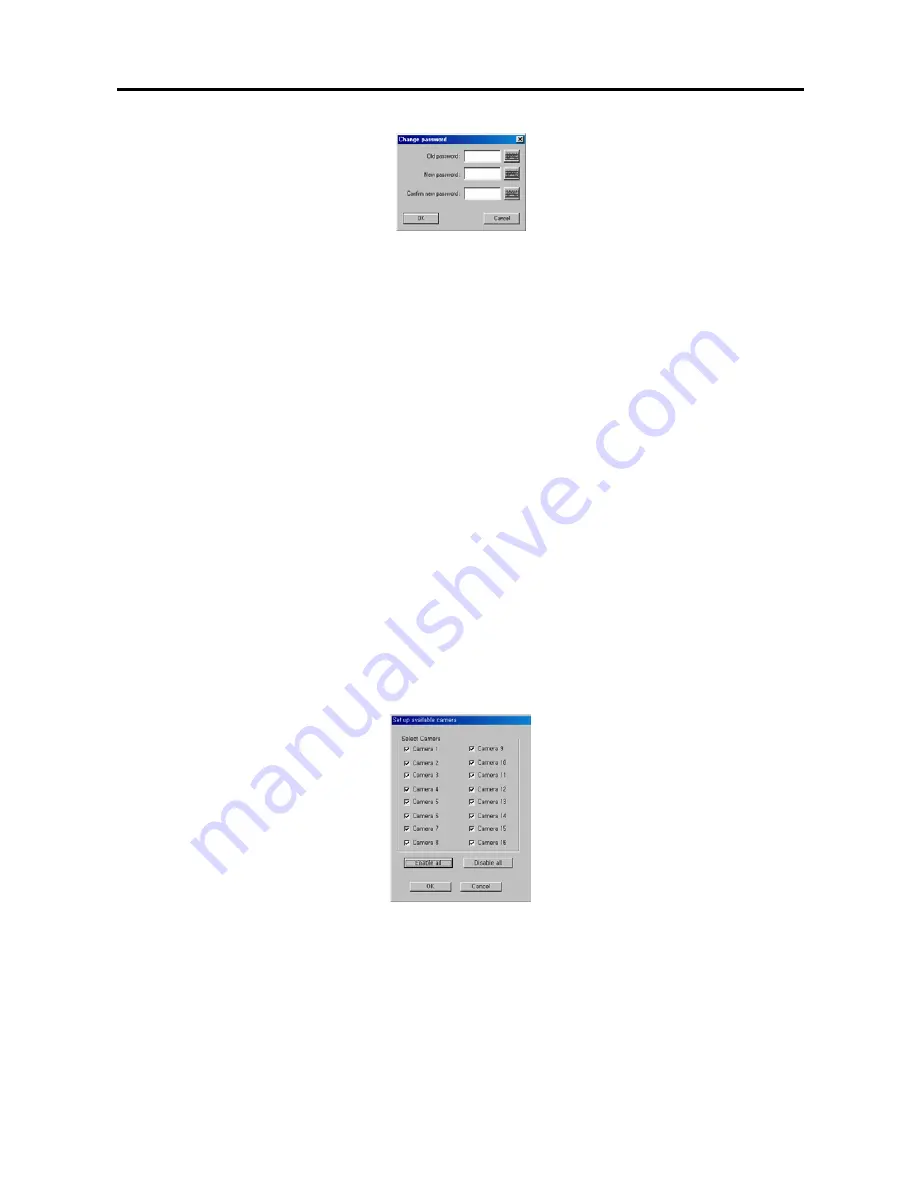
Click the
Available Camera
button if you want to assign the camera number individually to each user. Check
the box beside the camera number to enable the user to monitor and review that camera image. Clicking the
Enable all
or
Disable all
button enables or disables all the cameras to the target user. Click the
Apply all user
in same level
button if you want to adjust the current authority settings to all users in the same authority level.
10.
Move to
No local login
, and check the box if you do not want the login procedure. Otherwise, the
User Login
dialog box will appear when clicking any function button and asks entering
User ID
and
Password.
11.
Move to
Monitoring without login
, and check the box if you want to monitor the image without login procedure.
12.
Move to
Auto Logout
, and check the box then set the logout dwell time (from 1 to 180 minutes) if you want to
log out the DVR automatically when there is no keyboard or mouse operation during the preset dwell time.


