Ottobock | 49
2) Connect the round,
three-pin
plug of the power supply to the
12V
receptacle on the battery
charger so that the plug locks into place.
INFORMATION: Ensure correct polarity (guide lug). Do not use force when connecting
the cable plug to the battery charger.
3) Connect the round,
four-pin
plug of the charging cable to the
OUT
receptacle on the battery
charger so that the plug locks into place.
INFORMATION: Ensure correct polarity (guide lug). Do not use force when connecting
the cable plug to the battery charger.
4) Plug the power supply unit into the wall socket.
→
The green LED on the back of the power supply and the green LED on the battery charger
light up.
→
If the green LED on the power supply and the green LED on the battery charger do not light
up, there is an error (see Page 66).
6.2 Charging the prosthesis battery
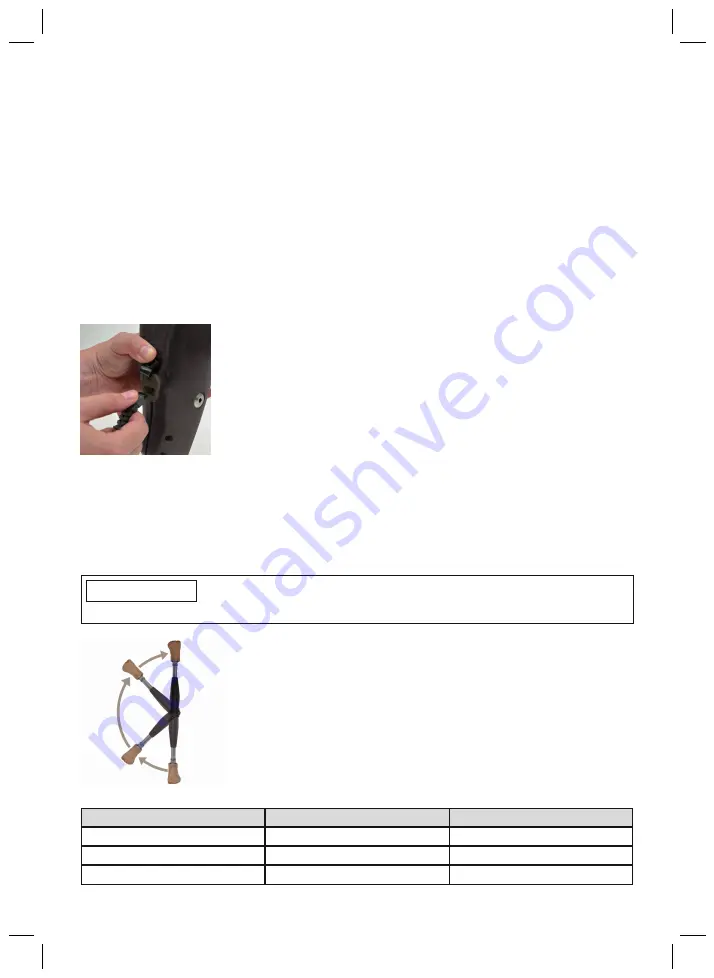
1) Open the charging receptacle cover.
2) Connect the charging plug to the charging receptacle of the
product.
INFORMATION: Take note of the plug direction!
→
The correct connection of the battery charger to the product is
indicated by feedback (see Page 68).
3) The charging process starts.
→
Once the product battery is fully charged, the yellow LED on the
battery charger turns off.
4) Disconnect the battery charger after the charging process is com
plete.
→
A self-test is performed. The joint is operational only after cor
responding feedback (see Page 68).
5) Close the charging receptacle cover.
6.3 Display of the current charge level
INFORMATION
The charge level cannot be displayed during the charging process.
1) Rotate the prosthesis 180° (the sole of the foot must face up).
2) Hold still for 2 seconds and wait for beeps.
Beep signal
Vibration signal
Battery charge level
5x short
more than 80%
4x short
65% to 80%
3x short
50% to 65%
Содержание C-Leg 3C98-3
Страница 2: ...2 Ottobock...
Страница 36: ...36 Ottobock...
Страница 142: ...142 Ottobock...
Страница 246: ...246 Ottobock...
Страница 279: ...Ottobock 279...


