Ossila Dip Coater
User Manual
ossila.com
17
Ossila Limited © 2017
8.3
Practical Operation
When using volatile solvents or hazardous solvents/materials, the instrument should be
placed within a fume hood or glovebox.
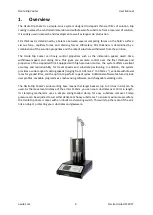
When using the dip coater, a general start-up procedure should be followed before beginning
to coat.
8.3.1
Positioning the Dipping Arm
1.
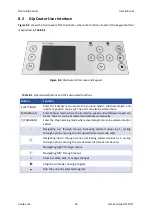
Turn the unit on,
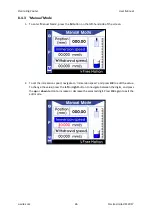
press the ‘M’ button to enter the
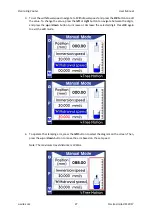
manual mode. Adjust the arm to its lowest
position.
2.
Using the clamp height adjustment screw, raise the clamping arm so that it is around 10 mm
higher than the maximum length of the substrate you are coating.
3.
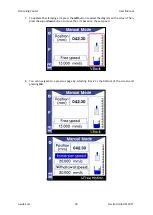
Press return to raise the arm to the top.
8.3.2
Positioning the Reservoir and Dipping Arm
1.
Place the solution reservoir on the base plate of the unit.
2.
Centre the reservoir under the dipping arm.
3.
The position of the dipping arm can be adjusted to be nearer or further away from the user
by loosening the arm adjustment screw.
4.
Ensure that there is a distance of at least 1 cm from the edge of the baseplate of the dip coater.
8.3.3
Adjusting Clamp Strength
1.
Pull back one half of the clamp and insert a substrate, being sure to provide support in case
the clamp strength is not yet high enough.
2.
Let go of the substrate to check if the clamp can currently support its weight.
3.
If the substrate begins to slip, tighten the clamp adjustment screw to increase the pressure
from the spring.
4.
The screw should be tightened until the substrate is held securely in place.
5.
If a delicate substrate is being used, you can reduce the clamp pressure by loosening the
adjustment screw.
8.3.4
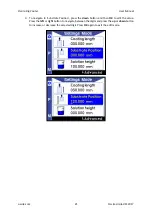
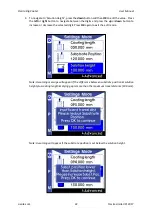
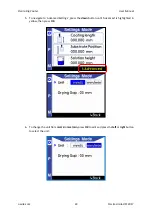
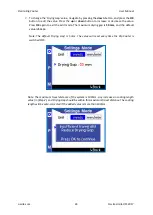
Setting the Solution Height, Substrate Position, and Coating Length.
In the
‘
settings
’
mode, you can:
1.
Update the length that you wish to coat over.
2.
The height of the solution relative to the ruler provided.
3.
The position of the bottom of the mounted substrate relative to the ruler provided.

