ORBIMAT 180 SW
| Operating instructions
Service and troubleshooting
(17.09.18) OW_ORBIMAT_180SW_BA_850060202_00_EN
orbitalum tools
GmbH, D-78224 Singen, www.orbitalum.com, Phone +49 (0) 77 31 792-0
67
Changing an ink ribbon
1. After changing the cover, push the part of the ink ribbon cassette marked
"
PUSH
".
The ink ribbon comes out of the drive shaft on the opposite side.
2. Remove the ink ribbon upward.
3. Using the rotary knob (see arrow for rotation direction) which protrudes
on one side, tighten the external part of the new ink ribbon and insert the
cartridge into the printer.
4. Insert the free end of the ink ribbon into the slot through which the paper is
also led out.
The paper is guided between the ink ribbon cartridge and the free end of the ink ribbon.
5. Tighten the ink ribbon again if necessary and close the printer hood.
9.1.5
Printing a test page
X
Press the "
Print test page
" button.
A test page with a mixed character set is output on the respectively activated printer (internal or external).
9.1.6
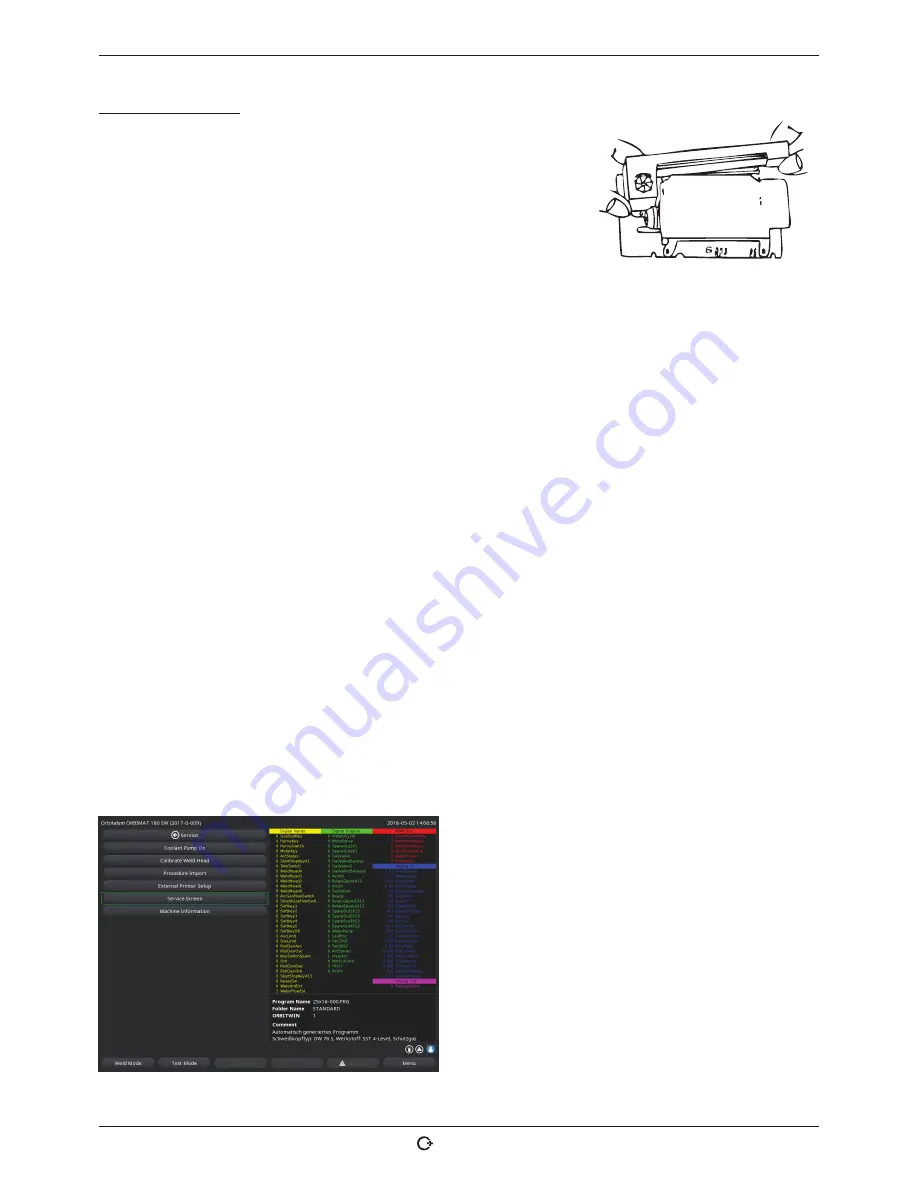
Service screen
View the current status of all digital or analog input and output signals of the control computer.
• Digital In: Current values of the digital inputs of the computer
• Digital Out: Current values of the digital outputs of the computer
• Analog In: Current values of the analog inputs of the computer
• Analog Out: Current values of the analog outputs of the computer
• Actual Val: Display of the current actual value of the running process calculated from the information of the analog
inputs or serial inverter interface
1. Press the "
Service screen
" button.
The following display appears:
2. Press the "
Service Screen
" button again.
The graphical view of the current weld procedure appears
in the display.
Displaying the Service screen during a running welding
process
X
Enter letter sequence
SER
(for SERVICE) on the exter-
nal keyboard.
The Service screen for the running welding process ap-
pears in the display.
Fig. 34:
Service screen


