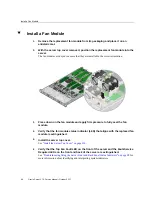


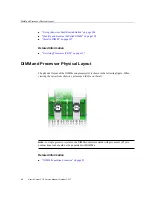
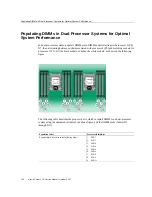

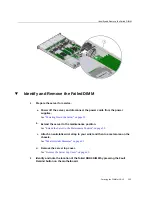
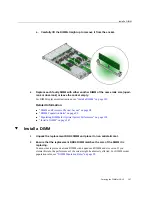
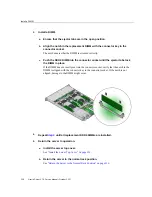
Install an Internal USB Flash Drive
b.
Extend the server to the maintenance position.
See
“Extend the Server to the Maintenance Position” on page 59
.
c.
Attach an antistatic wrist strap to your wrist and then to a metal area on the
chassis.
See
“Take Antistatic Measures” on page 61
.
d.
Remove the server top cover.
See
“Remove the Server Top Cover” on page 62
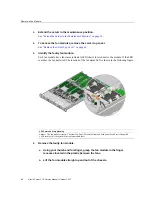
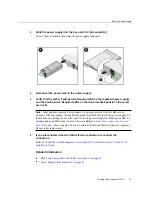
2.
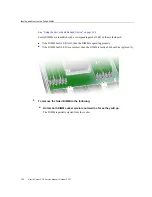
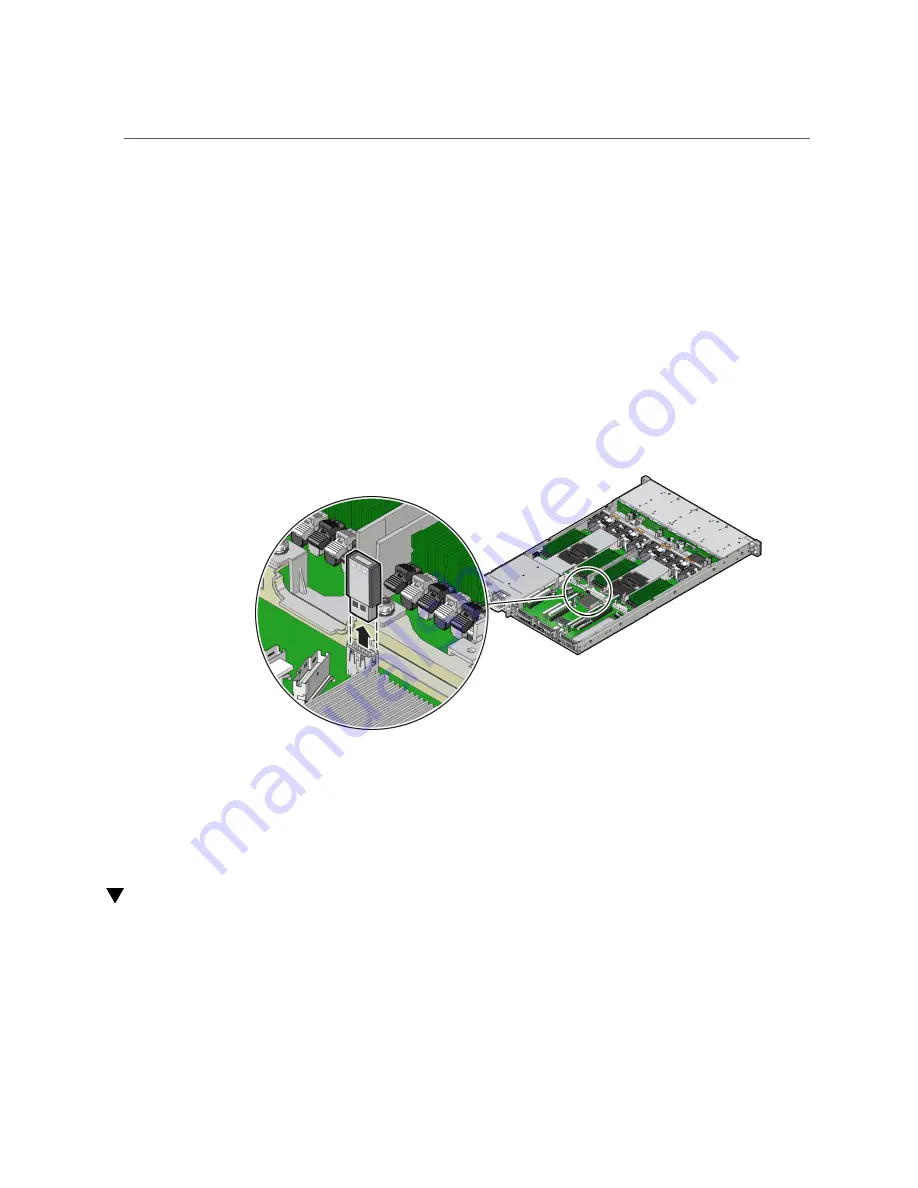
Grasp the USB flash drive and pull it out of the internal USB port.
Related Information
■
“Remove an Internal USB Flash Drive” on page 93
Install an Internal USB Flash Drive
1.
Unpack the replacement USB flash drive.
94
Oracle Server X7-2 Service Manual • October 2017
Содержание X7-2
Страница 1: ...Oracle Server X7 2 Service Manual Part No E72445 03 October 2017 ...
Страница 2: ......
Страница 14: ...14 Oracle Server X7 2 Service Manual October 2017 ...
Страница 86: ...86 Oracle Server X7 2 Service Manual October 2017 ...
Страница 92: ...Install a Power Supply Remove a Power Supply on page 88 92 Oracle Server X7 2 Service Manual October 2017 ...
Страница 96: ...96 Oracle Server X7 2 Service Manual October 2017 ...
Страница 110: ...110 Oracle Server X7 2 Service Manual October 2017 ...
Страница 136: ...136 Oracle Server X7 2 Service Manual October 2017 ...
Страница 150: ...150 Oracle Server X7 2 Service Manual October 2017 ...
Страница 162: ...162 Oracle Server X7 2 Service Manual October 2017 ...
Страница 168: ...168 Oracle Server X7 2 Service Manual October 2017 ...
Страница 178: ...178 Oracle Server X7 2 Service Manual October 2017 ...
Страница 184: ...184 Oracle Server X7 2 Service Manual October 2017 ...
Страница 192: ...192 Oracle Server X7 2 Service Manual October 2017 ...
Страница 216: ...216 Oracle Server X7 2 Service Manual October 2017 ...
Страница 252: ...252 Oracle Server X7 2 Service Manual October 2017 ...
Страница 282: ...282 Oracle Server X7 2 Service Manual October 2017 ...
Страница 306: ...306 Oracle Server X7 2 Service Manual October 2017 ...


