
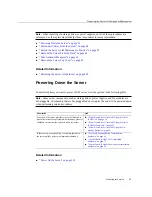
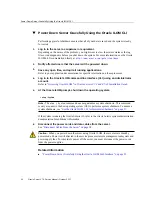


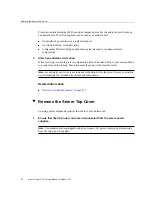


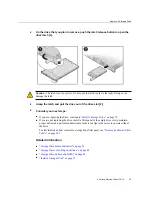
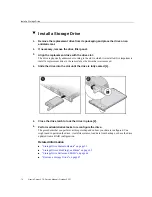
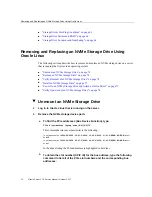
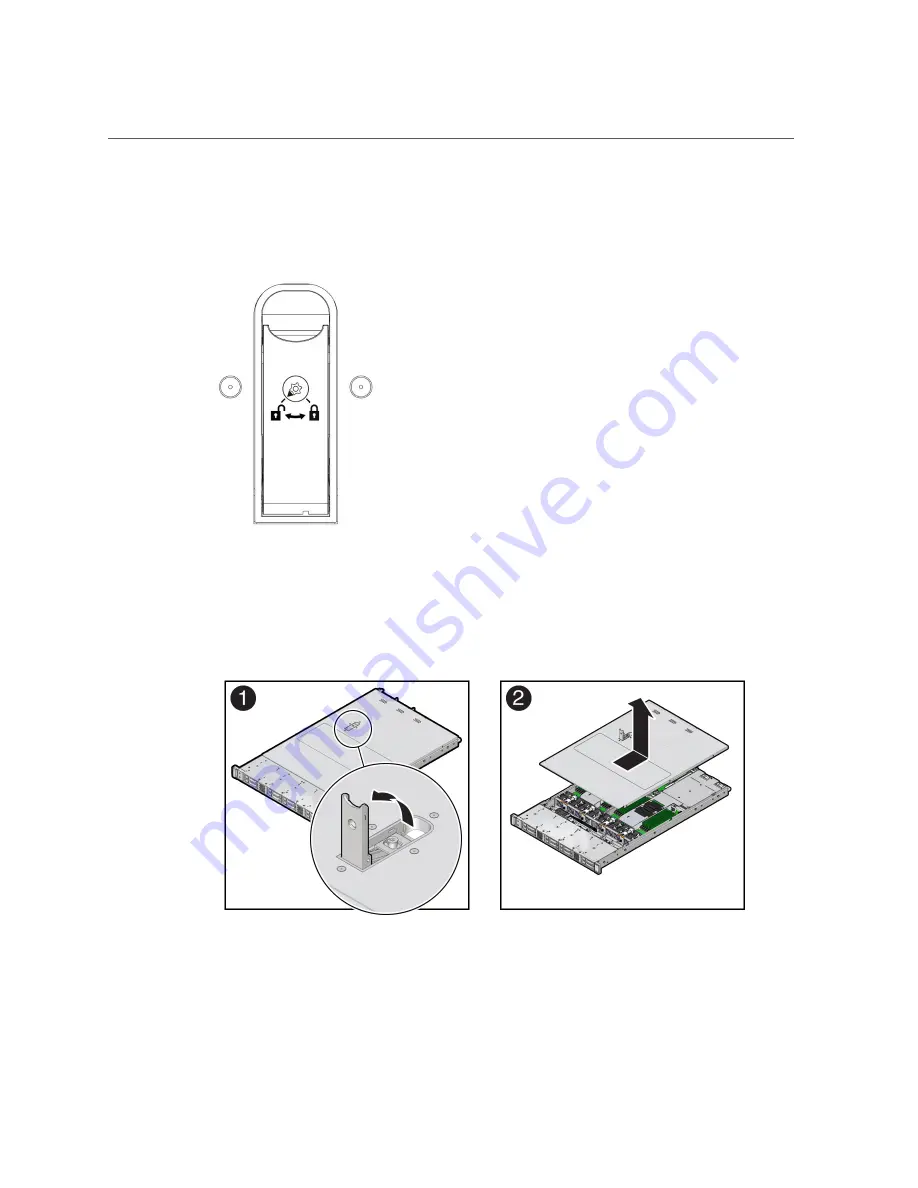
Remove the Server Top Cover
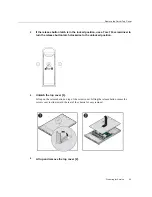
2.
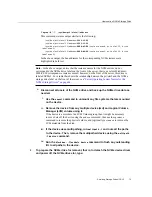
If the release button latch is in the locked position, use a Torx T10 screwdriver to
turn the release button latch clockwise to the unlocked position.
3.
Unlatch the top cover [1].
Lift up on the release button on top of the server cover. Lifting the release button causes the
server cover to slide toward the rear of the chassis for easy removal.
4.
Lift up and remove the top cover [2].
Preparing for Service
63
Содержание X7-2
Страница 1: ...Oracle Server X7 2 Service Manual Part No E72445 03 October 2017 ...
Страница 2: ......
Страница 14: ...14 Oracle Server X7 2 Service Manual October 2017 ...
Страница 86: ...86 Oracle Server X7 2 Service Manual October 2017 ...
Страница 92: ...Install a Power Supply Remove a Power Supply on page 88 92 Oracle Server X7 2 Service Manual October 2017 ...
Страница 96: ...96 Oracle Server X7 2 Service Manual October 2017 ...
Страница 110: ...110 Oracle Server X7 2 Service Manual October 2017 ...
Страница 136: ...136 Oracle Server X7 2 Service Manual October 2017 ...
Страница 150: ...150 Oracle Server X7 2 Service Manual October 2017 ...
Страница 162: ...162 Oracle Server X7 2 Service Manual October 2017 ...
Страница 168: ...168 Oracle Server X7 2 Service Manual October 2017 ...
Страница 178: ...178 Oracle Server X7 2 Service Manual October 2017 ...
Страница 184: ...184 Oracle Server X7 2 Service Manual October 2017 ...
Страница 192: ...192 Oracle Server X7 2 Service Manual October 2017 ...
Страница 216: ...216 Oracle Server X7 2 Service Manual October 2017 ...
Страница 252: ...252 Oracle Server X7 2 Service Manual October 2017 ...
Страница 282: ...282 Oracle Server X7 2 Service Manual October 2017 ...
Страница 306: ...306 Oracle Server X7 2 Service Manual October 2017 ...


