2.
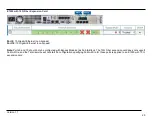
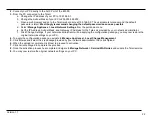
Connect your PC directly to the AUX Port of the E1000.
3.
From the PC connected to the Talari:
a. Change the IP address of your PC to 192.168.0.1.
b. Change the Subnet Mask of your PC to 255.255.255.252.
c. Open a web browser and go to the Talari web console at 192.168.0.2. The username is
talariuser
and the default
password is
talari
.
We strongly recommend changing the default password as soon as possible.
d. Select
Manage Appliance > Local Network Settings
from the pull-down menu.
e. Set the IP Address, Subnet Mask, and Gateway IP Address for the Talari as provided by your network administrator.
f. Click Change Settings. If your network administrator will be applying the configuration package, you may now restore the
original network settings on your PC.
4.
To apply the configuration package, navigate to
Manage Appliance > Local Change Management
.
5.
Click Browse and select the .zip package provided by your network administrator, then click Upload.
6.
When the upload is complete, click Next to proceed to activation.
7.
Click Activate Staged to complete the process.
8.
Once the activation process has completed, navigate to
Manage Network > Service/WAN Links
and enable the Talari service.
9.
You may now restore the original network settings on your PC.
Version 1.1
2 2
Содержание Talari E1000
Страница 24: ...Version 1 1 2 3 ...


