8
AC7A/B User’s Guide
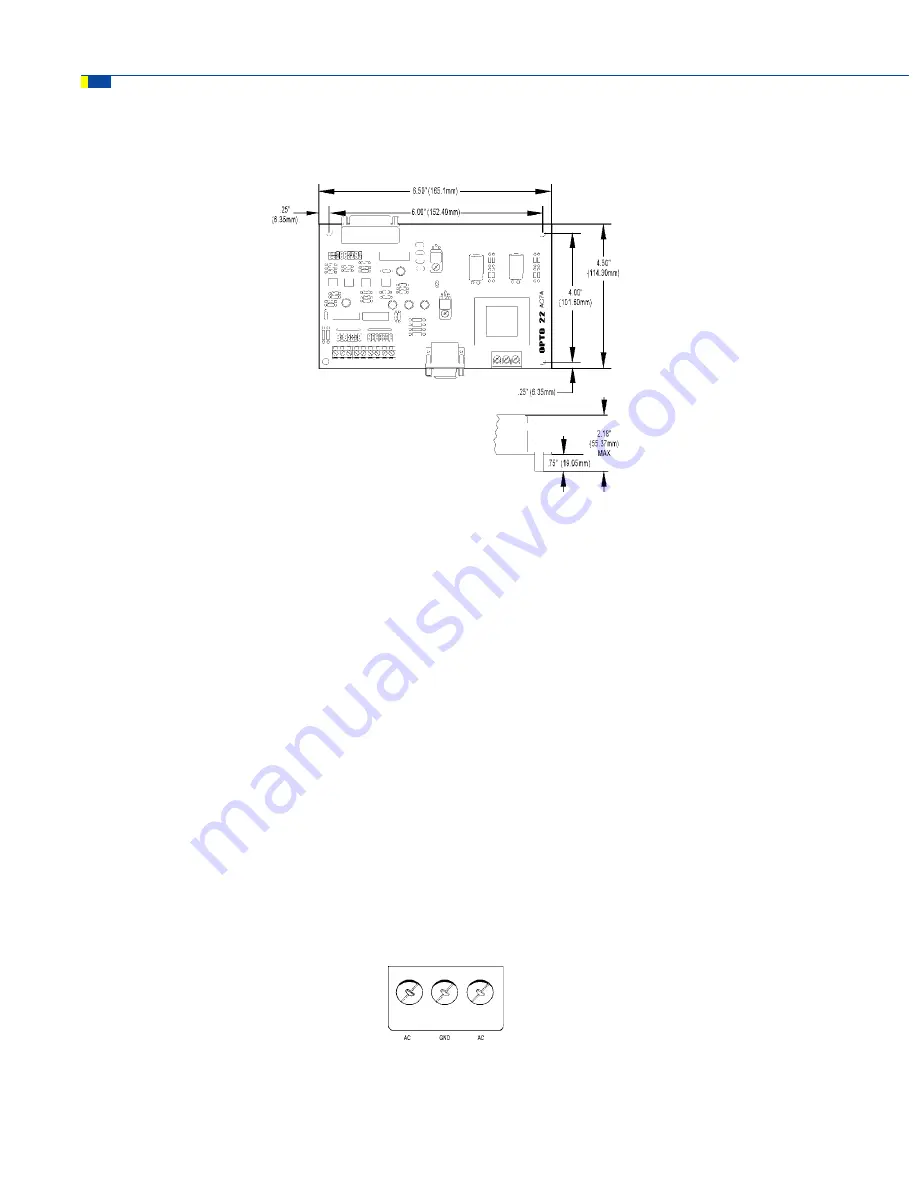
Figure 2-1: AC7A/B Card Dimensions
CONNECTING AC POWER TO THE AC7A/B
Caution: Make sure that power is OFF
while making or removing all connections to the AC7A/B and Optomux.
For safety purposes, a plastic insulating cover is provided for the power terminal block, and shouldbe installed after
power wiring is completed.
The AC7A/B has a terminal strip with three screw terminals for AC power. The AC power, which is supplied to the
AC7A/B, should have three wires, two for AC power and one for earth ground (usually colored green). Connect the
wire for earth ground (usually colored green) to the center screw terminal which is labeled GND. Connect theother
two wires to the terminals marked AC, one wire per terminal. The polarity of the AC power wires withrespect to the
AC screw terminals on the power connector of the AC7A/B does not matter.
If using a standard, 3-conductor power cord with a three-pronged plug, it should be at least #18 gauge wires or
larger. On one end should be the three-pronged plug; the other should have three wires with approximately
1/4” (6mm) of insulation stripped off the end of each wire. Find the wire that corresponds to earth ground
(usuallycolored green) and connect this to the terminal labeled GND. You may determine the ground wire by using
an ohmmeterand testing for continuity with the ground pin on the plug. The other two wires should be connected
tothe terminals marked AC, one wire per terminal. The polarity of the AC power wires with respect to the screw
terminals marked AC on the AC7A/B does not matter.
Figure 2-2: Connector Terminal
INSTALLATION


