


DVR Server Manual ver.6.05/rel.120909
55
【
Camera Name
】
Enter a description for easy identification.
【
Frame Rate
】
Select the record rate of camera from drop-list.
【
MasStream
】【
SubStream
】
Select MasStream (Main Stream) or SubStream for
the current cameras.
【
Resolution
】
Set the resolution at which the video files will be recorded. Choices
are DCIF, CIF, QCIF, 2CIF and 4CIF. The higher the resolution, the more disk space will
be required to save recordings.
【
Stream Type
】
Select Video + Audio or only Video Record.
【
Image
】
Set the quality of the image to be recorded. Select from worst, worse,
normal, good and best.
【
Bit Rate Type
】
Select bit rate type from Variable Bit Rate (VBR) and Fixed Bit
Rate (FBR) record:
VBR range= Poorest, Poor, Medium, Good, Best.
FBR range = 45 Megabytes/Hour to 400 Megabytes/Hour.
【
Max Bit Rate
】
Select the maximum bit rate for Variable Bit Rate (VBR) recording.
【
Show LOGO/ OSD/ Week
】
If you check these boxes, the system will show the
corresponding information on screen.
【
Position
】
Set the position of OSD or Logo by entering the X and Y coordinates
directly.
【
OSD
】
Set the display attributes of the OSD & LOGO. There are four display
modes: Clarity-Glitter, Clarity-Not Glitter, Not Clarity-Glitter and Not Clarity-Not Glitter.
【
OSD Type
】
Select the type of OSD for the Week.
【
Privacy Mask
】
You can check this box to set the privacy mask on the image
directly, and you can clear privacy masks by pressing
button.
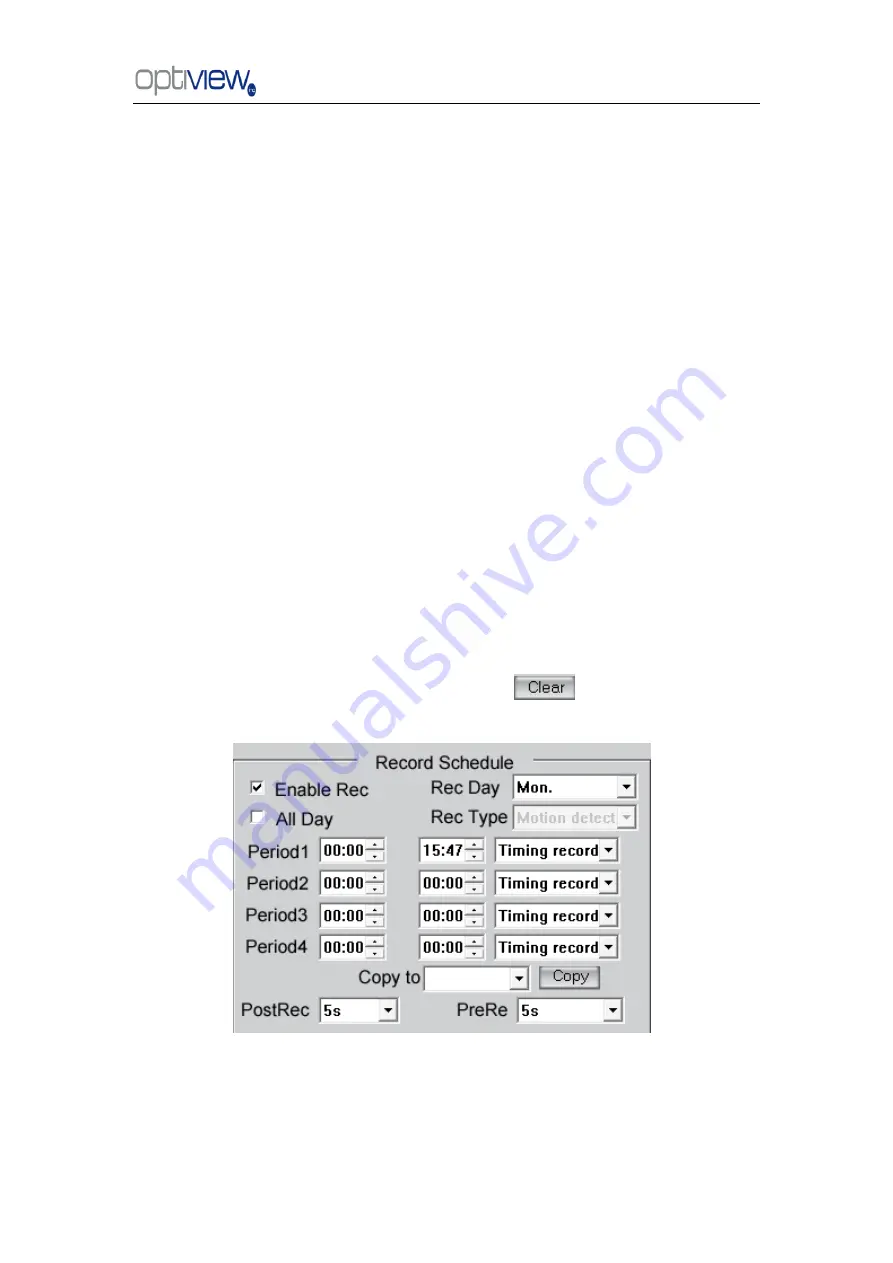
【
Record schedule
】
You can set record schedule in following chart
Note: There are 4 time segments every day. Every segment has a start time, end time
and record type. The time segments are set in sequence. Segments can not be
overlapped, included or skipped with any other.
【
Copy to
】
After finishing any channel, if you want to set any other channels
‘


