


203
Click
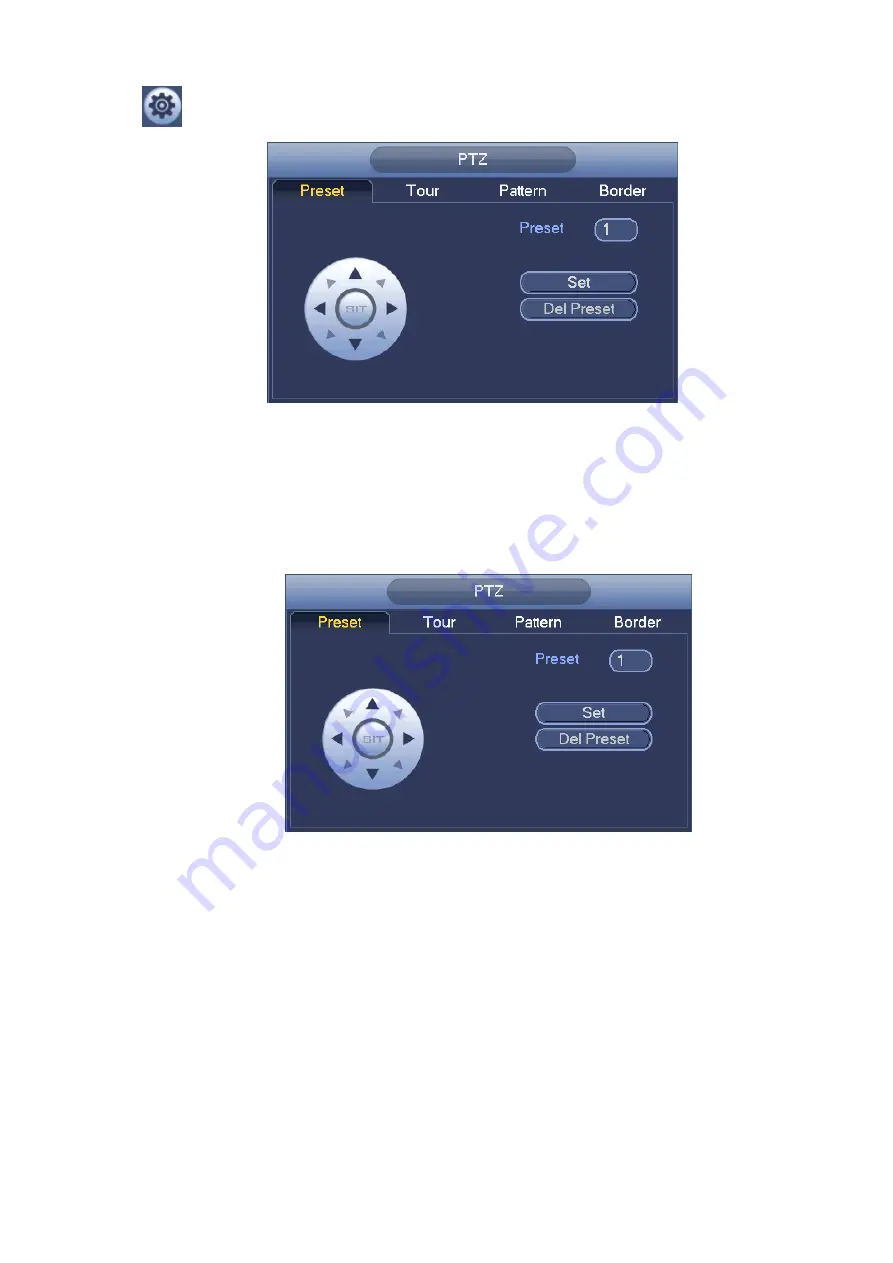
, you can go to the following interface to set preset, tour, pattern, and scan. See Figure 4-50.
Figure 4-50
Preset Setup
In Figure 4-50, click preset button and use eight direction arrows to adjust camera to the proper position.
The interface is shown as in Figure 4-51.
Click Set button and then input preset number.
Click Set button to save current preset.
Figure 4-51
Tour Setup
In Figure 4-50, click tour button.
Input tour value and preset No. Click Add preset button to add current preset to the tour. See Figure 4-52.
Tips
Repeat the above steps to add more presets to the tour. Click Del preset button to remove it from the tour.
Please note some protocols do not support delete preset function.
Содержание NV432P16-4K
Страница 1: ...Network Video Recorder User s Manual V 2 7 0...
Страница 42: ...109 VIEDEO OUT Video output port CVBS output...
Страница 74: ...141 Figure 4 19 Click smart add button you can see device enables DHCP function See Figure 4 20 Figure 4 20...
Страница 129: ...236 Figure 4 89 Figure 4 90...
Страница 130: ...237 Figure 4 91 Figure 4 92...
Страница 145: ...252 Figure 4 110 Figure 4 111...
Страница 146: ...253 Figure 4 112 Figure 4 113...
Страница 147: ...254 Figure 4 114 Figure 4 115...
Страница 149: ...256 Figure 4 117 Figure 4 118...
Страница 176: ...283 Figure 4 148 In Figure 4 148 click one HDD item the S M A R T interface is shown as in Figure 4 149 Figure 4 149...
Страница 241: ...348 Figure 5 55 Figure 5 56...
Страница 242: ...349 Figure 5 57 Figure 5 58 Figure 5 59...
Страница 253: ...360 Figure 5 73 Figure 5 74...


