


226
supports customized path setup. After select or create new folder, click the
Start button to begin the backup operation. The record file(s) will be saved in
the specified folder.
Check the file again you can cancel current selection. System max supports to
display 32 files from one channel.
After you clip on record file, click Backup button you can save it.
For one device, if there is a backup in process, you can not start a new backup
operation.
13
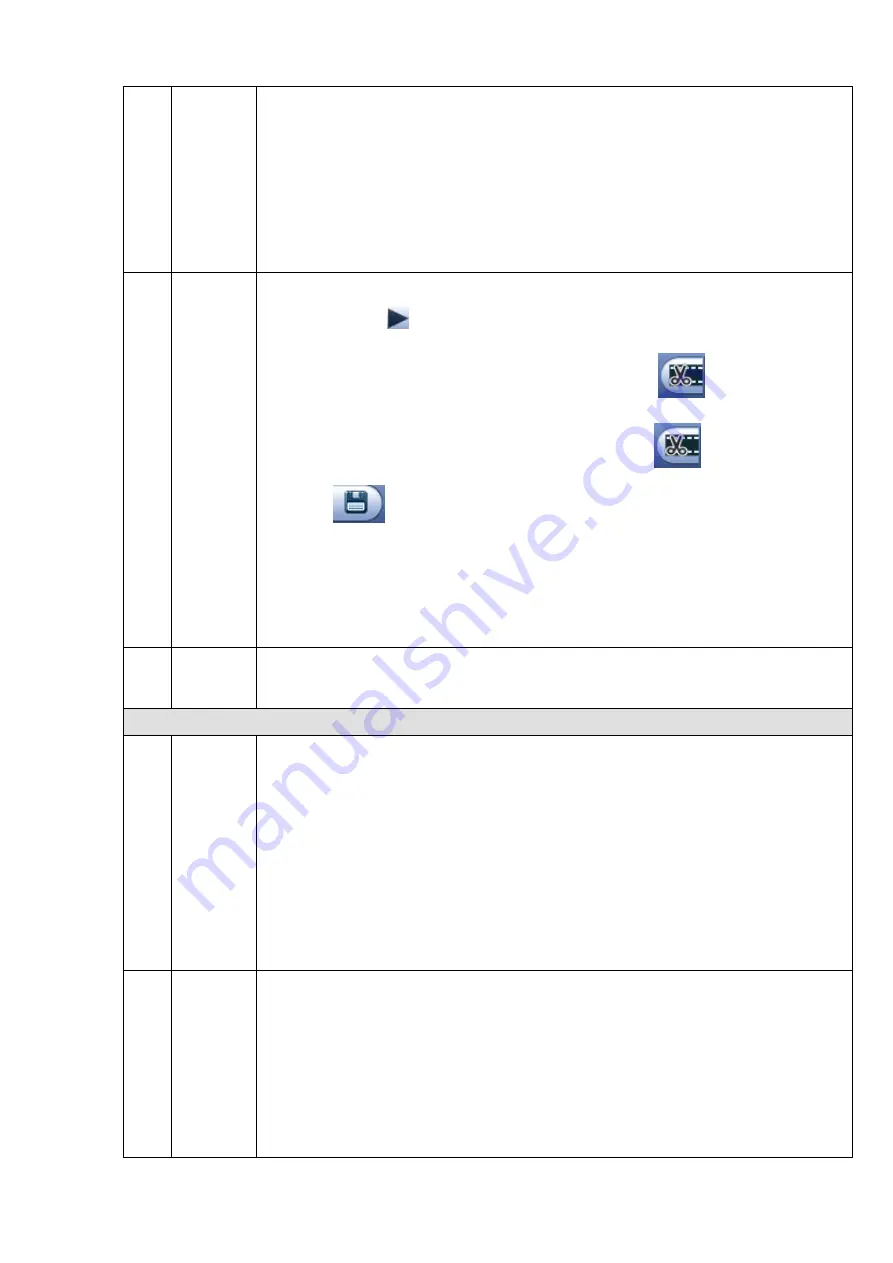
Clip
It is to edit the file.
Please click
to play the file you want to edit.
Select clip start time on the time bar and then Click
to start clip.
Select clip stop time on the time bar and then click
to stop clip.
Click
, system pops up file backup dialogue box for you to save.
Please note:
Clip function is for one-channel mode/multiple-channel mode.
System max supports 1024 files backup at the same time.
You can not operate clip operation if there is any file has been checked in
the file list.
14
Record
type
In any play mode, the time bar will change once you modify the search type.
Other Functions
15
Smart
search
When system is playing, you can select a zone in the window to begin smart
search. Click the motion detect button to begin play.
Once the motion detect play has begun, click button again will terminate
current motion detect file play.
There is no motion detect zone by default.
If you select to play other file in the file list, system switches to motion detect
play of other file.
During the motion detect play process, you can not implement operations such
as change time bar, begin backward playback or frame by frame playback.
Please refer to chapter 4.11.2.1 Smart Search for detailed operation.
16
Other
channel
synchroni
zation
switch to
play
when
playback
When playing the file, click the number button, system can switch to the same
period of the corresponding channel to play.
Содержание NV432P16-4K
Страница 1: ...Network Video Recorder User s Manual V 2 7 0...
Страница 42: ...109 VIEDEO OUT Video output port CVBS output...
Страница 74: ...141 Figure 4 19 Click smart add button you can see device enables DHCP function See Figure 4 20 Figure 4 20...
Страница 129: ...236 Figure 4 89 Figure 4 90...
Страница 130: ...237 Figure 4 91 Figure 4 92...
Страница 145: ...252 Figure 4 110 Figure 4 111...
Страница 146: ...253 Figure 4 112 Figure 4 113...
Страница 147: ...254 Figure 4 114 Figure 4 115...
Страница 149: ...256 Figure 4 117 Figure 4 118...
Страница 176: ...283 Figure 4 148 In Figure 4 148 click one HDD item the S M A R T interface is shown as in Figure 4 149 Figure 4 149...
Страница 241: ...348 Figure 5 55 Figure 5 56...
Страница 242: ...349 Figure 5 57 Figure 5 58 Figure 5 59...
Страница 253: ...360 Figure 5 73 Figure 5 74...


