15
4)
“Upload Settings” menu
It writes the settings of the Setup Program to the code reader.
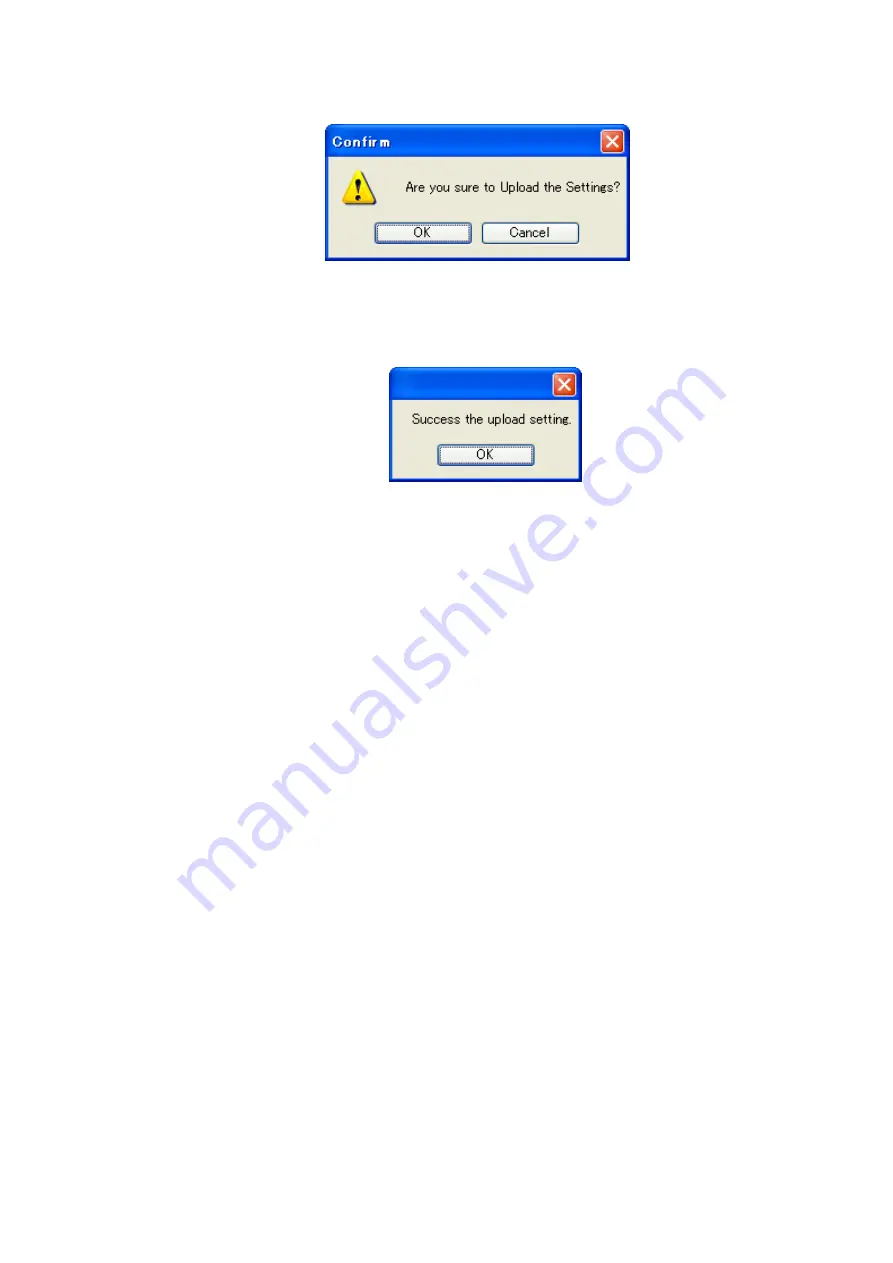
When you select “Upload Settings”, the following window appears, and the program starting writing
to the code reader.
A count-up window appears under the “Download settings” button that shows the progress of
counting, in which a count-up operation is performed starting at R1 and ending at R412. When the
code reader sounds a buzzer and the “Success the upload setting.” message window appears, the
settings have been written to the code reader.
5)
“View Settings” menu
It lists the settings that is being read. We omit the explanation of the menu option since it is
identical to the “View Settings” window that is brought up upon completion of the reading after you
clicked “Download settings” button on the main menu (see page 10).
6)
“Reading rate” menu
You can view the reading rate. We omit the explanation of the menu option since it is identical to
the “Reading rate” button on the main menu (see page 11).
7)
“Cont. reading” menu
You can view data read in the continuous read mode. We omit the explanation of the menu option
since it is identical to the “Cont. reading” button on the main menu (see page 12).
8)
“Stop reading” menu
It stops reading. We omit the explanation of the menu option since it is identical to the “Stop
reading” button on the main menu (see page 12).
9)
“PC Comm. Setting” menu
You can select your desired port and communication parameters. We omit the explanation of the
menu option since it is described in “1
Preparing the connection
” (see page 9).
10)
“END” menu
It quits the Setup Program. We omit the explanation of the menu option since it is identical to the
“END” button on the main menu (see page 12).


