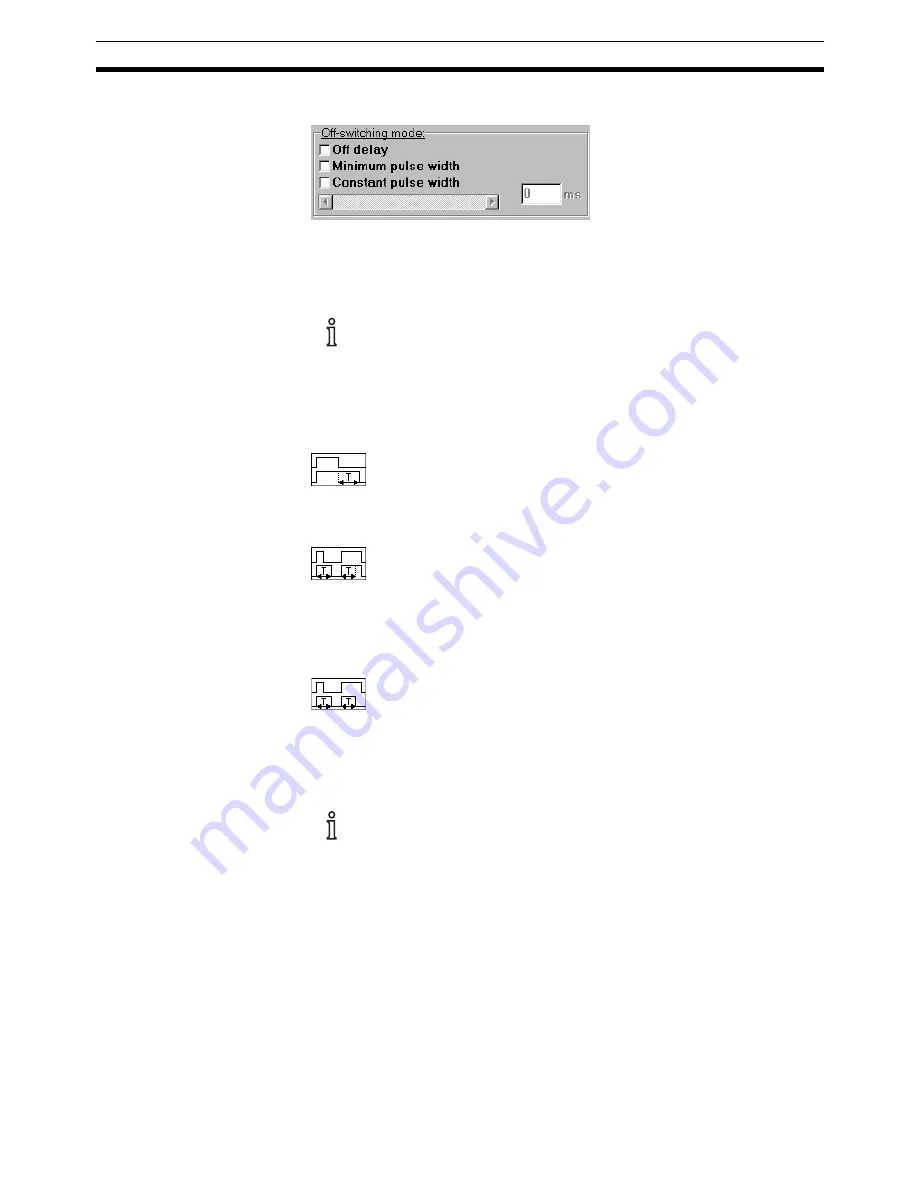
Display window for new sensor settings New settings of E3NT-L
Section 8-2
43
8-2-2-1-4
Off-switching mode
The nature and the numeric value of the output's switching response are set
in the
Off-switching mode
box. This parameter can be set separately for
both outputs.
The timing response described here is referred to the
Light-on
switch-
ing inversion.
The behaviour of the individual off delay modes is inverted in the
Dark-
on
switching inversion mode.
The nature of the off-switching response is chosen in
checkboxes
:
Off delay
The off delay starts as from the time when the measured object
leaves the sensing zone. The output does not become inactive until
the off delay has elapsed.
Minimum pulse width
After detection of a measured object, the output remains active for
at least the setted off delay. If the measured object dwells in the
sensing zone for longer than the setted off delay, the output
becomes inactive immediately after the object leaves the sensing
zone.
Constant pulse width (one shot)
After detection of a measured object, the output only remains active
for the setted off delay and becomes inactive after this time has
elapsed, regardless of the object's dwell time, even if the measured
object dwells in the sensing zone for longer than the setted off delay.
Minimum pulse width
and
Constant pulse width
are not activatable,
if
On delay
is activated.
The time can be set in several ways:
•
By slider
The position of the slider can be varied with the mouse. The resulting set
time is displayed as a number next to the slider.
The number can be increased or reduced with the
Increment
and
Decre-
ment
buttons of the slider
.
•
With number inpu
t
The time can also be entered directly as a number. The slider is adjusted
accordingly
.
Содержание SENSOR SUPPORT SOFTWARE S3
Страница 1: ...OPERATION MANUAL Software Description SensorSupportSoftware S3 Cat No E31E EN 01 ...
Страница 2: ......
Страница 4: ...4 ...
Страница 9: ...9 SECTION 2 Safety notes 2 1 Safety notes 10 ...
Страница 11: ...11 SECTION 3 Program installation 3 1 Installation 12 3 2 Deinstallation 12 ...
Страница 13: ...13 SECTION 4 Connecting the sensor to the PC 4 1 Connecting the sensor to the PC 14 ...
Страница 15: ...15 SECTION 5 Program start 5 1 Starting the SensorSupportSoftware 16 ...
Страница 19: ...Starting the SensorSupportSoftware Section 5 1 19 E3NT R ...
Страница 20: ...20 Starting the SensorSupportSoftware Section 5 1 ...
Страница 21: ...21 SECTION 6 Program definitions 6 1 Program control keys 22 ...
Страница 24: ...24 Program control keys Section 6 1 ...


