Operation
OMAX JetMachining® Center Operator’s Guide
400433D-EN
3 - 17
f.
During this jet stream test, adjust the pump RPM to develop the desired low-pressure then
write down the pump RPM and KSI values from the pump LCD display screen for the low
pressure test.
g.
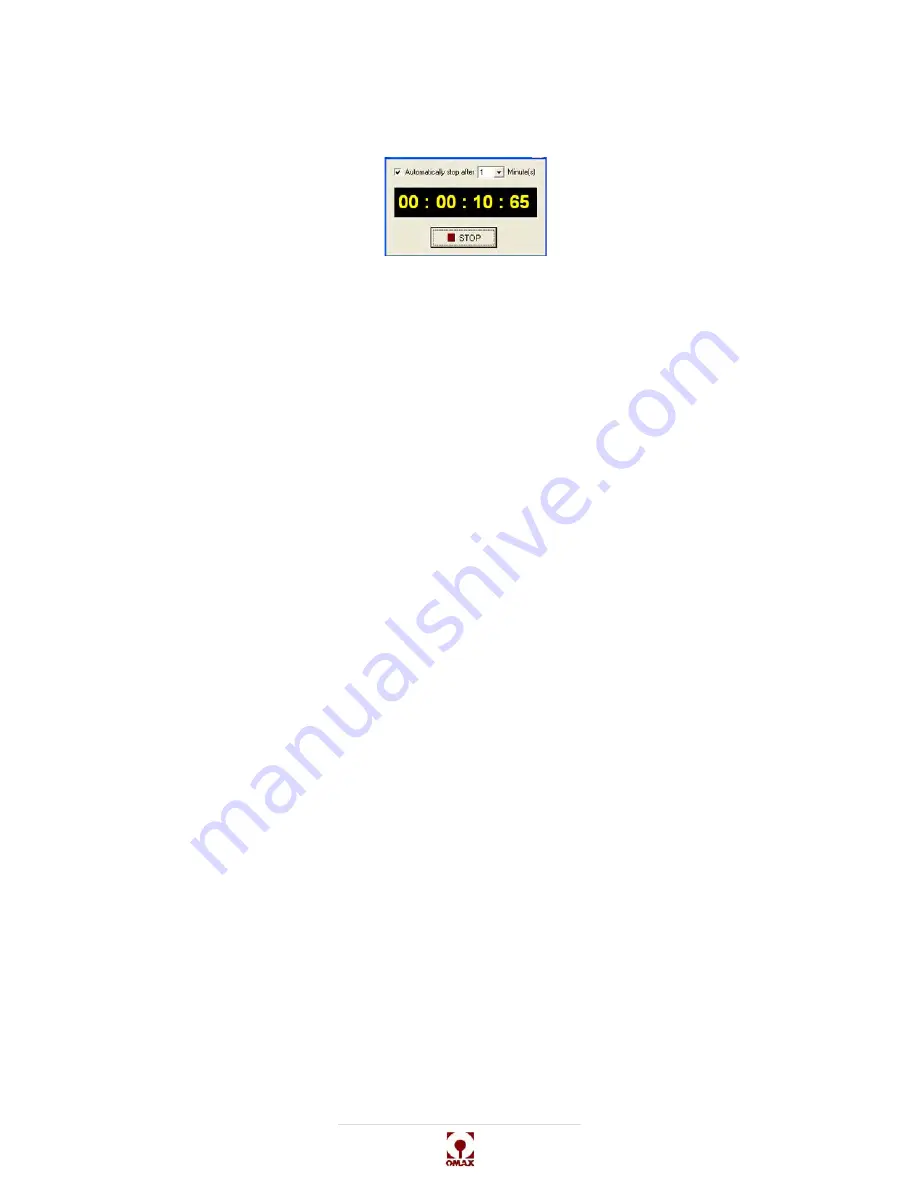
Click
Stop
to end the low-pressure pump test:
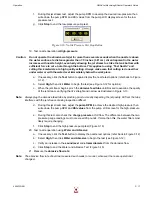
Figure 3-16: Nozzle Pressure Test Stop Button
19. Test nozzle operation at
High-pressure
:
Caution:
Do not operate the abrasive waterjet for more than several seconds when the nozzle is above
the water surface at a distance greater than 1.5 inches (3.81 cm). Air entrapment in the water
increases with nozzle height, eventually allowing the jet stream to strike the tank bottom with
sufficient force to cut a hole through the bottom. This applies to using “Test Nozzle” and
cutting thick materials at a high quality setting. Always make sure that cutting is done either
under water or with the water level immediately below the work piece.
a.
If necessary, click the
Test
button to again display the nozzle test options (refer back to Figure
b.
Select
High,
then click
Water
to begin the test (see Figure 3-12 for options).
c.
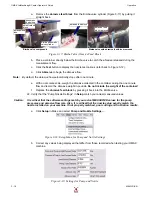
When the jet stream begins, pinch the
abrasive feed tube
until blocked to examine the quality
of the jet stream, verifying that it’s straight and narrow as illustrated in Figure 3-13.
Note:
Always plug the abrasive feed tube by pinching prior to visually inspecting the jet quality. Air from the tube
interferes with the jet stream, making inspection difficult.
d.
During this jet stream test, adjust the
pump RPM
to achieve the desired high-pressure then
write down the pump RPM and
KSI values
from the pump LCD screen for the high-pressure
test.
e.
During this test, also check the
charge pressure
at full flow. The difference between the two
pressure gauge readings must not exceed 20 pounds. If more than this, the water filters most
likely require changing.
f.
Click
Stop
to end the high-pressure pump test (Figure 3-16).
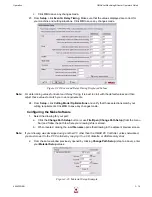
20. Test nozzle operation using
Water and Abrasive
:
a.
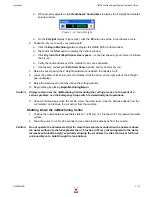
If necessary, click the
Test
button to display the nozzle test options (refer back to Figure 3-12).
b.
Select
High,
then click
Water and Abrasive
to begin the test (see Figure 3-12).
c.
Verify an increase in the
sound level
and
stream diameter
from the abrasive flow.
d.
Click
Stop
to end the Water and Abrasive Test (Figure 3-16).
21. Measure the
abrasive flow rate
:
Note:
The abrasive flow rate should be measured each week (or sooner, whenever there are operational
changes).
Содержание JetMachining Center 2626
Страница 8: ...OMAX JetMachining Center Operator s Guide viii 400433D EN ...
Страница 12: ...OMAX JetMachining Center Operator s Guide xii 400433D EN ...
Страница 22: ...OMAX JetMachining Center Operator s Guide Safety First 1 10 400433D EN ...
Страница 140: ...OMAX JetMachining Center Operator s Guide OMAX Glossary 6 16 400433D EN ...
Страница 144: ...OMAX JetMachining Center Operator s Guide Index 4 400433D EN ...

