30
•
Press PTT, check the Ig2 (
I
Screen on the display
). If it is ok (0-20mA), gradually increase the
input power until the PA reaches about 70% of its maximum output power.
•
Using the TUNE buttons, adjust for maximum FORWARD POWER while monitoring the Screen
current.
•
When the Screen current e20mA, adjust the LOAD button to decrease Screen current
to about 0 mA.
•
Increase the PA input power until you reach the desired maximum output power. Keep watching
the Screen current. If the Screen current exceeds +20mA decrease it by using the LOAD
button.
•
Repeat using the TUNE buttons to reach desired maximum FORWARD POWER and check
Screen current.
•
If the Screen current is lower than 0 mA (negative value), change it by pressing the LOAD
button until 0 mA is set and check again for maximum output power. Do not start with very low
input power, set abt. 50% before beginning M-tune process.
•
If you reached the desired maximum output power, and the PA Screen current is inside 0 /
+20mA, then press the SAVE button.
Notice 1:
If the tuning process takes more than 1 minute, allow for a short break to prevent
temperature overloading of the PA.
Notice 2:
If you use the PA with the output power adjusted lower than the maximum settings , Screen
current can take negative values. There is no need to readjust the PA, it is still working in the linear
mode.
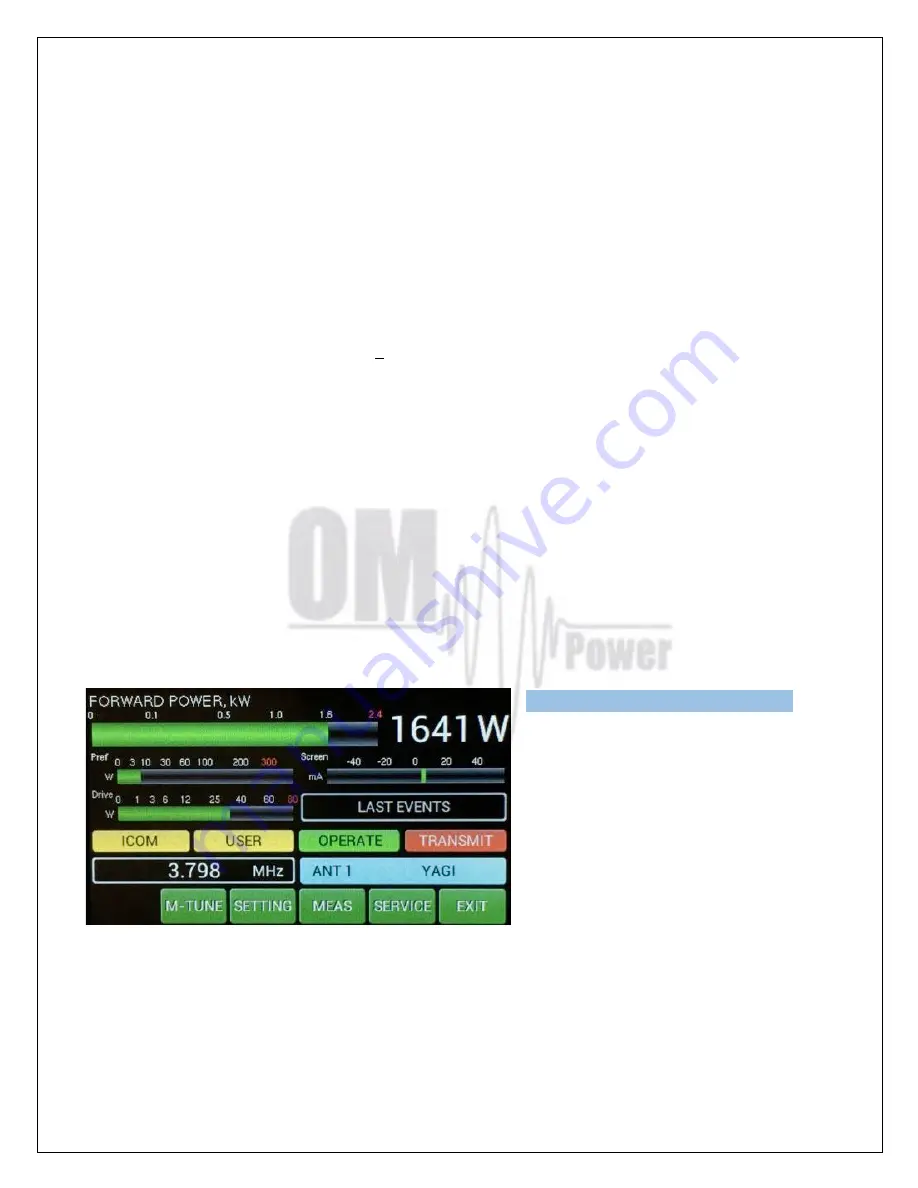
We can now see a new small yellow
USER
window in the touch screen display.
USER
means that we used the M-TUNE feature to
optimize the PA adjustment.
If you want to go back to the default factory
settings, use CLEAR USER SETTINGS in
the MENU settings (page 19) for one band
or all bands.
If the amplifier demonstrates any malfunctions during tuning or it does not behave in
accordance witch the M-TUNE procedure, interrupt the tuning procedure immediately and check
the amplifier! Be sure there are not any mistakes in choosing antennas, bands or segments!
Insure that VSWR is not higher than 3:1 and input power is LOW!
Type of supported TCVR and
working
frequency are visible on the
display.
AUTO LED is ON.
Содержание OM2000A+
Страница 39: ...39 Connection setting Set up TCP IP address and port Connect disconnect to OM2000A...
Страница 49: ...49 7 7 ICOM connection with OM2000A...
Страница 50: ...50 7 8 Yaesu plus BPF plus ANT Switch connection with OM2000A...
Страница 55: ...55 7 10 Block Diagram of the OM2000A Power Amplifier...


