6
4
+−
button
9
0
button
OK
button
STOP
button
F
button
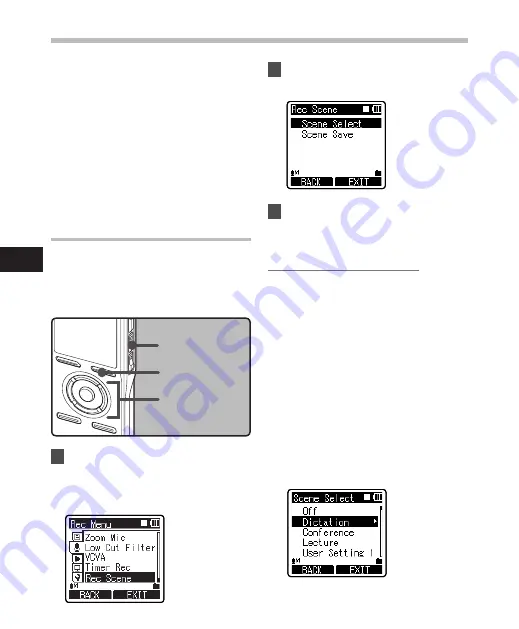
Setting the Recording Scene
[Rec Scene]
The recording setting can be selected from
the [
Dictation
], [
Conference
], [
Lecture
]
templates to suit the recording scene or
situation. You can also save a recording
setting of your choice.
1
Select [
Rec Scene
] from the menu
in [
Rec Menu
].
• Please refer to P.44, P.45 for details on
menu settings.
2
Press the
+
or
−
button to select
the item to set.
3
Press the
OK
or
9
button to
move to Settings.
When [
Scene Select
] is selected:
1
Press the
+
or
–
button to select the
recording scene you want to set.
2
Press the
OK
button to complete the
selection.
• To confirm the respective recording
scene settings, press the + or – button
in the [
Scene Select
] screen to select
the item you want to confirm, then
press the
9
button to confirm in
the setting confirmation screen. To
end the setting confirmation screen,
press the
F1
button and the display
will return to the [
Scene Select
]
screen.
• When the recorder is stopped,
pressing and holding the
F2
button
will return the screen to [
Scene
Select
].
Menu setting method
• If the [
Time & Date
] is not correct, timer
recording cannot be set at the specified
time, so make sure the [
Time & Date
] is
correct before setting timer recording. If
it is not correct, reset [
Time & Date
] (
☞
P.20).
• The recorder will record in the built-in
memory [
Folder A
] when the microSD
card is selected as the recording
destination and the microSD card is not
inserted during Timer Recording.
M
en
u s
et
tin
g m
et
ho
d


